

When foundation settles into your pores and looks dry and heavy, the reflex is to add more and cover it up. That almost always makes it worse. L’Oréal Paris compares layering foundation to oil painting: the more you add, the more textured it looks. A smoother base comes from technique, prep, and tool choice, not coverage. The steps below get you there without an extra drop.
Why Adding More Product Makes Foundation Worse
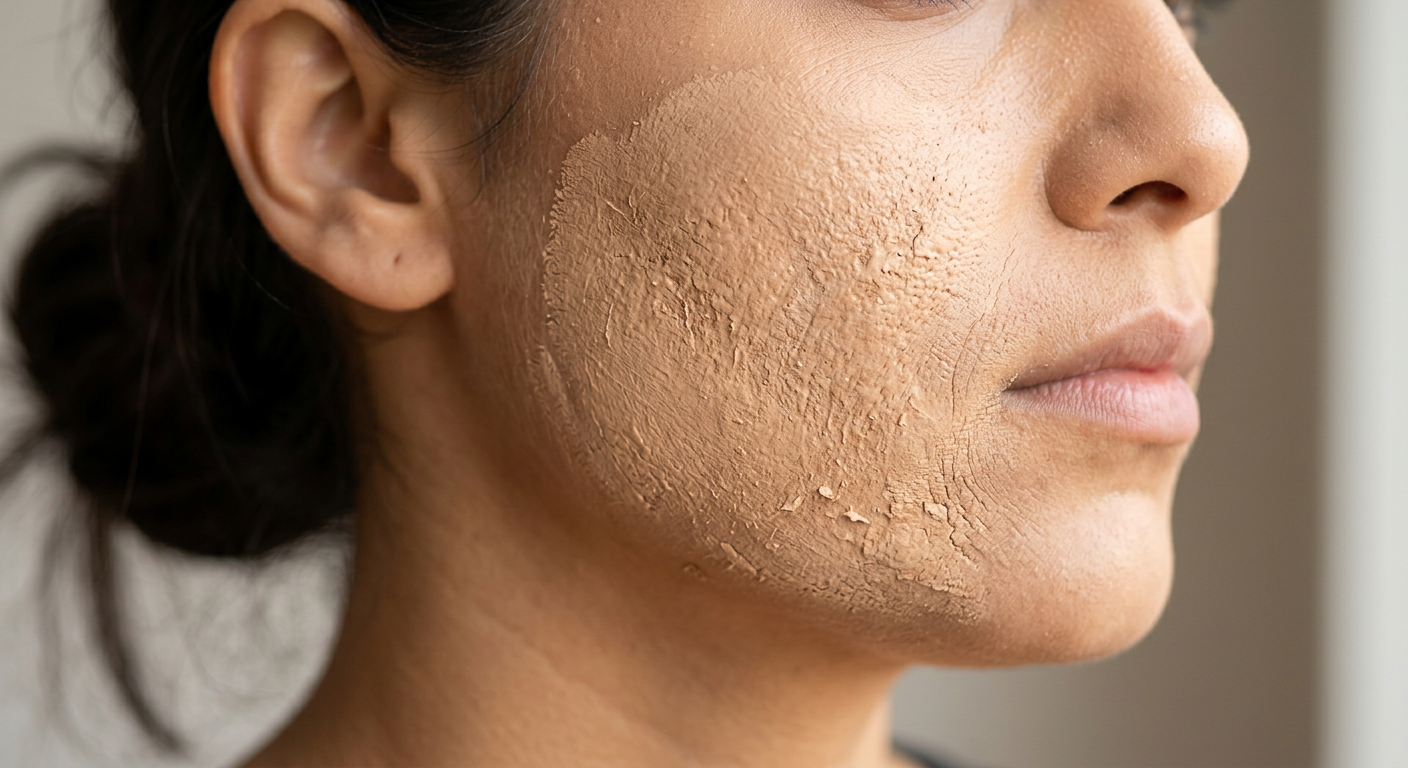
Foundation is mostly pigment: dry powders like iron oxides suspended in a liquid. Once that water or oil evaporates, usually within an hour, the pigment is left sitting on your skin. Add more product and you add more of that dust to settle into lines and pores.
Applying too much at once is one of the most common reasons a base goes cakey, according to Makeupious. Heavy layers highlight uneven texture instead of hiding it, and every extra coat gives the formula another chance to crack, separate, and grab onto dry patches.
Beautylara frames the solution as a shift in technique rather than a product problem. Stop overloading the skin and the rest of the process gets simpler.
Start With Smooth Skin, Not More Foundation
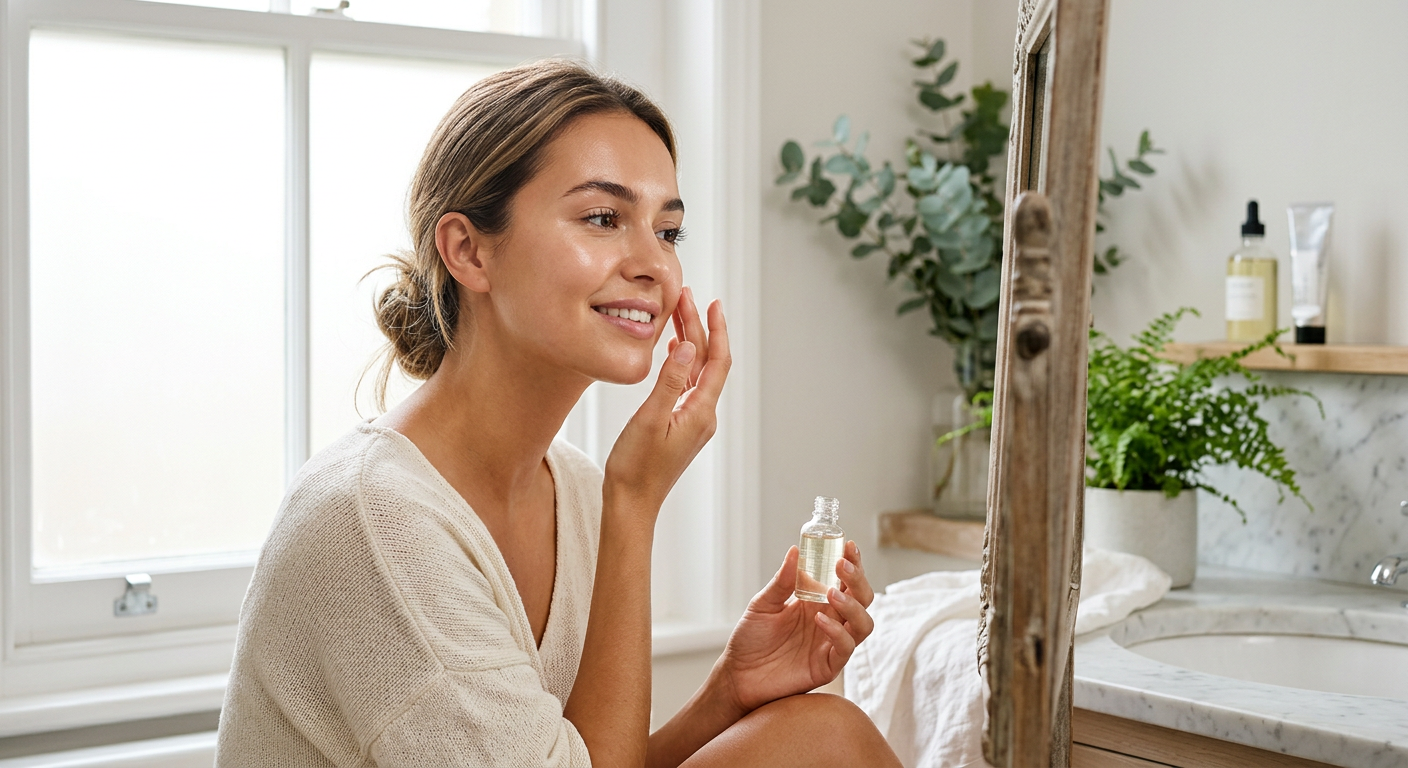
Smooth foundation starts with smooth skin. No amount of blending will fix dead skin cells and dry flakes sitting underneath your base, which is why makeup artists treat skin prep as the real work.
Exfoliate to remove the flakes foundation clings to
Light exfoliation clears the dead cells that make foundation grab and separate. Beautyblender suggests exfoliating one to three times a week with a chemical exfoliant like an AHA or BHA. Push it too hard and you’ll irritate your skin, so stay gentle and consistent.
For stubborn dry spots around the nose or picked-at blemishes, a makeup artist told Into The Gloss that massaging a small amount of balm into the flaky skin is often enough to lift it and smooth it out. Spot-treat those areas before you exfoliate the whole face.
Hydrate so foundation glides instead of clinging
Beautylara names dehydrated skin as the top cause of cakey makeup. When foundation clings to dry patches, the problem is under your makeup, not in the bottle. Use a lightweight serum and moisturizer, and let each one absorb before the next.
Celebrity makeup artist Molly R. Stern told Yahoo that a spritz of nourishing water followed by a massaged-in face oil gives skin its first layer of moisture. Well-hydrated skin is what produces that lit-from-within look once foundation goes over it.
Prime the Right Way for Your Formula
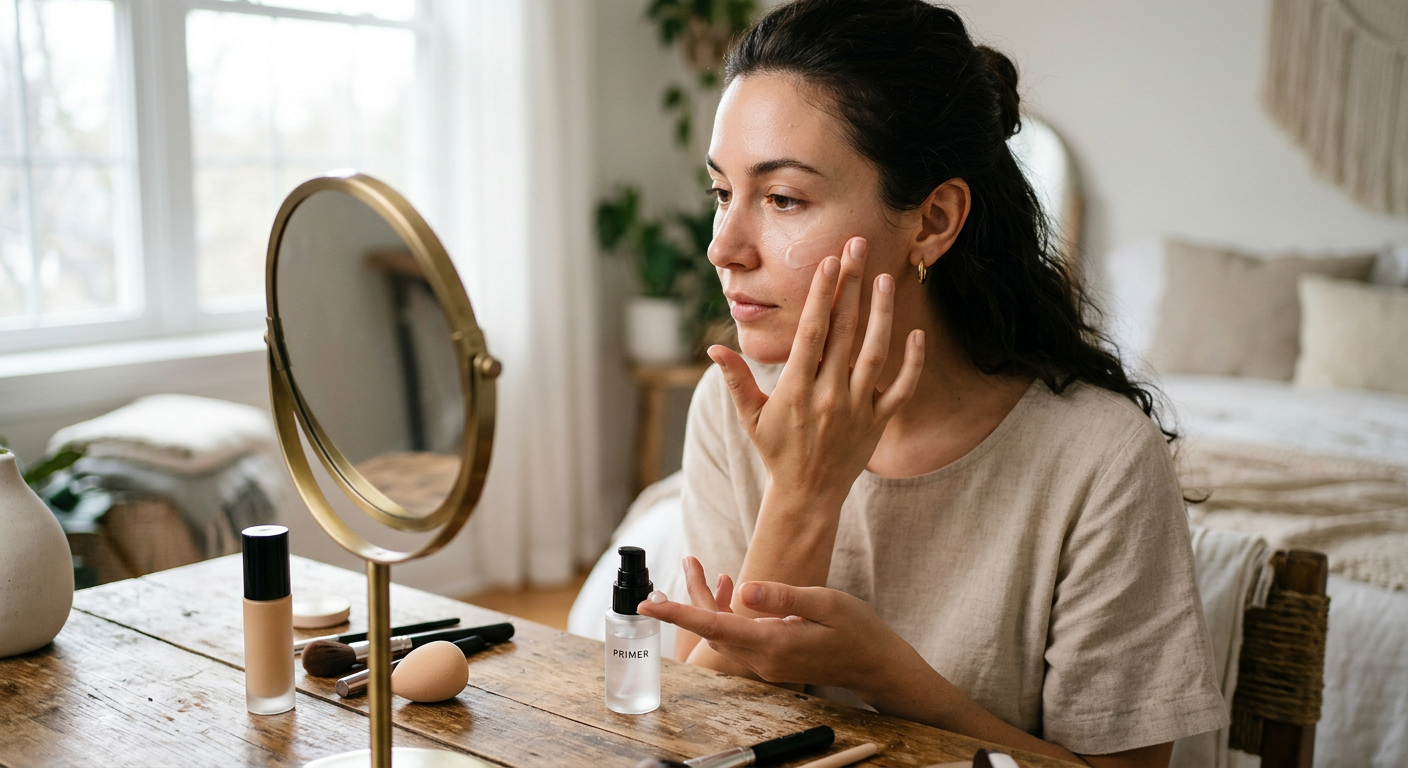
Primer can blur texture and extend wear, but it isn’t a universal fix. The most common mistake is pairing the wrong primer with your foundation, which causes them to separate right away.
Match water to water, silicone to silicone
A heavy silicone primer under a water-based foundation will make it separate, according to User Notices. Read the ingredient list and match the base chemistry. A water-based gel primer adds moisture to the upper layers; a dimethicone-based primer fills deep scars and large pores the way spackle fills a wall.
Use less primer than you think you need and give it time to settle. Makeup 101 recommends waiting a minute or two after applying, letting your skincare absorb first, and skipping unnecessary layers. Stacking products too fast is what causes that odd rolling or pilling effect.
Apply in Thin Layers, Not Thick Coats
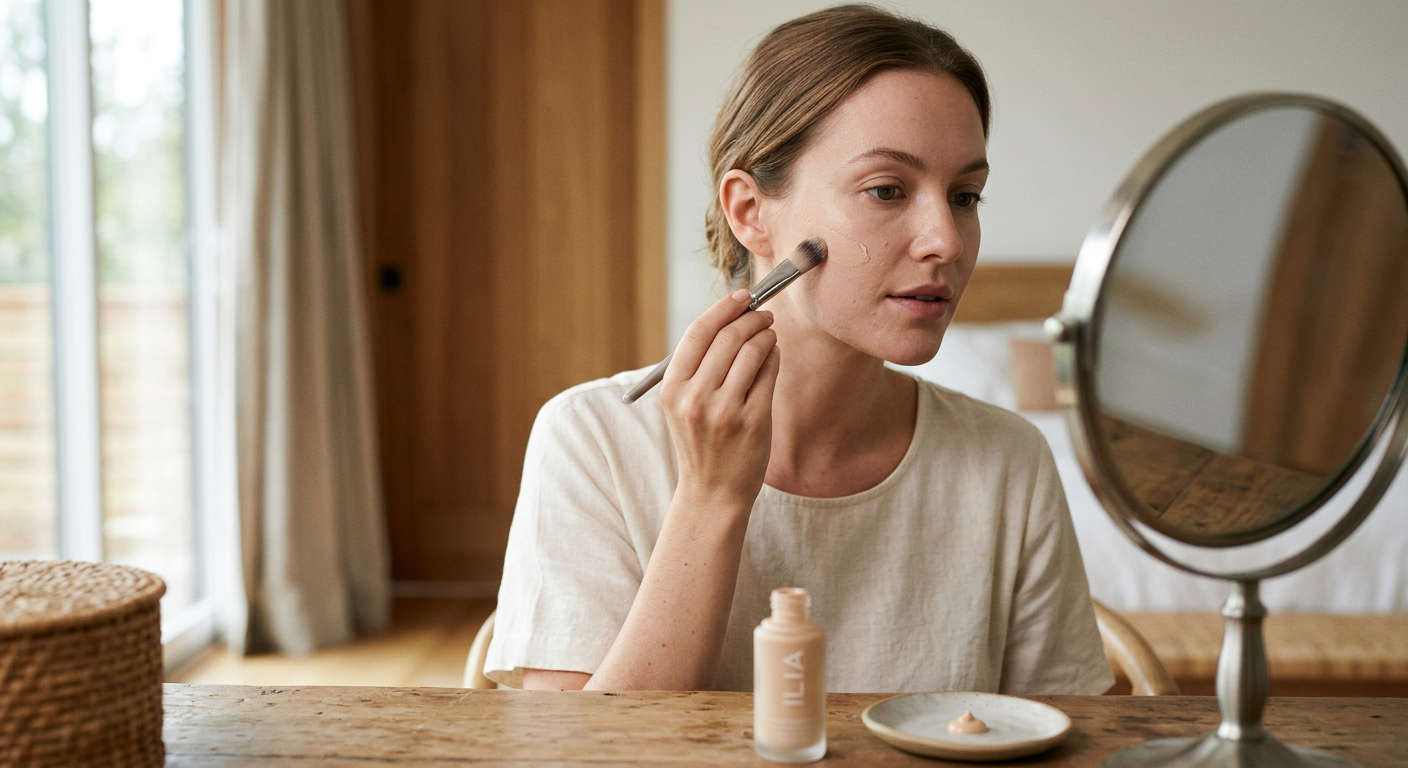
This is the most effective way to smooth out foundation without adding more of it. Building coverage gradually gives you far more control than a single heavy pass.
Start with less than you think you need. Beautyblender advises laying down a thin layer first, then concealing only the spots that need it. Less product means less to catch on texture. You can always add coverage to one area, but excess is hard to take back off once it’s on.
Dot the product across your face instead of swiping, then blend outward from the center. Makeupious calls this the dot-and-blend method, and it gives you thin, even coverage exactly where you need it. Save full coverage for problem spots rather than spreading it over your whole face.
Color-correct first to use even less foundation
When textured areas are also red or discolored, neutralize them with a lightweight color corrector before foundation. Beautyblender points out that this lets you use less product overall, which cuts down on buildup. Handle the color separately and your foundation only has to even out your tone, not fix everything at once.
Let Your Tools Do the Work
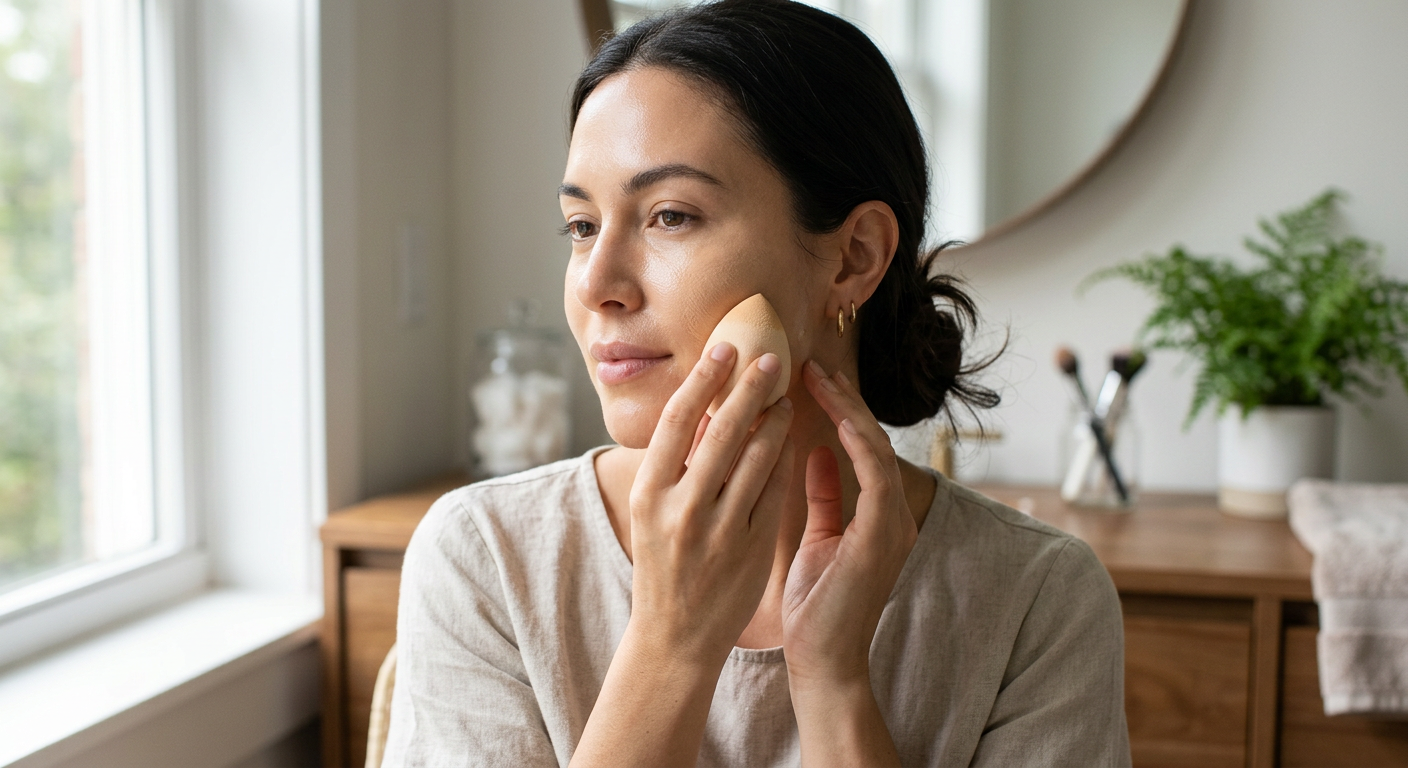
How you blend matters as much as how much you apply. The right tool pulls off excess product while pressing the rest into your skin.
Use a damp sponge to absorb excess
A damp beauty sponge is the tool professionals cite most for a non-cakey finish. It soaks up excess so you never lay down too much, and the bouncing motion presses foundation into an airbrushed finish, according to Beautylara. Dampen it first so it absorbs water rather than your foundation.
Real blending takes time, not a quick swipe. Cosmopolitan recommends stamping foundation into the skin until it’s basically set, around three minutes, to erase harsh lines. If the base still looks cakey after you apply it, you’re probably not finished blending.
Blending method comparison
| Method | Best For | Coverage | Cake Risk |
|---|---|---|---|
| Damp sponge (stipple) | Absorbing excess, natural finish | Buildable | Low |
| Fingers (press and warm) | Melting product into skin, glow | Sheer to medium | Low |
| Brush (buff) | Even distribution, full coverage | Medium to full | Higher if overloaded |
| Brush + sponge combo | Distribute then press | Buildable | Lowest |
Fix and Set Without Powder

When foundation goes cakey mid-day, adding more foundation or powder just stacks on another dry layer, according to Nuvole di Bellezza. The better move is to revive what’s already there.
Rehydrate and re-blend
Mist your face lightly with a hydrating setting spray, then press and re-blend the areas that separated, usually around the nose, mouth, and under the eyes. Beautylara suggests using a clean finger, the clean side of your sponge, or a small brush to press over those spots. The moisture melts the product back into your skin.
Finish with a setting spray for a skin-like look
A hydrating setting spray does more than hold makeup in place. Beautyblender explains that it melds your products together for a smooth, natural effect, cutting powderiness and bringing life back into the base. Use it last, especially if your skin runs dry or dull.
Key Takeaways and Next Steps

Smoother foundation is a technique problem, not a coverage one. Prep with gentle exfoliation and thorough hydration so foundation has an even surface to sit on. Match your primer to your formula, apply in thin layers, and let a damp sponge take up the excess.
Every professional source lands on the same rule: less product applied well beats more product applied heavily. When the base looks cakey, rehydrate and re-blend instead of piling on.
Change one thing at a time this week. Start with hydration, then adjust your application, and see which fix makes the biggest difference for your skin. Your foundation bottle will last longer, and the finish will look a lot more like real skin.
Frequently Asked Questions
Why does my foundation look cakey when I don’t use much?
Dehydrated skin is the usual culprit, according to Beautylara. Even a small amount of foundation clings to dry patches and dead skin cells. Exfoliate and moisturize before you blame the product.
Can I fix cakey foundation without adding powder?
Yes. Mist your face with a hydrating setting spray, then press and re-blend the separated areas with a clean finger or damp sponge, as Makeupious advises. Powder tends to make the problem worse by adding another dry layer.
What’s the best tool for a smooth foundation finish?
A damp beauty sponge absorbs excess product and presses the rest into your skin for an airbrushed look, which is why Beautylara calls it the holy grail tool. Dampen it first so it soaks up water rather than your foundation.
How often should I exfoliate to keep foundation smooth?
One to three times a week with a chemical exfoliant like an AHA or BHA, according to Beautyblender. More often than that can irritate your skin and create new texture, so keep it gentle and consistent.
Does primer actually make foundation smoother?
It can, but only if you match it to your formula: water-based primer with water-based foundation, silicone with silicone. User Notices warns that mismatching them causes immediate separation. Use less than you think you need and let it settle.
Why does my foundation separate a few hours after applying?
Flaws that show up later usually come from sebum, sweat, movement, or touch-ups, notes Nuvole di Bellezza. If the same spot breaks down no matter which product you use, the skin prep in that area is probably the real issue.