

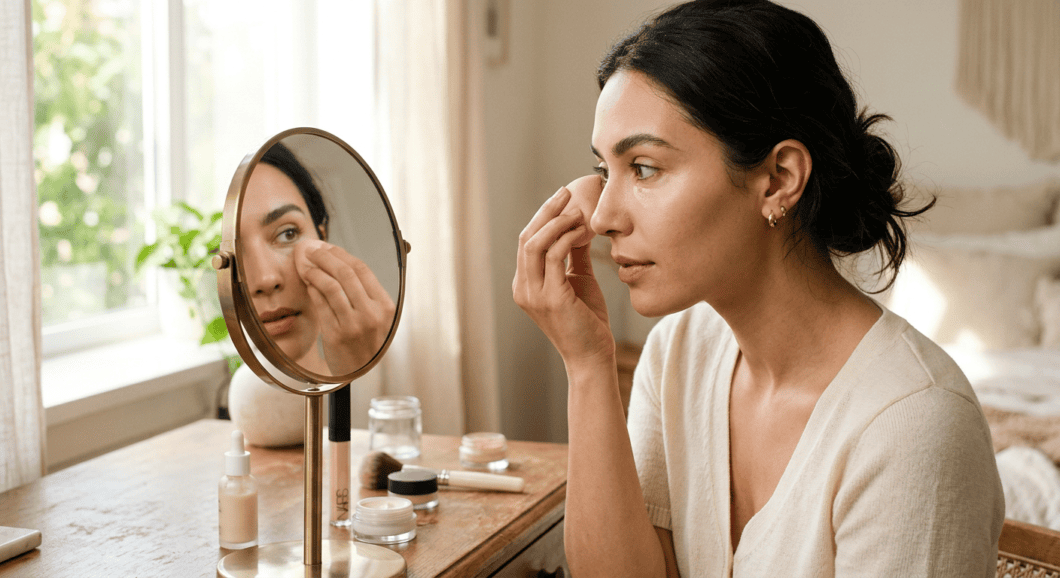
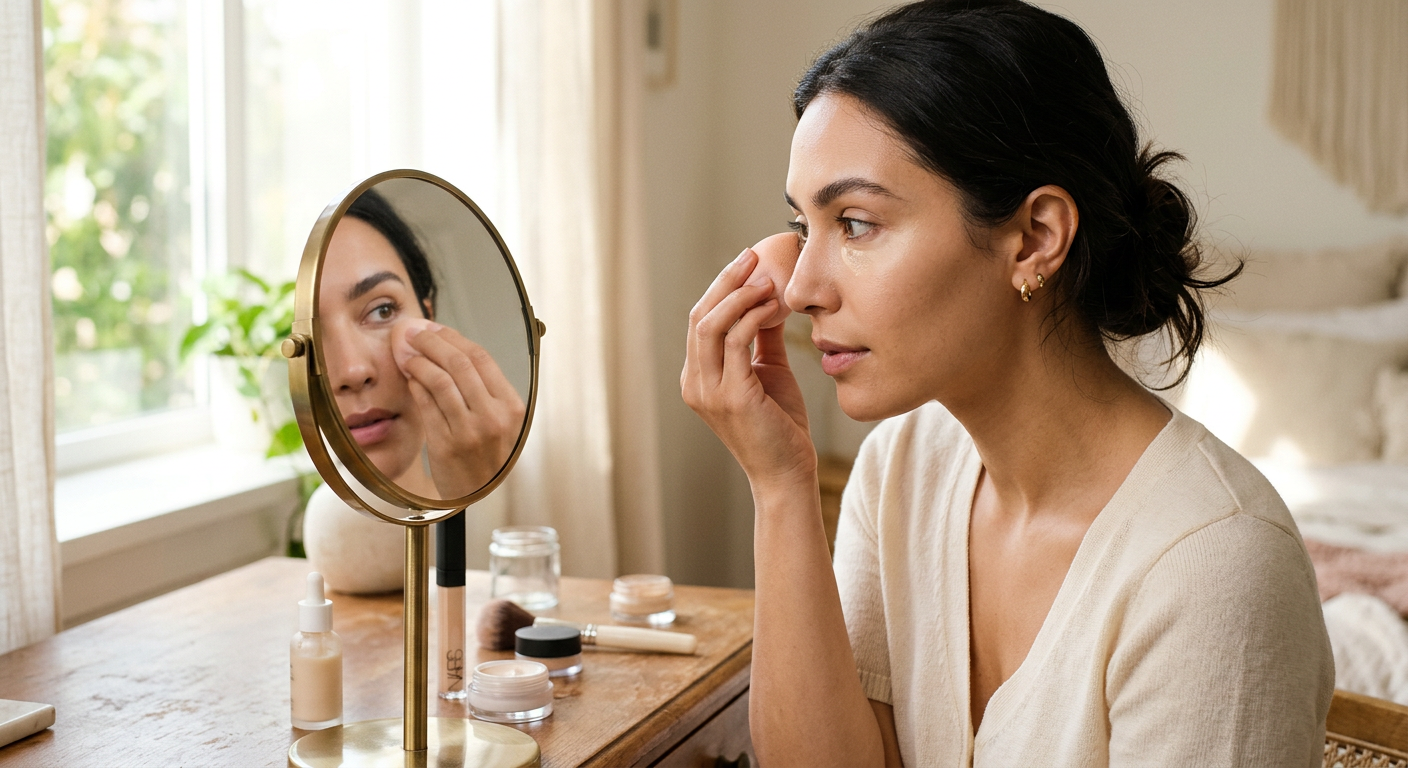
You blend your concealer until it looks flawless, then catch your reflection two hours later: fine lines, dry patches, and product pooling under your eyes. Cakey, creased concealer ranks among the most common makeup complaints, and the product usually isn’t to blame. Most of the trouble starts before the concealer ever touches your face. Fix your prep, application, and setting routine and the smooth finish will hold up all day.
Why Concealer Creases in the First Place
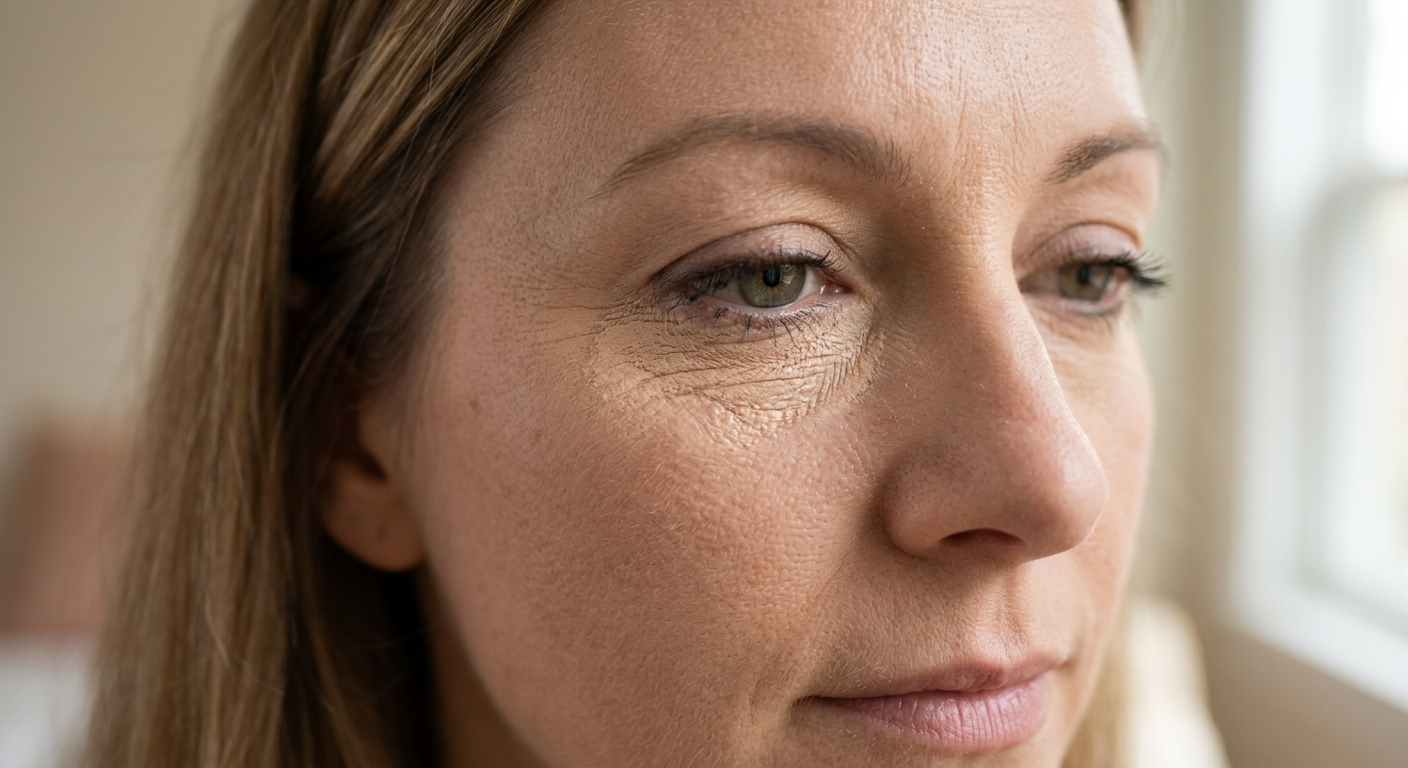
Concealer creases when it collects in fine lines or dry patches instead of sitting evenly on the skin. According to Charlotte Tilbury, concealer applied to unprepped skin looks dry and crepey, and it cracks and settles into lines. The result is a small irony: concealer is meant to hide tired under-eyes, but when it creases it draws attention to the exact texture you were trying to cover.
Several things cause it. Dry skin makes concealer cling to rough patches. Thick formulas build up in fine lines. Using too much product nearly guarantees settling. As e.l.f. Cosmetics points out, how you prep and set your makeup matters as much as the concealer you reach for.
Movement plays a role too. The under-eye area folds every time you smile, squint, or blink. When concealer sits on top of unprepped or over-powdered skin, all that motion pushes it straight into the creases.
Start With Hydrated, Prepped Skin

Under-eye creasing usually begins before any makeup goes on. Laura Geller Beauty makes the case that proper hydration is what makes every other step work, and it takes about a minute.
Apply a lightweight eye cream first and give it one to two minutes to sink in. Richer creams need a little longer. The goal is hydrated skin, not a slick, slippery base that sends concealer sliding around.
Use Primer to Create a Smooth Canvas
Primer sits between your skin and your makeup like a fresh layer of texture. It softens the look of fine lines and gives concealer something to grip. e.l.f. recommends a hydrating, grippy primer to lock in moisture and build a stable base before anything else goes on.
Color Correct Before You Conceal
For discoloration or dark circles, a color corrector evens out skin tone so you don’t have to pile on concealer to cover it. Using less product is one of the most reliable ways to prevent creasing.
Apply Concealer in Thin Layers
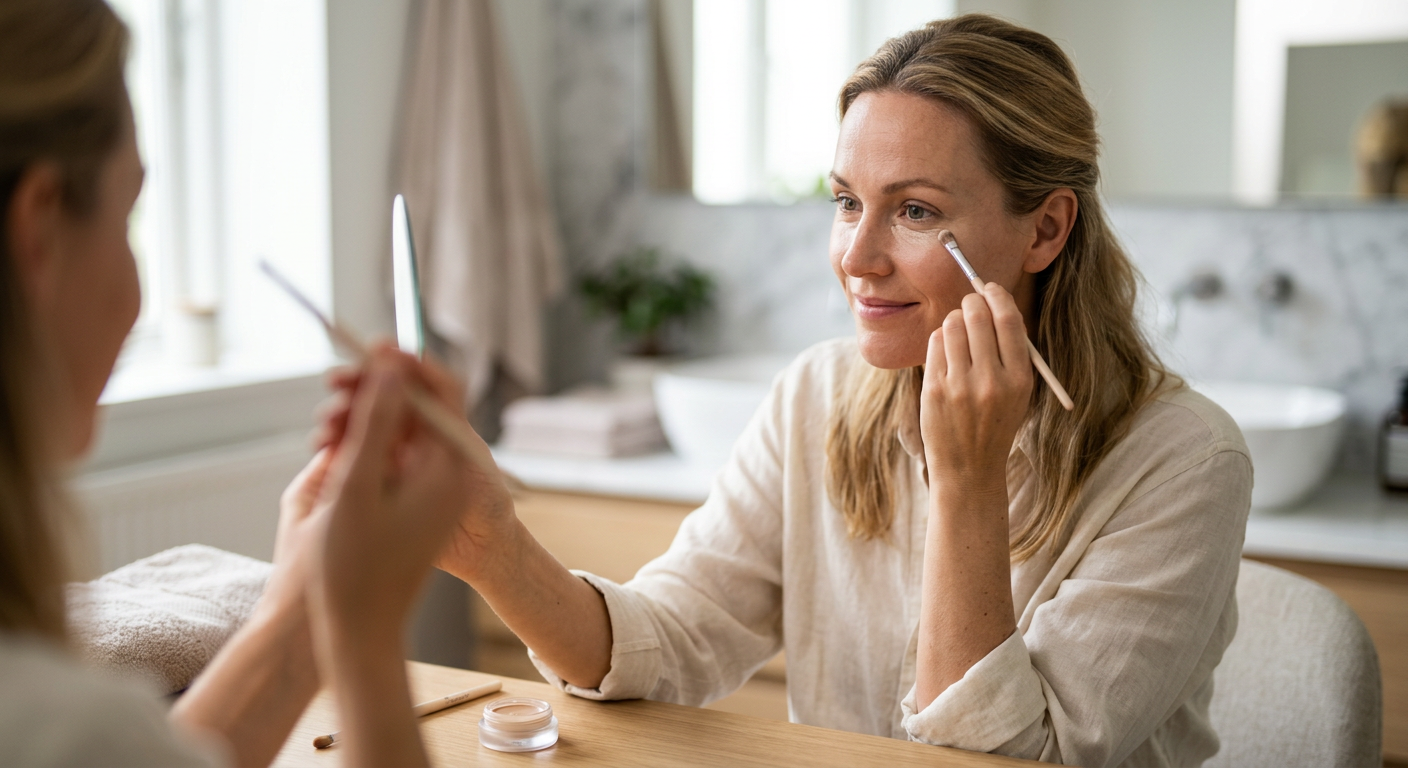
The biggest mistake people make is applying too much concealer at once. Thick layers have nowhere to go but into your fine lines. Start with a small amount and build coverage only where you need it.
Blend each thin layer before you add another. This gives you control over coverage and keeps the product weight low. A little goes a long way, especially under the eyes, where the skin is thinnest.
Blend Before You Set
Blend completely before you reach for any powder. Use a damp makeup sponge or a small brush to press the product into the skin rather than dragging it across the surface. Pressing keeps coverage intact and helps the concealer meld with your base instead of sitting on top of it.
Set Strategically, Not Heavily
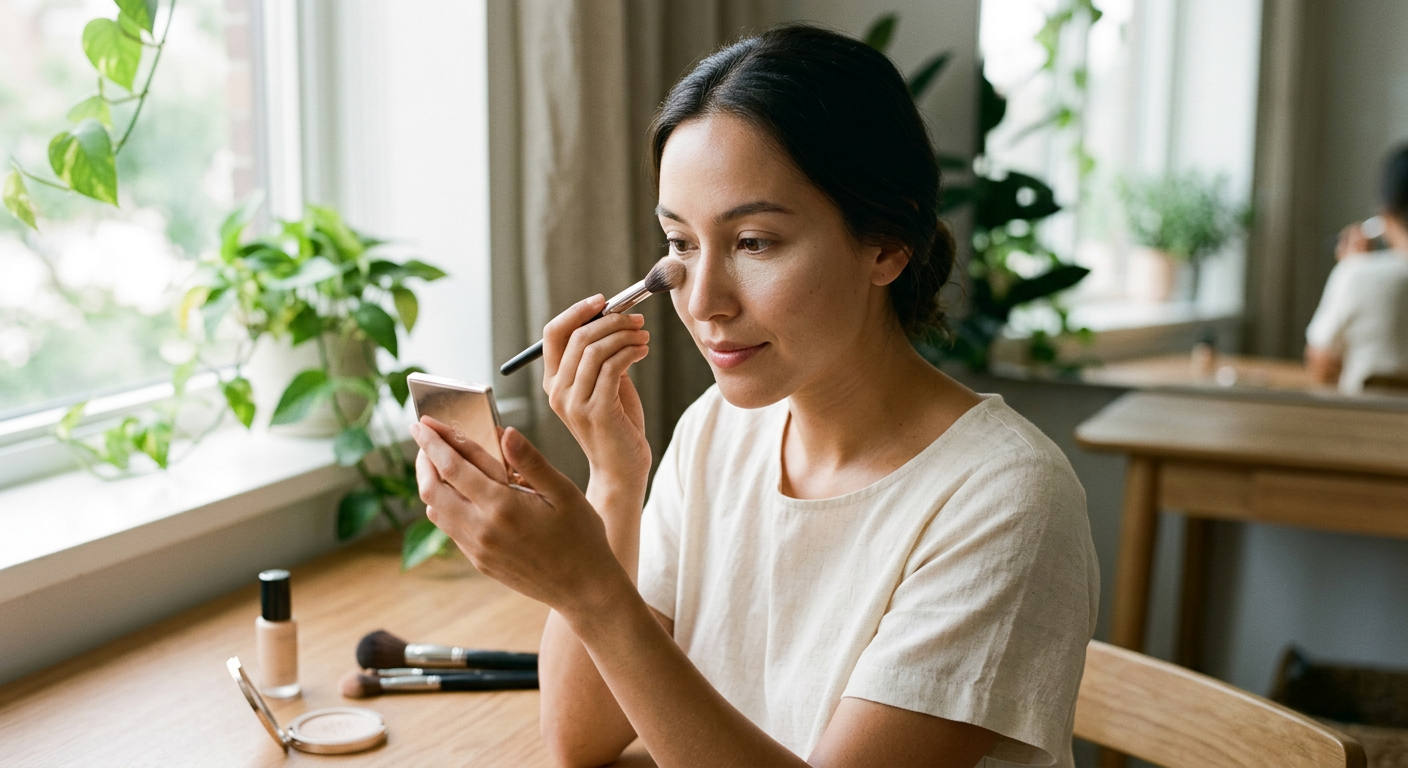
Powder controls oil and locks concealer in place, but too much of it creates the dry, cakey look you’re trying to avoid. Ulta Beauty keeps it simple: use powder only where you need it.
Dust a light layer of finely milled setting powder on the areas most prone to creasing, usually the inner corners and directly under the lash line. Use a small, fluffy brush and tap off the excess before it touches your face. Skip the powder across the whole under-eye area.
Try the Bake-and-Brush Method Sparingly
Baking means letting powder sit for a few minutes before brushing it away, which sets concealer firmly for long wear. On dry or mature skin, heavy baking emphasizes texture. If you do bake, use a minimal amount of powder and brush away all the excess with a clean brush.
Choose the Right Formula and Tools
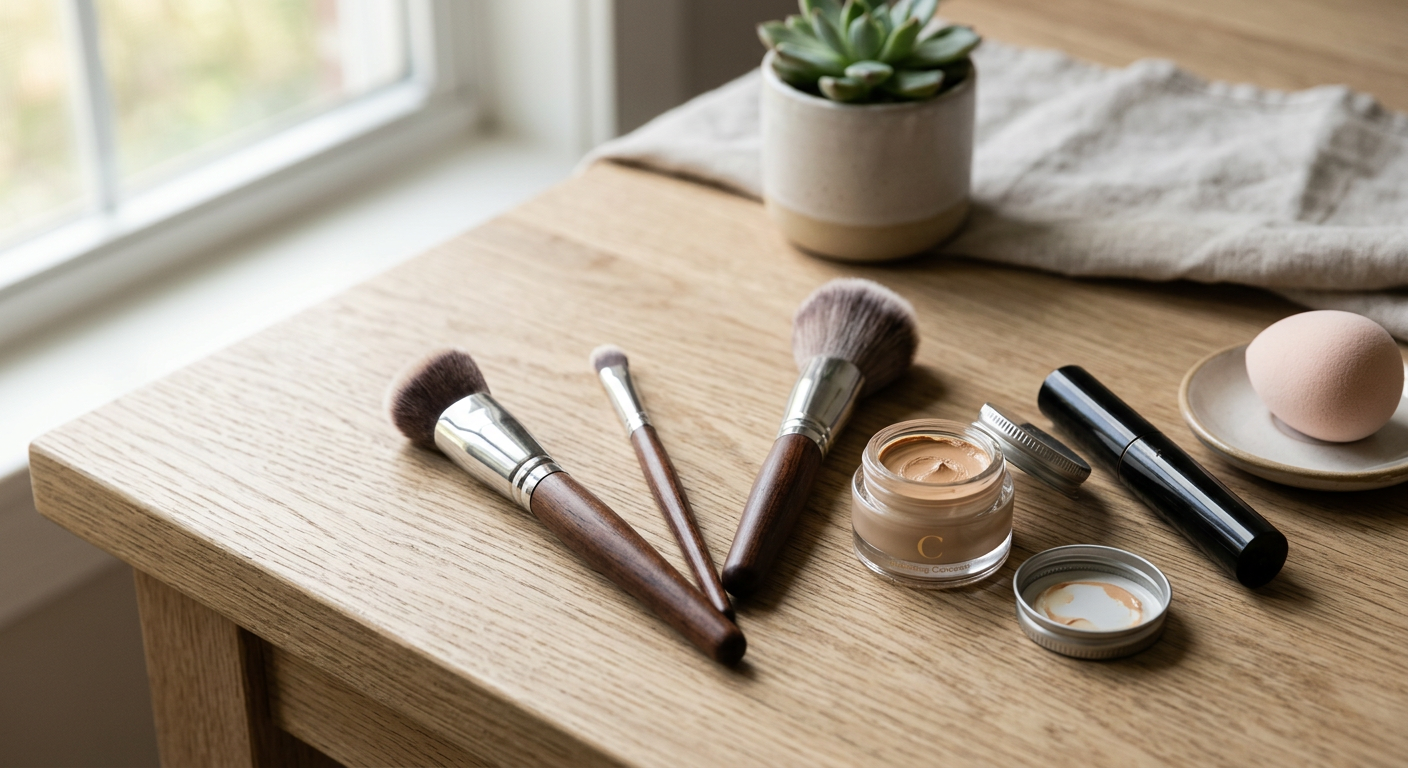
Your product and your tools matter as much as your technique. A creamy, hydrating concealer works far better than a thick, matte one on dry or textured skin. Matte formulas set fast and can look dry the moment they crease.
Tools make a difference too. e.l.f. suggests matching the tool to the job: a damp sponge sheers out product and presses it in, while a brush gives you more precise, buildable coverage.
Quick Comparison: What Causes vs. What Prevents Creasing
| Causes Creasing | Prevents Creasing |
|---|---|
| Applying to dry, unprepped skin | Hydrating with eye cream and primer |
| Using too much product | Applying thin, buildable layers |
| Thick, matte formulas | Creamy, hydrating formulas |
| Heavy all-over powder | Light powder only where needed |
| Dragging product across skin | Pressing and patting to blend |
| Skipping color correction | Correcting first to use less concealer |
Your Step-by-Step Anti-Creasing Routine
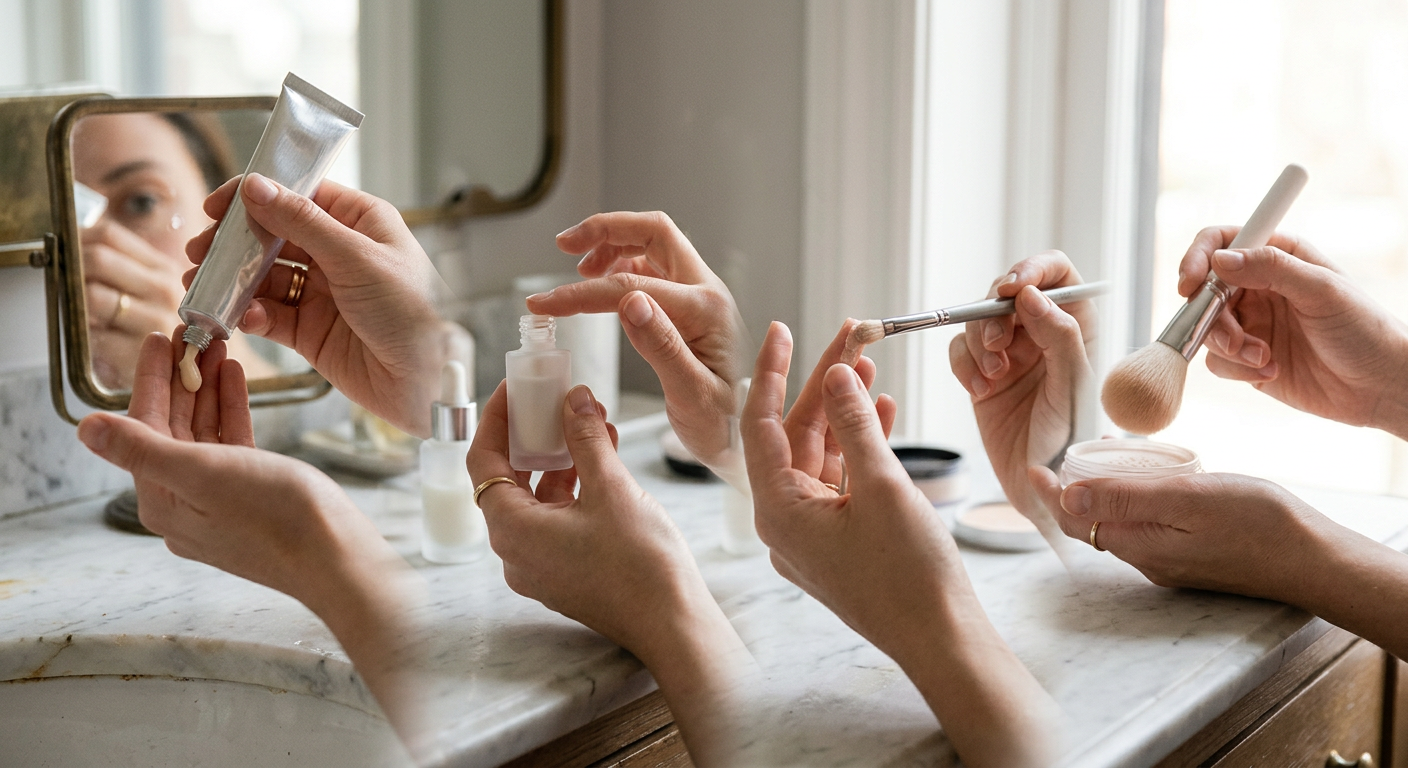
A consistent routine is your best defense against creasing. Follow these steps in order for a smooth, long-lasting finish.
- Hydrate. Apply eye cream and let it absorb for one to two minutes.
- Prime. Smooth on a grippy, hydrating primer to create a stable canvas.
- Color correct. Neutralize dark circles so you can use less concealer.
- Apply thin layers. Build coverage gradually, only where needed.
- Blend by pressing. Use a damp sponge or brush to press product in.
- Set lightly. Dust setting powder only on crease-prone areas.
Each step sets up the next. Hydration heads off dryness, thin layers cut down on product weight, and targeted setting locks everything in without caking.
Conclusion
Creasing is rarely the concealer’s fault. It comes down to how you prep, apply, and set. Hydrate and prime first, apply thin layers, press to blend, and use powder only where you need it. Reach for a creamy formula over a heavy matte one, and correct discoloration so you can use less product overall.
Try these steps tomorrow morning and check your finish at the end of the day. Start with proper hydration and thin layers, then adjust your setting technique to suit your skin type. A smoother, longer-lasting under-eye is one prep step away.
Frequently Asked Questions
Q: Why does my concealer look dry even when I use a lot of product?
Using more product usually makes dryness worse, not better, because thick layers settle into fine lines and emphasize texture. Hydrate your skin first, then apply thin, buildable layers of a creamy formula.
Q: Should I apply concealer before or after foundation?
After foundation. Foundation may already cover some discoloration, which means you need less concealer and lower your risk of creasing.
Q: How much setting powder should I use under my eyes?
Just a light dusting on crease-prone spots, and tap off the excess before it touches your skin. Heavy powder is a leading cause of the dry, cakey look you want to avoid.
Q: Does eye cream really prevent creasing?
Yes. Hydrated skin keeps concealer from clinging to dry patches, and eye cream creates a smooth base. Let it absorb for one to two minutes so your skin isn’t slippery when you apply makeup.
Q: What type of concealer is best for dry or mature skin?
A creamy, hydrating concealer over a thick, matte one. Hydrating formulas move with your skin and are far less likely to settle into fine lines.
Q: Can I fix creased concealer without redoing my makeup?
Yes. Gently press the creased area with a clean, damp sponge to smooth the product back into place, then set lightly if needed. Don’t add more concealer, which only builds up more product.