

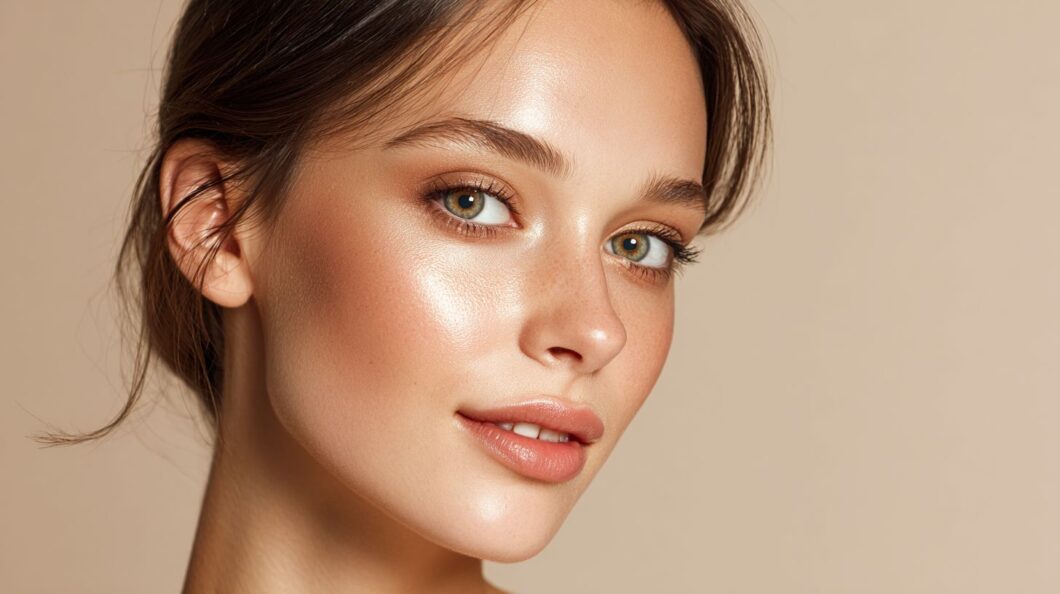
Ever wanted those killer cheekbones to pop without the hassle of heavy contouring? The ‘lifted’ makeup look uses soft sculpting techniques to create that sculpted, awake vibe naturally. You’ll learn simple steps with everyday products to lift your features effortlessly.
Key Takeaways for soft sculpting makeup:
Understanding the Lifted Makeup Look
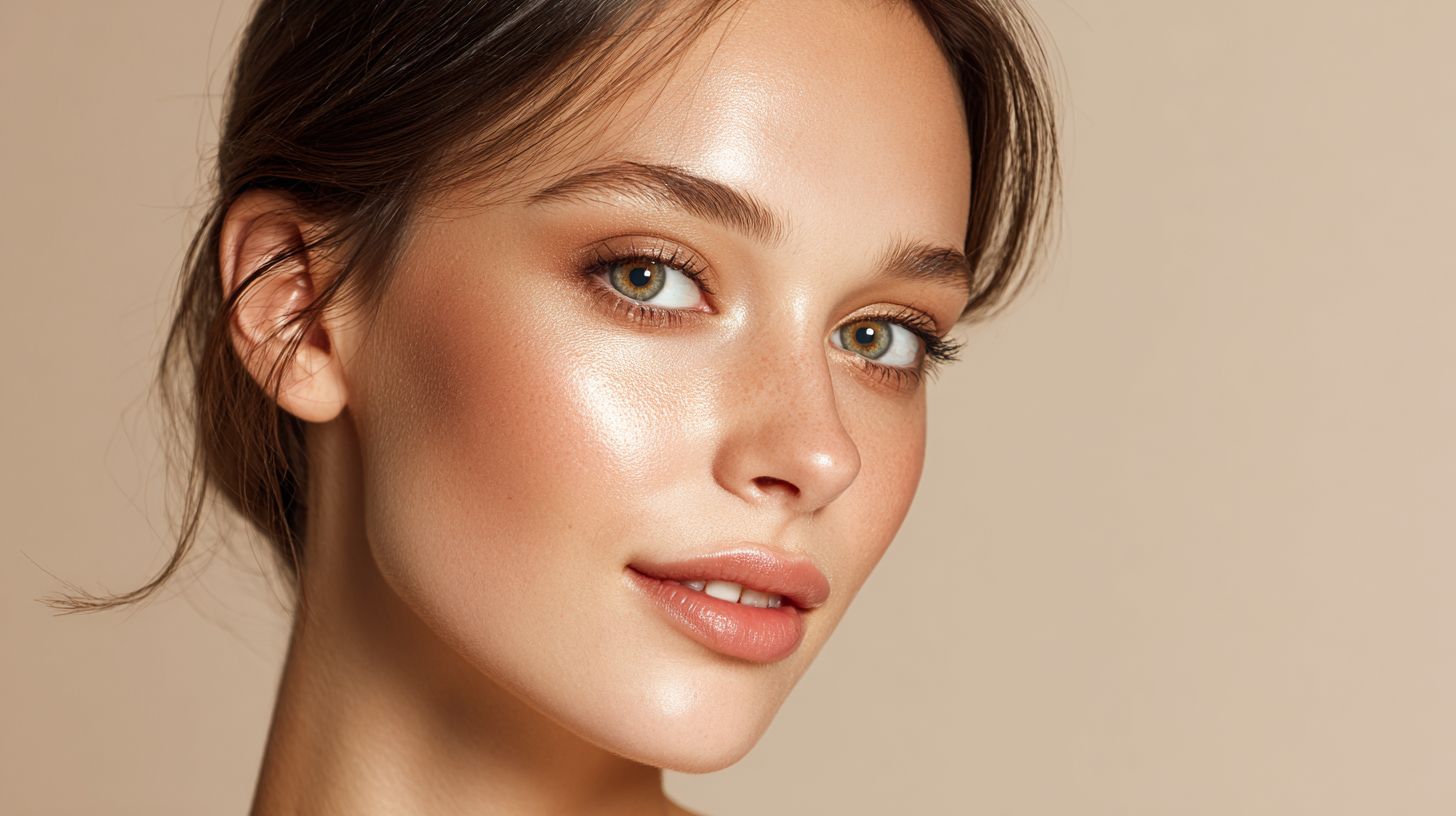
The lifted makeup look creates an illusion of elevated features through soft sculpting techniques that enhance your natural bone structure without traditional contouring. Popularized on Instagram and red carpets by beauty experts like Kevyn Aucoin Beauty and Drita Paljevic, it focuses on radiant glow. This approach brings dimension to cheekbones, jawline, and face for a fresh, awake appearance.
Rooted in clean-girl makeup and no-makeup makeup aesthetics, the look uses light base like tinted moisturizer or skin tint. These products create hydrated skin with a subtle sheen, mimicking butter skin seen in Los Angeles beauty trends. Highlighter on brow bones, temples, and cupid’s bow adds lift without harsh lines.
Blended warmth from cream blush and bronzer enhances natural contours. Apply with fingertips or a sponge for an airbrushed finish. This method suits daily wear, emphasizing golden undertones and a matte finish where needed.
Experts recommend starting with foundation that matches your skin tone. Build subtle shadows around the jawline and nose for dimension. The result is a timeless, radiant glow perfect for runways and everyday faces.
Key Characteristics and Benefits
This technique relies on strategic placement of light and warmth to mimic natural sunlight hitting elevated bone structure. Core traits include high cheekbones from blush and highlighter, a defined jawline via blended warmth, and radiant skin with subtle shadows for dimension.
- High cheekbones: Sweep cream blush high on the apples, blending upward with a brush for lift.
- Defined jawline: Dot bronzer under the chin and blend with fingertips to soften edges.
- Radiant skin: Layer highlighter on cheekbones, brow bones, nose, and cupid’s bow for glow.
Benefits feature a fresh-faced glow that works for all skin tones. It offers easy daily wear with blendable products like liquid contour or cream formulas. Transition from tired to sculpted in minutes by prepping with skin tint and adding warmth.
For example, after a long day, apply highlighter to temples and blend blush upward. This creates dimension without heavy contouring. Its timeless appeal shines on runways, giving an awake, natural look with minimal effort.
Essential Products for Contour-Free Sculpting
Cream-based, blendable products build sheer warmth and glow without harsh lines or powders. These multi-use creams outperform traditional contour sticks for natural results in soft sculpting. They enhance cheekbones, jawline, and features with a lifted effect.
Opt for cream blush on cheeks to add dimension and radiance. A liquid highlighter on brow bones creates light reflection for lift. Use tinted moisturizer as a light base to even skin tone subtly.
Subtle bronzer introduces golden undertones along the face‘s perimeter. This approach mimics clean-girl makeup seen on runways and red carpets. Beauty experts favor these for an airbrushed finish like butter skin in Los Angeles.
Focus on hydrated skin first, then layer creams with fingertips or a sponge. This no-makeup makeup style sculpts bone structure naturally. Avoid powders to prevent shadows that mimic heavy contouring.
Highlighters, Blushes, and Setting Powders
Choose liquid or cream formulas in your skin‘s undertone for seamless blendable into hydrated skin. These products deliver radiant glow to temples, nose, and cupid’s bow without caking. They enhance lift by reflecting light on high points.
A pearlescent liquid highlighter suits brow bones and cupid’s bow perfectly. Apply with fingertips for a dewy finish that sculpts eyes and features softly. This creates dimension like subtle contouring, but more natural.
Pick cream blush in warm peach tones for cheeks. Use a damp sponge to blend upward, mimicking lifted cheekbones. It adds warmth and avoids the flat look of powders.
- Translucent setting powder only on the T-zone for matte finish.
- Apply with a fluffy brush to control shine without dulling glow.
- Skip powder elsewhere to keep skin looking plump and radiant.
These tools and picks promote soft sculpting for face and jawline. Beauty experts recommend them for Instagram-worthy, runway-inspired looks. The result is fresh, no-contour beauty with built-in lift.
Prepping the Face for Lifted Effect
A dewy, butter skin base sets the foundation for all soft sculpting techniques. Start with well-hydrated skin using serum and moisturizer, allowing about two to three minutes for absorption. This creates a plump canvas that reflects light naturally.
Select a primer for glow to enhance radiance on high points like cheekbones and brow bones. Follow with a light base such as tinted moisturizer or skin tint for even tone without masking skin texture. These products promote an airbrushed finish ideal for the lifted look.
Avoid heavy foundation, which can flatten features and hinder dimension. Instead, focus on products that build subtle warmth and lift to the face, jawline, and temples. Beauty experts from Los Angeles runways recommend this approach for clean-girl makeup.
Proper prep prevents patchiness and ensures blendable layers for cream blush, bronzer, and highlighter. The result mimics no-makeup makeup seen on red carpets, highlighting natural bone structure with glow.
Skincare Base and Primer Selection
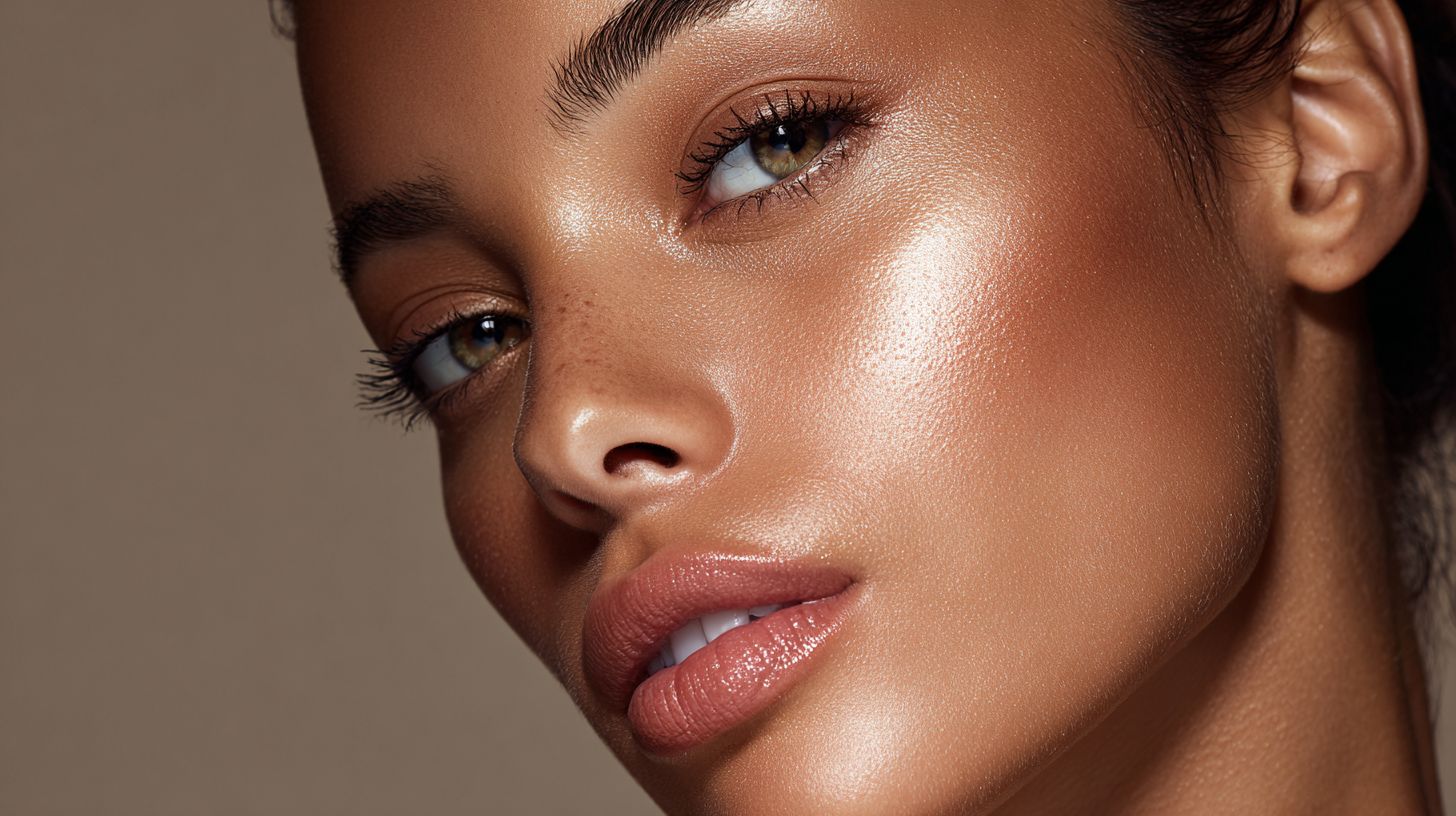
Layer hydrating serum, then lightweight moisturizer for a plump, reflective canvas. Begin by cleansing gently, followed by a vitamin C serum for glow, taking about one minute to absorb. This step boosts radiance and preps skin for makeup.
Next, pat in moisturizer with fingertips across the face, including the jawline and neck. Use a dewy formula to maintain butter skin texture. This avoids dryness that leads to poor adhesion later.
- Cleanse and apply vitamin C serum for one minute to brighten.
- Pat moisturizer evenly with fingertips for hydration.
- Apply dewy primer on high points like cheekbones, brow bones, and cupid’s bow.
- Dab tinted moisturizer or skin tint with a sponge for an airbrushed finish.
A common mistake is skipping hydration, leading to patchiness under lights. Opt for products with golden undertones to warm the complexion naturally. This base supports soft sculpting without harsh lines or matte finish.
Brow Lifting Techniques
Elevated brows frame the face and instantly create a lifted jawline and cheekbones illusion. Use clean lines and subtle highlight on brow bones to draw eyes upward. This approach enhances your natural arch for an open, awake expression.
Focus on soft sculpting around the brows to mimic bone structure without heavy contouring. A light touch with highlighter on the brow bones adds radiant glow that pulls features upward. Blend toward the temples for a seamless lift that works with any light base like tinted moisturizer.
Beauty experts recommend this for clean-girl makeup looks seen on runways and red carpets. It pairs well with hydrated skin and no-makeup makeup vibes from Los Angeles influencers. Avoid harsh lines by using a soft angled brush for definition.
Enhance the effect with cream blush on cheekbones and a touch of warmth from bronzer along the jawline. This creates dimension and an airbrushed finish that sculpts the face naturally. Your eyes appear larger and more awake with minimal product.
Shaping and Highlighting for Elevation
Brush brows upward first to reveal your natural lift potential. Comb with a spoolie for just 10 seconds to set hairs in place. This simple step uncovers your brow’s true arch without any commitment.
Follow these numbered steps for precise elevation:
- Comb brows up with a spoolie to lift and reveal shape.
- Fill sparse areas using a pencil that matches your root shade.
- Define the arch lightly with an angled brush for clean lines.
- Dab highlighter on brow bones, blending toward temples with fingertips or a sponge.
A common mistake to avoid is over-plucking, which creates flatness and loses natural lift. Stick to filling and shaping to maintain bone structure dimension. This technique enhances eyes while supporting overall face sculpting.
Pair with skin tint or foundation for a blendable base that lets brows shine. Add subtle shadows under the arch for extra depth if needed. The result is a lifted makeup look with awake, radiant features ready for any occasion.
Eye makeup for Uplifted Appearance
Subtle eye definition pulls focus upward, enhancing overall facial lift. Keep lids neutral to avoid drooping shadows. Emphasize outer corners and inner corners for a wide-awake effect.
Integrate with soft sculpting on cheekbones and brow bones for a cohesive glow. Use blendable products like cream highlighter that mimic hydrated skin. This pairs well with light base foundation or skin tint for a natural, radiant finish.
Start with a tightline using brown pencil to define without harsh lines. Add a tiny wing at the outer corner to lift the eye shape naturally. Finish with highlighter on inner corners to open the eyes and reflect light upward.
Beauty experts like Kevyn Aucoin Beauty recommend smudging liner for softness, blending into the lash line seamlessly. This technique works for clean-girl makeup looks seen on runways. It enhances bone structure while keeping the no-makeup makeup vibe intact.
Wing Tips and Inner Corner Highlights
A micro-wing liner lifts eyes while inner corner glow opens them. Follow your natural eye shape for an effortless lift. This avoids heavy shadow that can make features droop.
Begin by tightlining the upper lash line with a brown pencil. It adds depth without darkening the entire lid. Use a liquid liner pen to extend a tiny wing in just 30 seconds.
- Tightline upper lash with brown pencil for subtle definition.
- Extend a tiny wing following your eye shape.
- Apply highlighter to inner corners and under the brow bone.
Pro tip: smudge the wing softly with a clean brush or fingertips for a blendable finish. Layer with a touch of cream contour on cheekbones to tie into overall soft sculpting. This creates dimension that highlights the jawline and temples naturally.
For golden undertones, choose a radiant highlighter with warmth. Apply sparingly to avoid overload, focusing on the cupid’s bow area too for full-face harmony. Los Angeles beauty pros favor this for an airbrushed, butter skin effect on red carpets.
Cheek Sculpting Without Contour
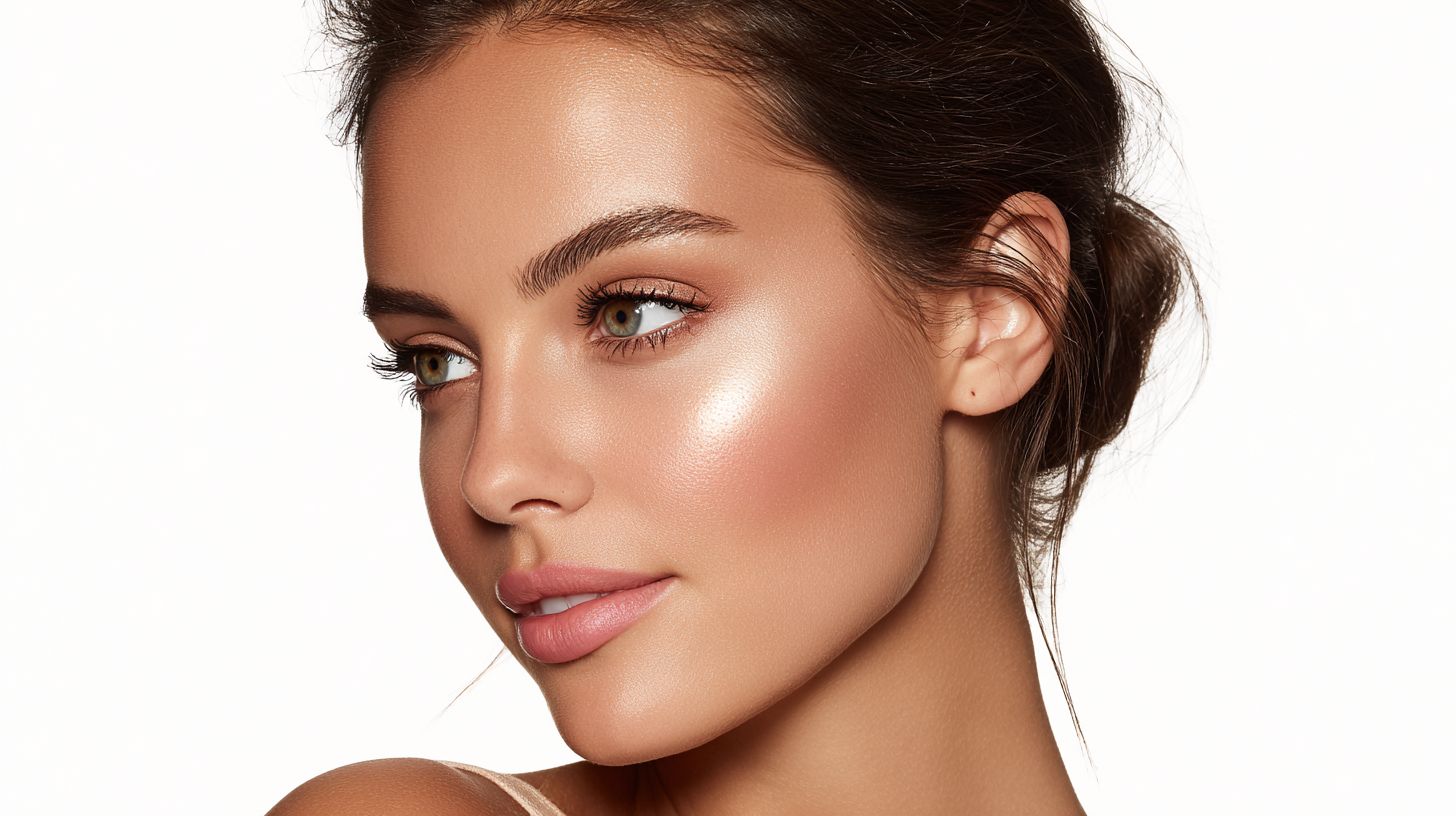
Blush and highlighter mimic light hitting high cheekbones naturally. Place products on natural bone structure highs for dimension without bronzer-heavy contouring. This soft sculpting approach enhances your features with a radiant glow.
Focus on cream blush and liquid highlighter for blendable warmth. Apply them to the highest points of your cheeks, temples, and brow bones. The result lifts the face without harsh lines or heavy shadows.
Experts in clean-girl makeup recommend this method for a no-makeup makeup vibe. It works well on hydrated skin prepped with a light base like tinted moisturizer. Your cheekbones appear defined and sculpted naturally.
For an airbrushed finish, blend everything with fingertips or a damp sponge. This technique draws from runway looks and red carpet beauty, emphasizing glow over matte contouring. Jawline and features gain subtle lift effortlessly.
Blush Placement and Highlighter Mapping
Smile to find apples, then sweep cream blush upward toward temples. Use fingertips to blend from the apple to the ear in about 20 seconds. This creates natural warmth and dimension on your cheekbones.
Next, map highlighter on cheek peak, brow bones, cupid’s bow, and nose bridge. Choose a formula with golden undertones for radiant skin. Tap it lightly for a butter skin glow without excess shine.
- Blend cream blush from apples to ear with fingertips for 20 seconds.
- Apply highlighter to cheek peak, brow bones, cupid’s bow, nose bridge.
- Add soft bronzer to hollows only if needed, then blend all with a damp sponge.
The result is sculpted cheekbones with glow, perfect for Los Angeles vibes or Instagram-ready faces. This lifted look enhances bone structure naturally, skipping traditional contouring. Your skin looks hydrated and features pop with subtle lift.
Lip Techniques for Facial Balance
Defined yet glossy lips anchor the lifted face without overpowering soft features. This approach creates facial balance by drawing attention to the center, complementing high cheekbones and a sculpted jawline. It enhances overall harmony in the no-makeup makeup trend.
Start by lining the cupid’s bow precisely with a lip pencil. Overline slightly for a plump effect that lifts the central face. Use a lip brush for clean edges and control.
Fill in with a matching MLBB shade, like a soft rose or nude with warmth, using lipstick or tinted gloss. This adds dimension without harsh lines. Top with a highlighter dot on the cupid’s bow for a radiant glow.
These steps take just 1 minute and balance high cheeks by enhancing natural features. Glossy finishes mimic hydrated skin, promoting a clean-girl makeup look seen on runways. Beauty experts favor this for its subtle lift.
Finishing Touches and Setting
Mist and powder strategically to lock in dimension while maintaining dewiness. A light setting spray with a glow finish delivers the final layer of hydration. Two quick spritzes over the face create a radiant base that supports soft sculpting.
Focus translucent powder only on oily zones like the T-zone to control shine without dulling the skin. Use a fluffy brush for precise application on the forehead, nose, and chin. This keeps the lifted makeup look fresh and natural throughout the day.
Touch up brows and lips for definition that enhances features without overpowering the face. Beauty experts like Lisa Chamberlain recommend these steps for all-day wear, as seen on Los Angeles influencers and Instagram. Always check the mirror from multiple angles to ensure even glow and lift on cheekbones and jawline.
- Hold setting spray 8-10 inches away for an even mist.
- Pat, don’t rub, powder into skin for a seamless blend.
- Fill brows lightly with pencil, then set with clear gel.
- Apply a nude lip tint to cupid’s bow for subtle warmth.
Frequently Asked Questions
What is the `Lifted’ Makeup Look: Techniques That Sculpt Without Contour?
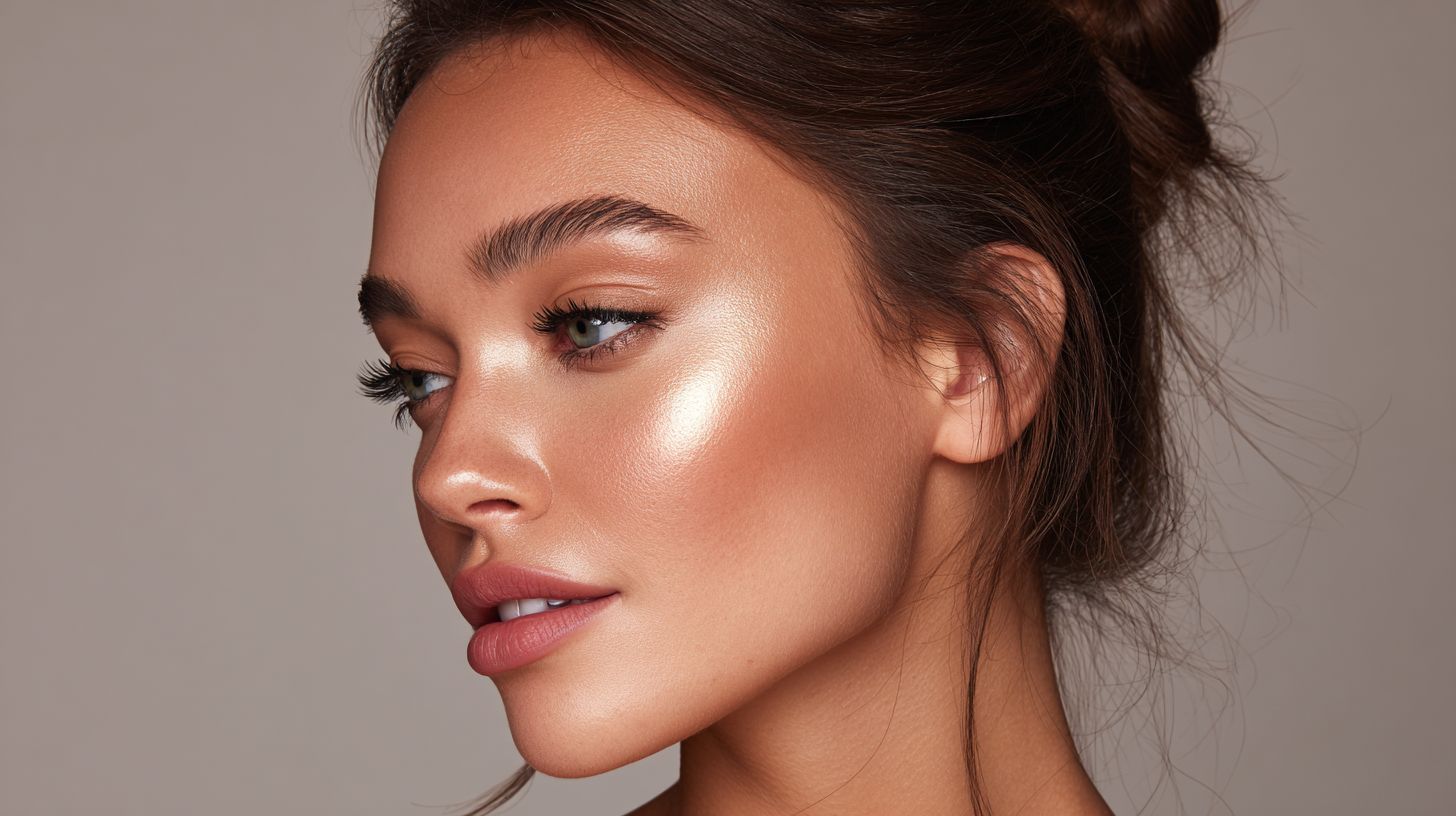
The `Lifted’ Makeup Look: Techniques That Sculpt Without Contour is a makeup trend that creates the illusion of a lifted, sculpted face using strategic shading, highlighting, and placement methods, skipping traditional contour powders or creams for a natural, fresh appearance.
How does The `Lifted’ Makeup Look: Techniques That Sculpt Without Contour differ from traditional contouring?
The `Lifted’ Makeup Look: Techniques That Sculpt Without Contour avoids heavy contour products, instead relying on precise highlighter placement, soft bronzer blending, and brow shaping to mimic lift and definition, resulting in a brighter, less muddy finish.
What products are essential for achieving The `Lifted’ Makeup Look: Techniques That Sculpt Without Contour?
Key products for The `Lifted’ Makeup Look: Techniques That Sculpt Without Contour include creamy highlighters, lightweight bronzers, brow gels, and dewy foundations; focus on luminous formulas that enhance natural bone structure without matte contour sticks.
Can beginners master The `Lifted’ Makeup Look: Techniques That Sculpt Without Contour?
Yes, beginners can easily master The `Lifted’ Makeup Look: Techniques That Sculpt Without Contour by starting with clean skin prep, applying highlighter to high points like cheekbones and brow bones, and blending softly for instant lift-no advanced blending skills required.
What are the step-by-step techniques in The `Lifted’ Makeup Look: Techniques That Sculpt Without Contour?
To achieve The `Lifted’ Makeup Look: Techniques That Sculpt Without Contour: 1) Prime with glowy base, 2) Highlight inner eye corners, brow arch, and cupid’s bow, 3) Blend bronzer under cheekbones and jawline sparingly, 4) Set brows upward, and 5) Finish with glossy lips for elevation.
Why choose The `Lifted’ Makeup Look: Techniques That Sculpt Without Contour for everyday wear?
The `Lifted’ Makeup Look: Techniques That Sculpt Without Contour is ideal for everyday wear because it’s quick, forgiving, and enhances features subtly without the heaviness of contour, providing a refreshed, awake appearance that lasts all day.