

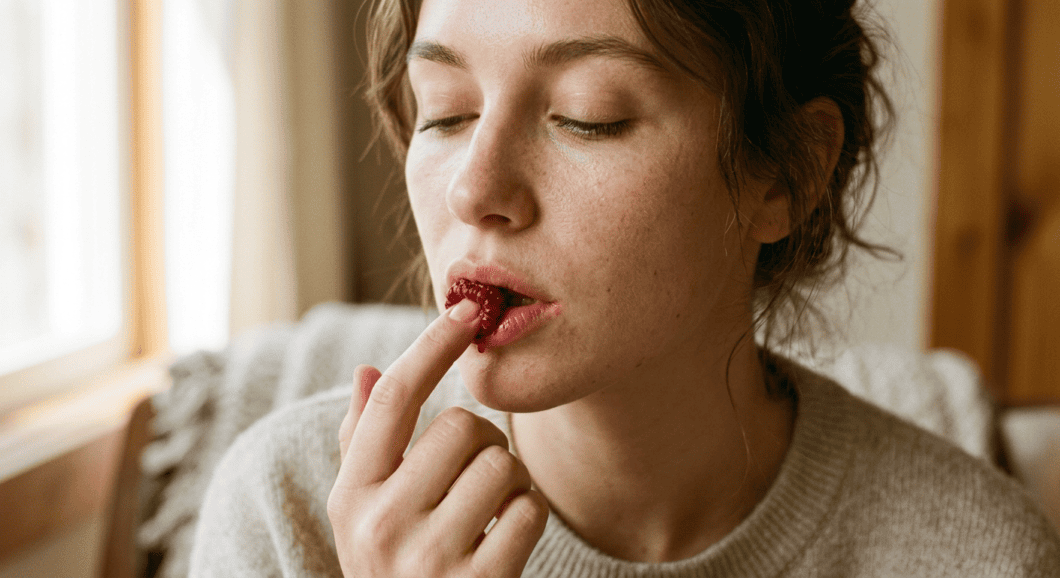
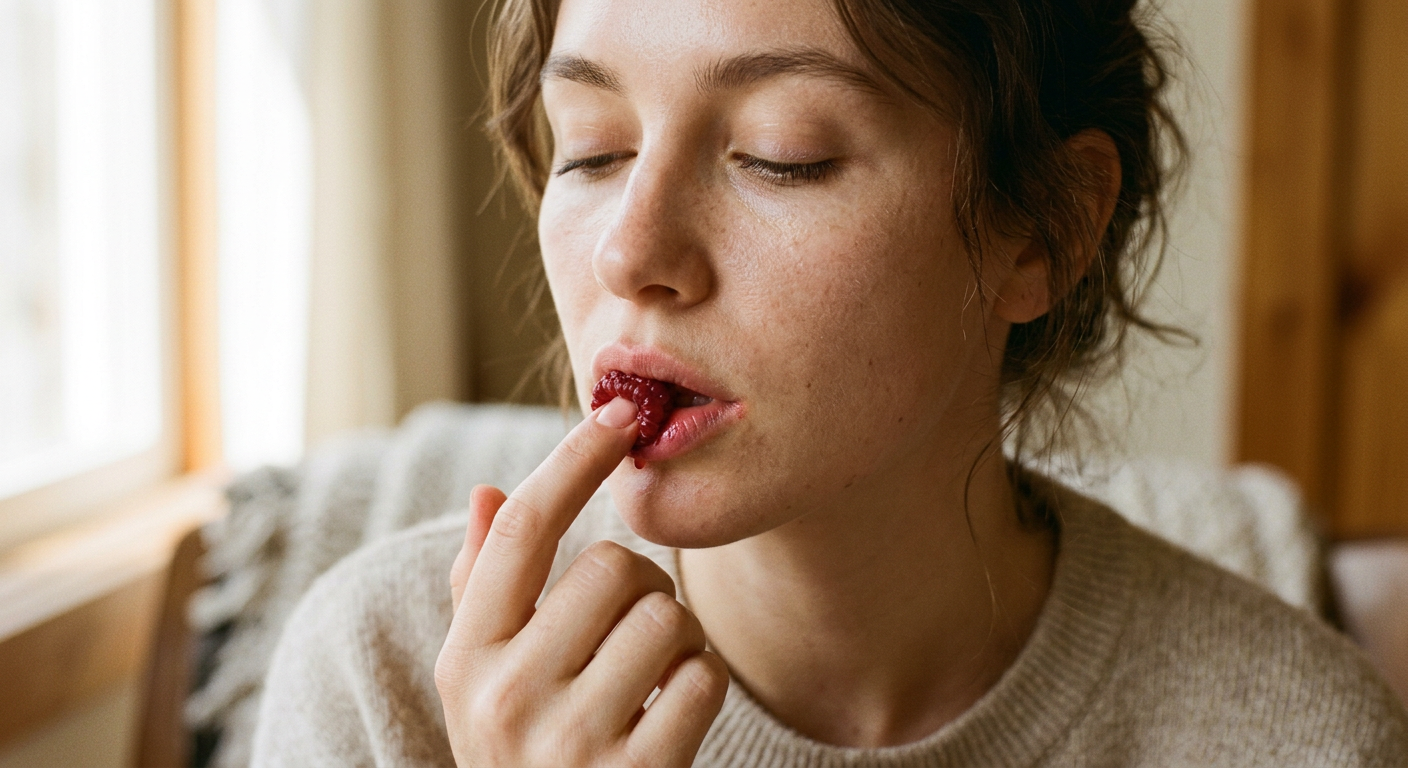
A berry lip stain can go two directions: polished and modern, or flat and overdone. Which one you land on has almost nothing to do with the product you grabbed. It comes down to prep, placement, and blending. Get those right and you get the just-bitten wash of color that looks like it belongs on your face instead of sitting on top of it. Below is the full process, from smoothing your lips to diffusing the edges.
Why the Soft Berry Stain Looks So Modern
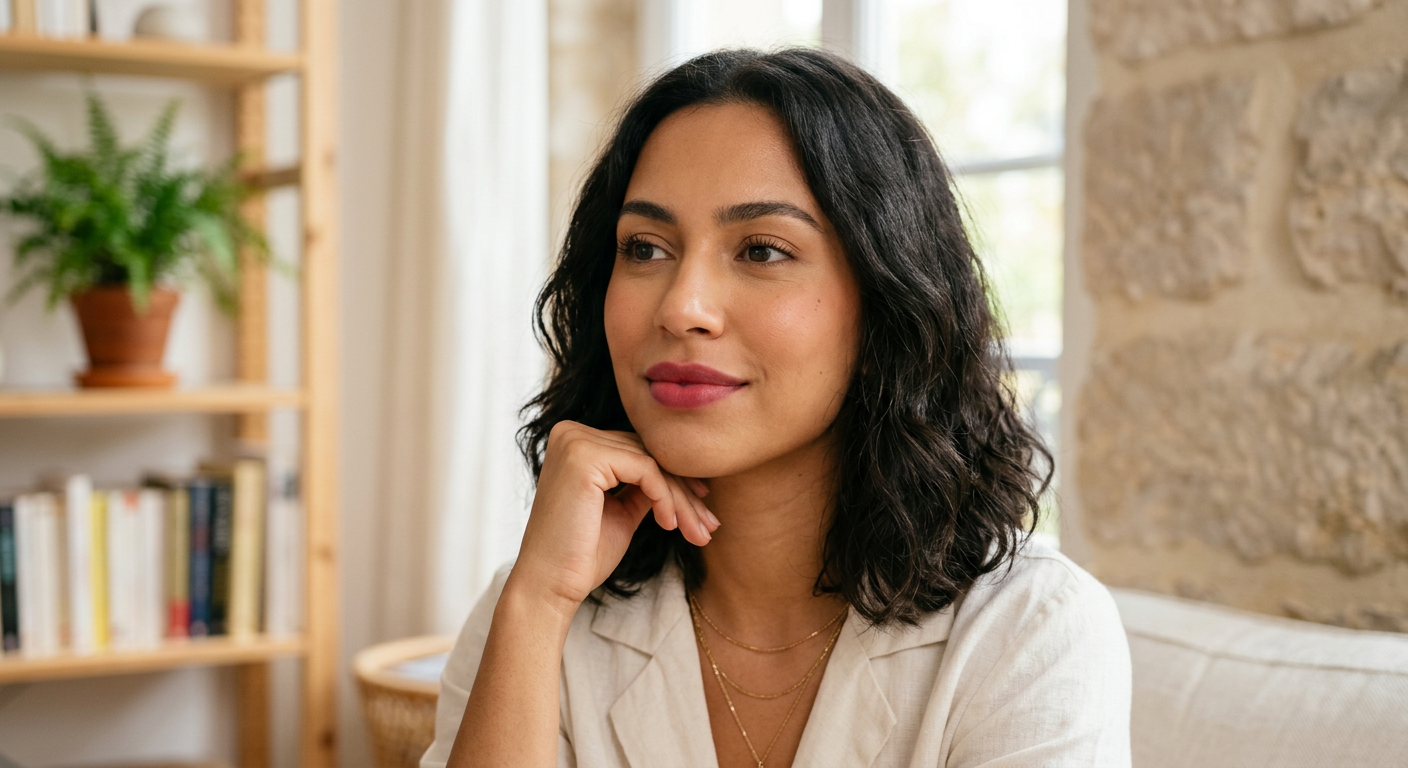
The blurred lip works because it doesn’t try too hard. Mopani describes the effect as a “just-woke-up-this-way” look built on diffused edges and a soft-focus finish rather than crisp outlines.
That softness separates a current berry lip from a dated one. Older trends relied on precise liner and opaque coverage. The direction now, as SheFinds notes, is berry tones with a diffused finish and no hard lines.
A stain suits this because it sinks into the top layer of skin instead of layering over it. e.l.f. Cosmetics points out that lip stains are lightweight, long-lasting, and transfer-proof, so the color stays put without the weight of a traditional lipstick.
Start With Smooth, Hydrated Lips
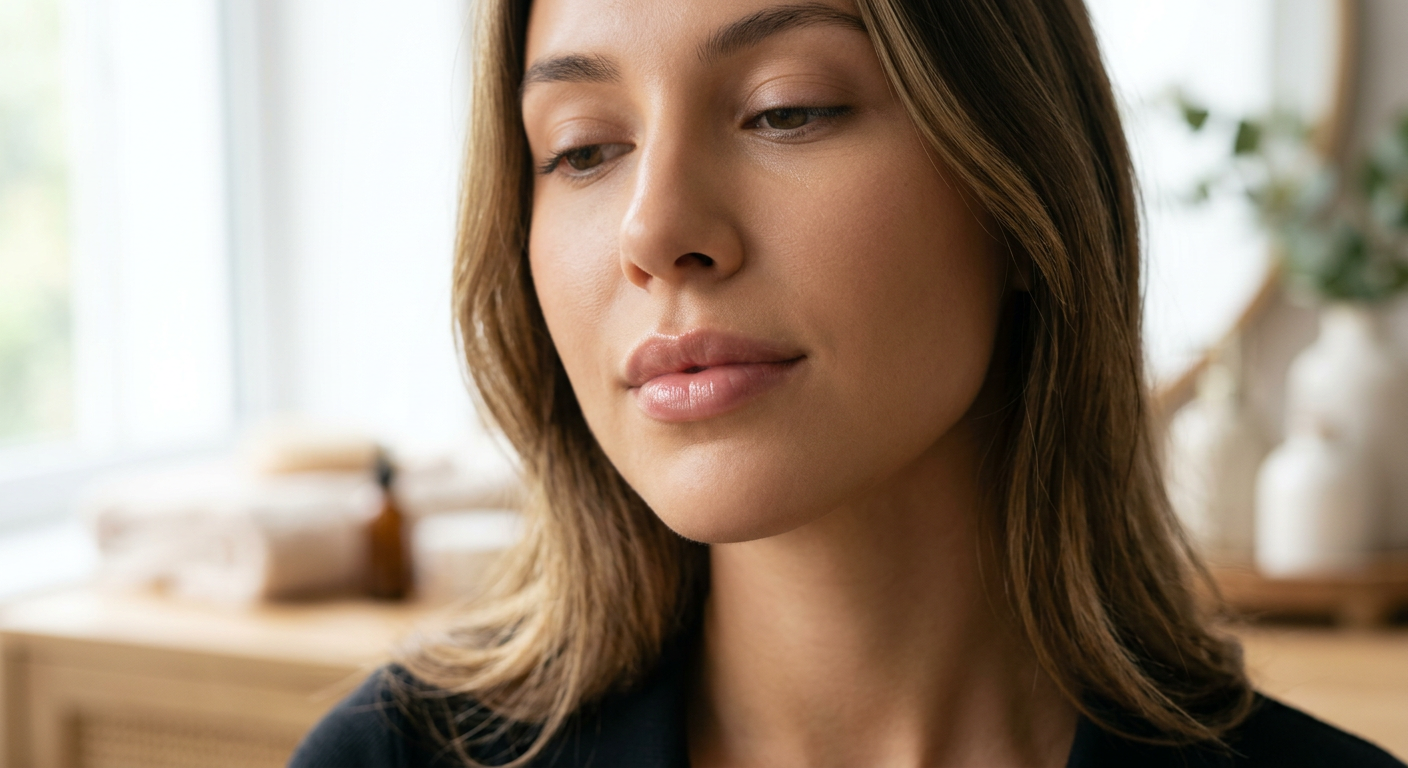
Prep decides the outcome. Because a stain soaks in, any dry or flaky skin gives you uneven, patchy color, as e.l.f. Cosmetics explains. Exfoliate before you touch any pigment. Skipping this step is the main reason stains look blotchy.
Dress Like Camille recommends a lip mask or a warm cloth press to lift flakes and smooth the surface so pigment catches evenly. Follow with a thin layer of balm to cushion the lips without adding much slip.
The Prep Sequence
- Exfoliate with a gentle lip scrub to clear dry skin.
- Hydrate with a thin layer of balm, then blot off the excess so the stain doesn’t slide around.
- Prime the perimeter if your color tends to migrate. Dress Like Camille suggests a light blurring primer around the mouth, which stops color from bleeding while keeping the edges natural.
Don’t skip the blot. Leave too much balm on and the lips get slippery, and slip pulls a clean stain out of place.
Build Color From the Center Out
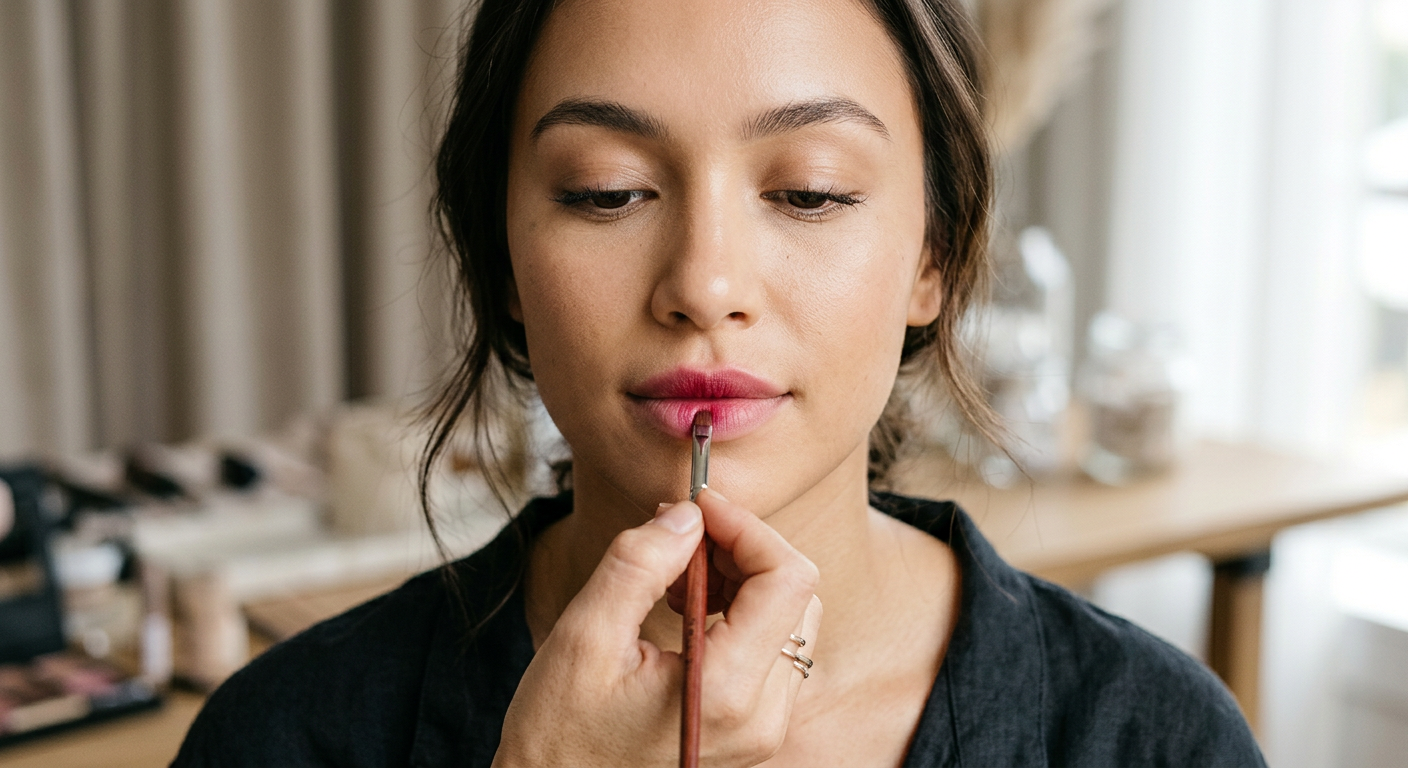
This technique makes or breaks a soft berry lip. Rather than coating the whole mouth, concentrate the color in the center and work it outward. Tira Beauty calls this the route to a diffused effect without going heavy.
A fingertip, a cotton bud, or a soft brush all work for feathering pigment toward the edges. The goal, per SheFinds, is no hard lines. Color should fade off gradually, with no visible border between stained lip and bare skin.
Keep the Center Deepest
The center stays your most saturated point. Makeup artist Jarman, quoted in Elle Canada, says to aim for the center reading darkest and diffuse out to softer shades from there. Buff the transition between dark and light, but leave the core bold.
For something glossier and more dimensional, Cosmopolitan India suggests packing a darker shade into the center of both lips, then blending out for a soft gradient.
Choose the Right Berry Shade and Finish
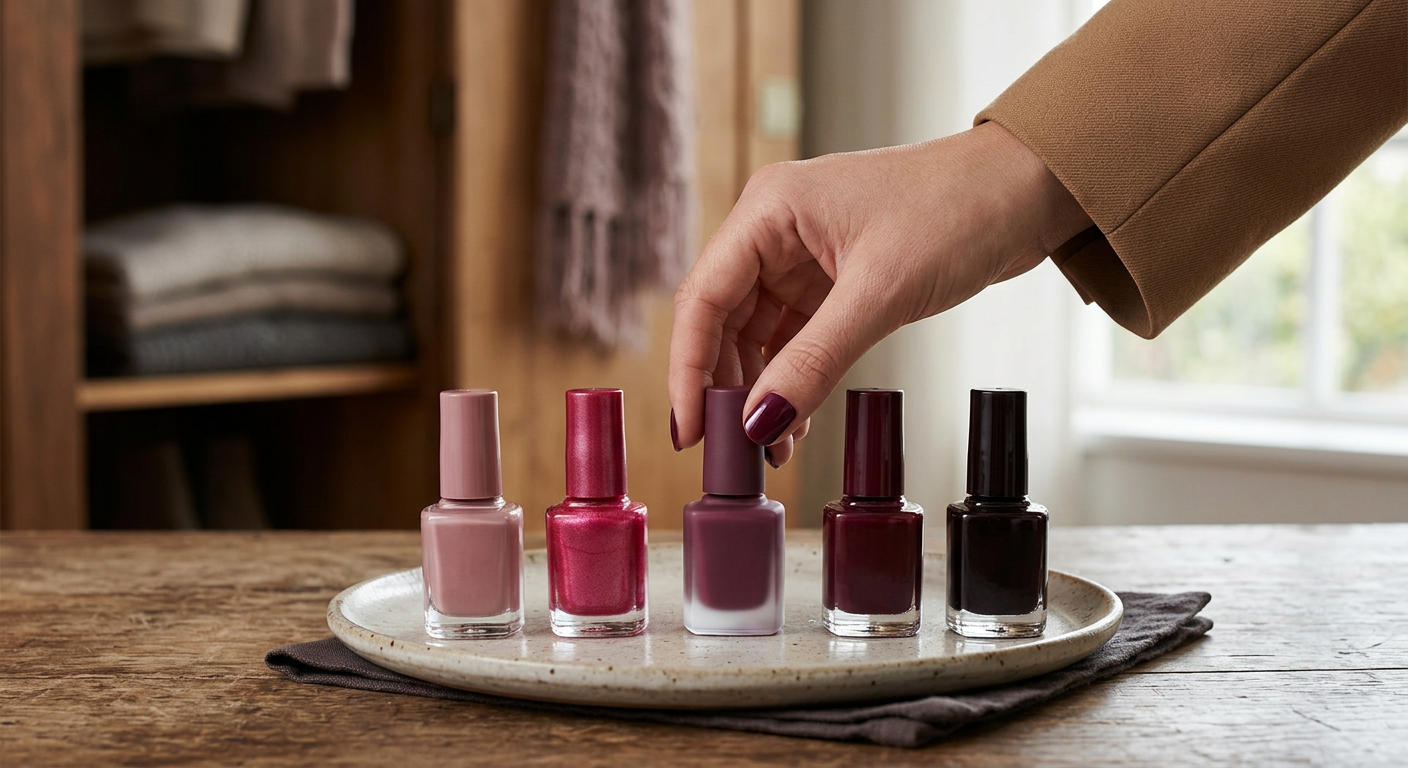
Berry covers a lot of ground, so match the depth to where you’re going. Dress Like Camille suggests a translucent cranberry or pomegranate tint for daytime, then reaching for blackberry or black cherry at night.
Finish sets the mood as much as shade does. Tira Beauty notes you can add a bit of gloss for a juicy sheen or keep it low-key with a smooth, velvety matte.
Shade and Finish Guide
| Goal | Shade | Finish |
|---|---|---|
| Everyday, natural | Cranberry, pomegranate | Blotted matte or light balm |
| No-makeup makeup | Sheer berry jelly | Soft, hydrated sheen |
| Evening, dramatic | Blackberry, black cherry | Matte or high-shine gloss |
| Multidimensional | Layered berry + rose | Glossy “stained glass” |
HALEYS Beauty describes a breathable glossy berry stain that delivers a just-bitten tint with high shine, no stickiness, and even fading. A jelly formula is the other route, giving the blurred berry effect without liner or layering.
Set and Finish Without Losing Softness
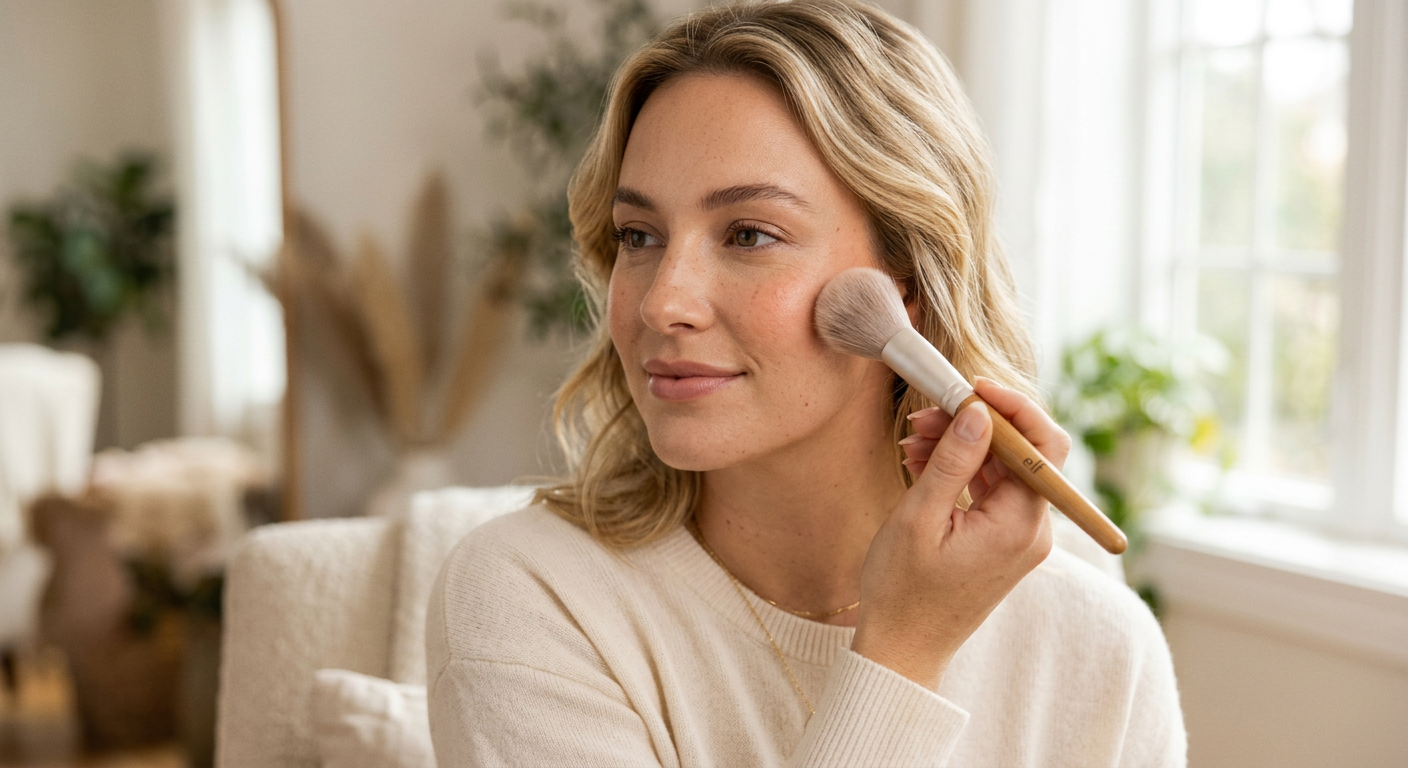
Once the color is placed and blended, let it dry down for a moment. e.l.f. Cosmetics recommends a light blot with a tissue to lift excess product and lock the color in for better staying power.
To hold the blurred finish, Tira Beauty suggests tapping translucent powder around the outer lip line. That tidies the edges while the center stays soft.
The Final Texture Call
Now tailor the texture to what you want. Leave it matte for a true blurred look, or tap a little balm on top for a hydrated, fuller finish, as SheFinds suggests. Within reason, slightly imperfect beats overly precise here. The point is effortless, not surgical.
If you’d rather have dimension than a flat blur, a thin layer of tinted lip oil over the stain builds the luminous “stained glass” effect Cosmopolitan India describes, catching light without the tack of a heavy gloss.
Common Mistakes to Avoid
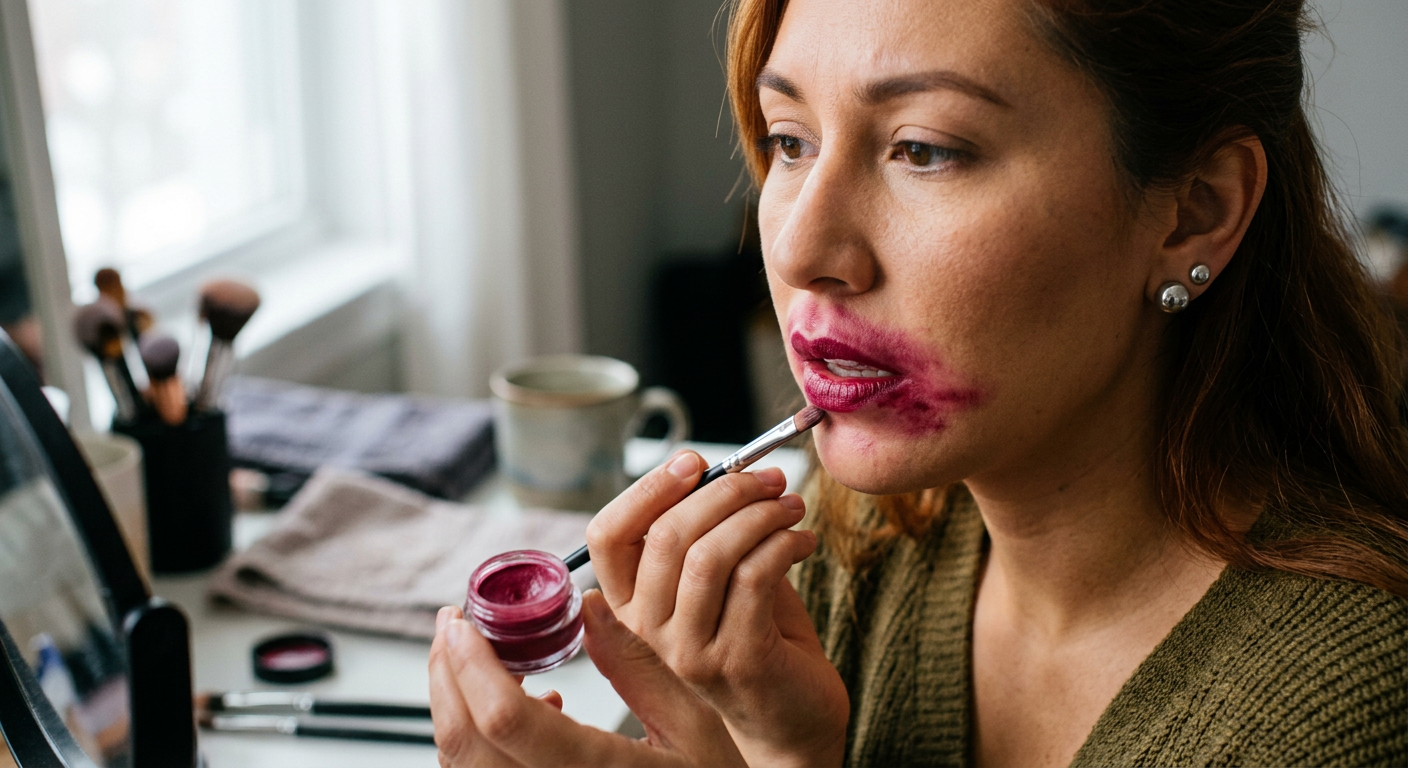
The fastest way to date a berry stain is to over-blend it or draw past your natural line. Jarman, via Elle Canada, makes the point that you want crispness where it counts and softness only on the outer edges.
Two more things trip people up:
- Skipping the blot. Leftover balm or product leads to slip and smearing.
- Flooding the whole lip at once. Build gradually. A stain is much harder to take off than to add to.
Filming your look? Dress Like Camille has a camera note worth remembering: a small bump in center depth usually brings back the 3D effect on screen, since video flattens a diffused lip.
Key Takeaways and Next Steps
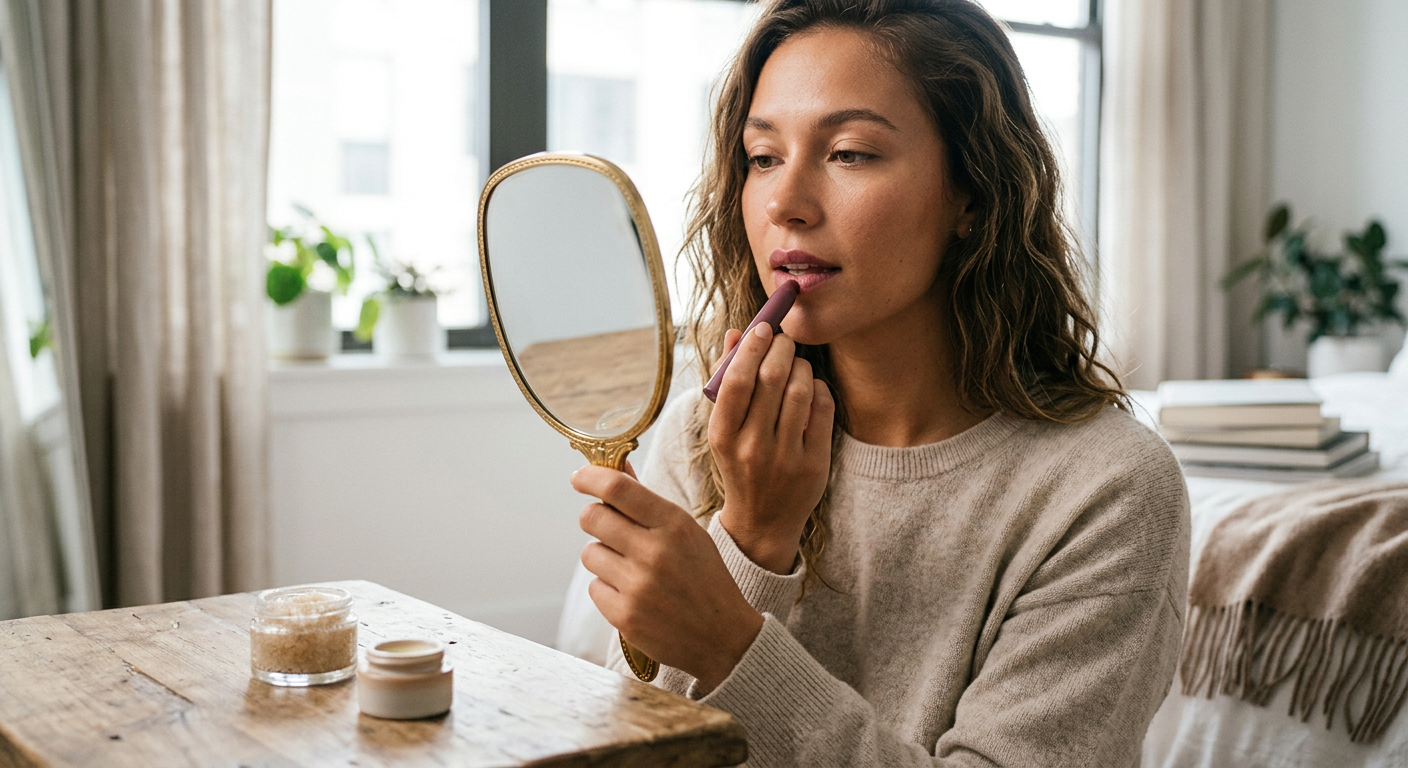
A soft, modern berry lip comes down to five moves: exfoliate and hydrate, build color from the center, blend outward with no hard lines, match your shade to the occasion, and finish with a blot or balm. Technique beats price tag every time.
Start with a smooth base, drop your color in the center, and diffuse the edges until the outline looks naturally softened. Then pick your finish: matte for a true blur, gloss or oil for dimension. Pull out a berry stain you already own and run the center-out method once. That one step is where most of the modern look lives.
Frequently Asked Questions
How do I keep a berry lip stain from looking patchy?
Exfoliate first. Stains soak into the top layer of skin, so dry flakes cause uneven color, according to e.l.f. Cosmetics. Then hydrate, blot off excess balm, and build color gradually from the center.
Should I use lip liner with a berry stain?
Not for the soft, blurred version. That look depends on diffused edges rather than crisp lines, as SheFinds describes, so a fingertip or soft brush does the shaping instead.
What berry shade works best for everyday wear?
For daytime, a translucent cranberry or pomegranate tint stays fresh and wearable, per Dress Like Camille. Keep deeper blackberry and black cherry for evenings.
How do I make the stain last longer?
Let it dry down after applying, then blot lightly with a tissue to lift excess product and lock in color, as e.l.f. Cosmetics recommends. Tapping translucent powder around the edges helps hold the finish too.
Can I make a berry stain glossy instead of matte?
Yes. Add a touch of gloss for a juicy sheen, as Tira Beauty notes, or layer a thin tinted lip oil for the luminous “stained glass” effect Cosmopolitan India describes.
Why does my blurred lip look flat on camera?
Video tends to flatten diffused color. Dress Like Camille notes that a small increase in center depth usually brings the 3D effect back on screen.