

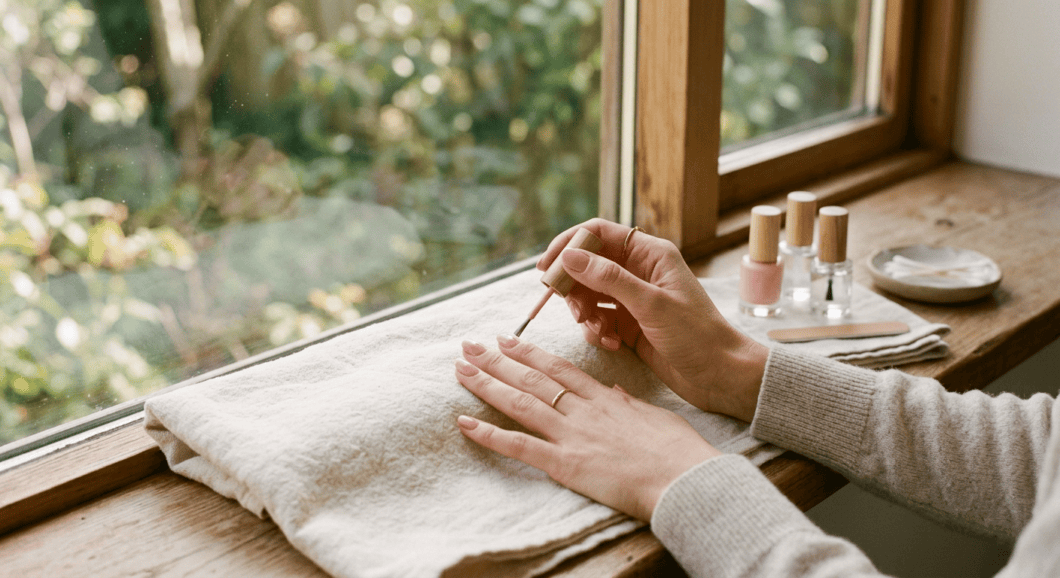
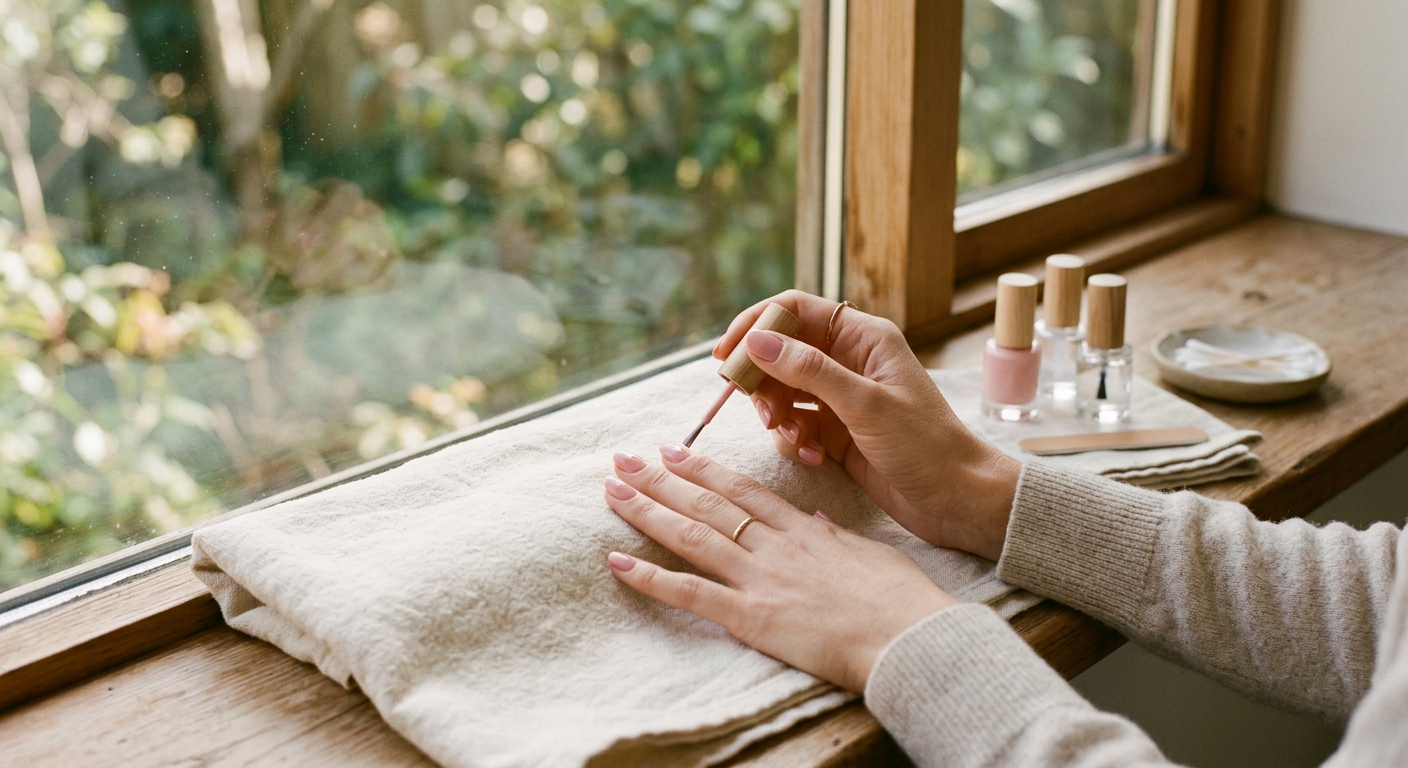
Anyone who paints their own nails knows the smudge that comes from grabbing a phone thirty seconds too early. When an at-home manicure never quite matches a salon set, the gap usually isn’t skill. It comes down to a few technique tweaks. Prep, patience, and a handful of finishing moves the pros rely on separate a rushed job from a clean one. The savings add up fast: a professional manicure runs $25 to $50 per visit, or $650 to $1,300 a year at a biweekly pace, according to GlowAI.
Most people have already made the switch. About 52% of U.S. consumers now do their own manicures, compared with 48% who use professional salons, per Zipdo. The techniques below get you salon results without the salon bill.
Start With Prep, Not Polish

The biggest difference between a rushed DIY job and a polished one is preparation. Jump straight to color and you’ll get uneven wear and early chipping. A few extra minutes of prep can add days to how long your polish lasts, and it looks better from the first coat.
Start clean. Soak a cotton pad in nail polish remover and press it against each nail for 5 to 10 seconds before wiping, GlowAI advises. That dissolves residue and oil without the aggressive rubbing that can rough up the nail surface. Do this even on bare nails, because natural oils keep polish from adhering evenly.
Wash your hands afterward and dry them completely. A clean, oil-free nail plate is the foundation every professional works from. Shaping tools and color come after that, not before.
Shape, File, and Buff for a Smooth Canvas
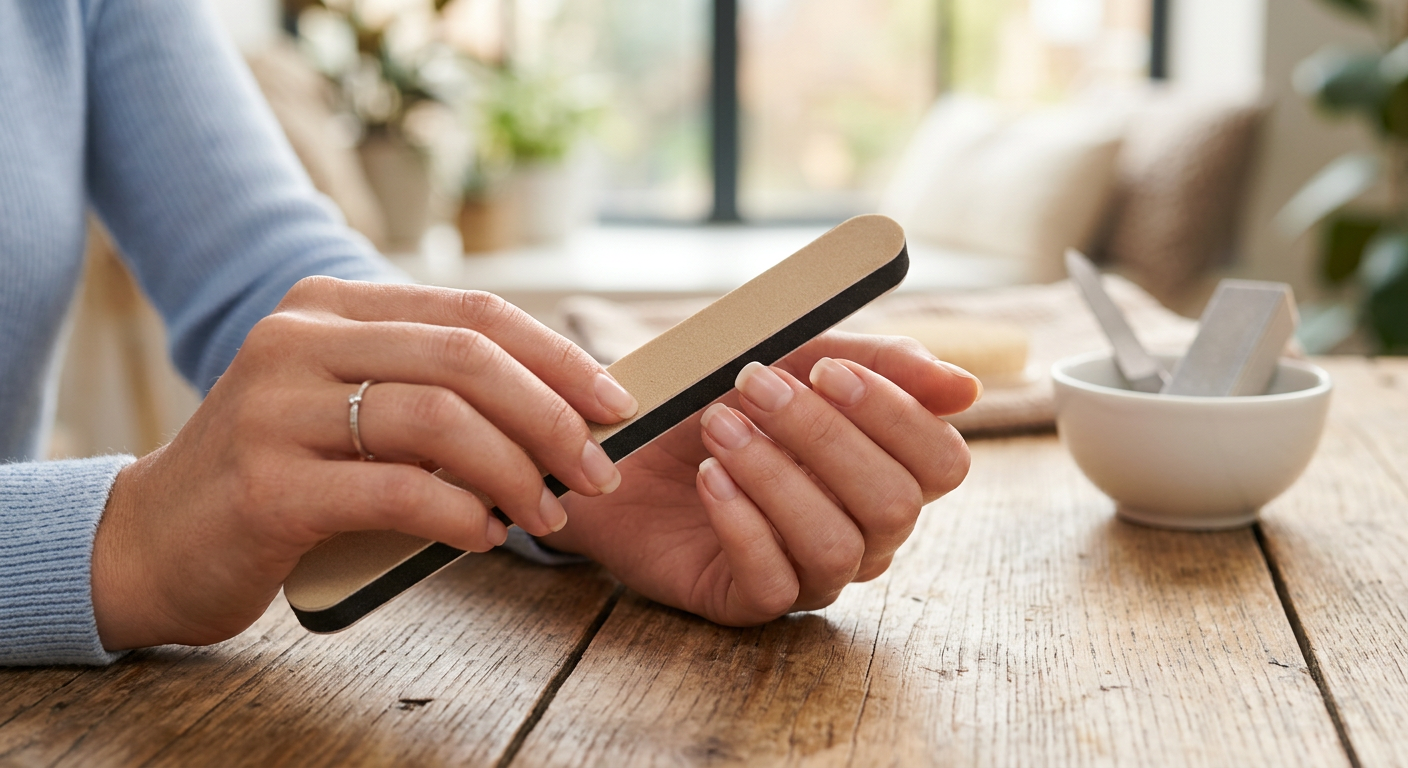
A uniform shape reads as polished before any color goes on. Trim your nails to the length you want, then file to refine the edge. Work in one direction to get square, round, or oval tips, and skip the back-and-forth sawing motion that weakens thin nails.
Buffing comes next, and this is where restraint matters. A light buff smooths the surface so polish glides on and brings out natural shine. Manicurist recommendations cited by Good Housekeeping call for just six to 10 strokes in an “X” pattern with a four-way buffer block.
The mistake is overdoing it. “It’s easy to over buff, which can lead to dry nails,” warns Weiss-Fischmann in Good Housekeeping. “Minimal buffing is best; you don’t want to take off too many layers and thin out your nail.”
Tend to Your Cuticles
After a warm soak, push your cuticles back with a wooden orange stick or rubber-tipped pusher. Don’t cut them aggressively, since the cuticle protects the nail from infection. Neat cuticles create clean visual boundaries that make the whole manicure look intentional.
Master the Application Technique
Overloading the brush is the most common application error, and it leads straight to a gloopy, streaky mess. “Many of us overload the brush and do too many strokes,” Nails Inc. founder Thea Green tells Glamour. “The key is to load just enough polish on the brush to cover the nail in one coat.”
Use the three-stripe method Green recommends: one stroke down the middle, then one on each side. Start slightly away from the cuticle and work toward the tip. Rest your hand flat on a table to keep it steady. That small adjustment does more for your control than any expensive brush will.
Always start with a base coat and finish with a top coat. Base coats help polish adhere and prevent peeling, chipping, and staining, as manicurist Edwards notes in CNN Underscored. Apply two thin coats of color rather than one thick one, waiting a few minutes between coats to avoid dents and bubbles.
Wrap the Tips
One pro trick separates neat manicures from amateur ones: seal the free edge of the nail. “Paint the tip of the nail as it helps seal the color,” manicurist Logan tells Allure. Drag a thin swipe of both color and top coat across the tip, and you lock in the polish where chipping usually starts.
Clean Up the Edges Like a Pro
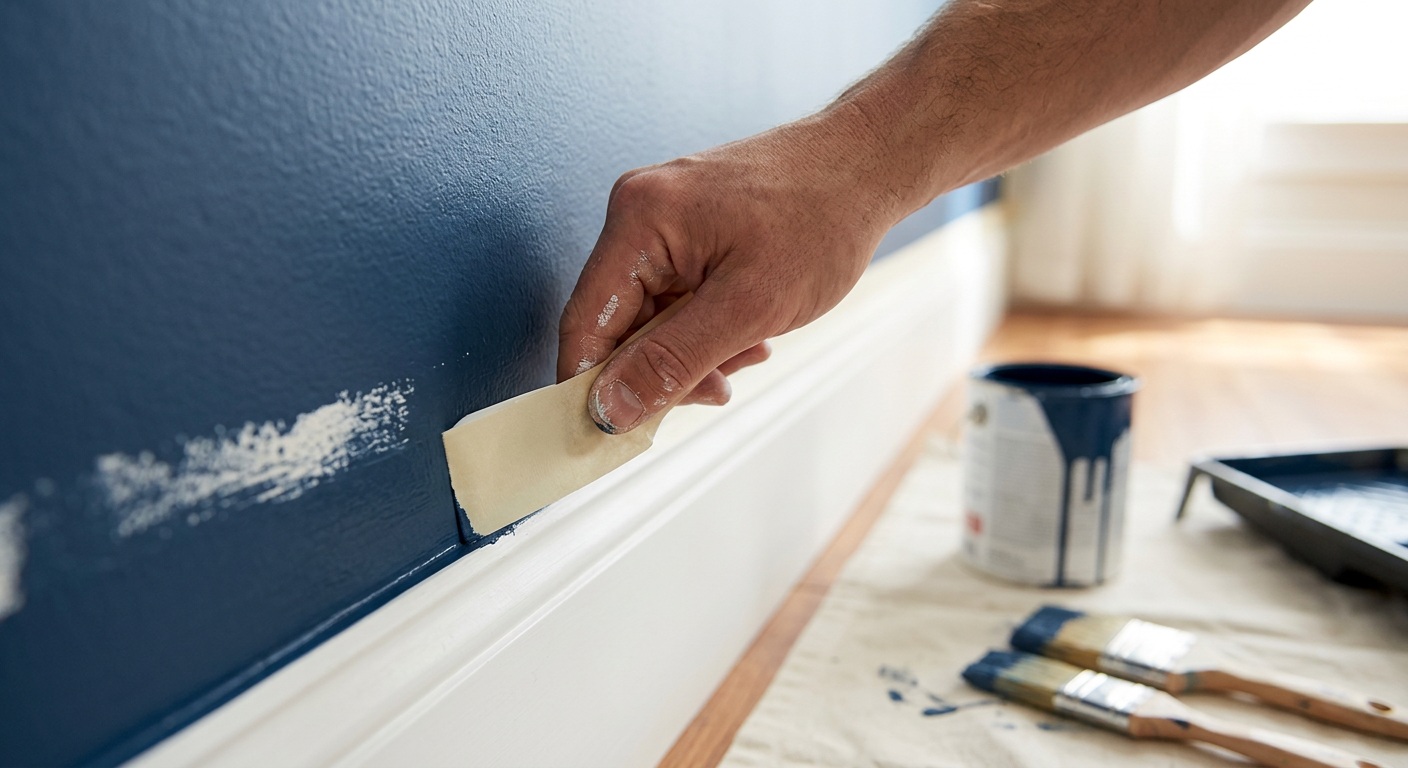
Even a perfect paint job looks sloppy if color bleeds onto your skin. The fix is easy. Instead of trying to paint all the way to the nail’s edge, aim for slightly less coverage with clean, controlled edges. It’s the most repeated tip among experienced hobbyists on Reddit’s r/RedditLaqueristas.
Keep a cleanup tool nearby: a small angled brush or a nail corrector pen dipped in remover. Trace around each nail to erase stray polish before it dries. That one step is often the difference between “did it yourself” and “looks like a salon.”
Make Your Manicure Last
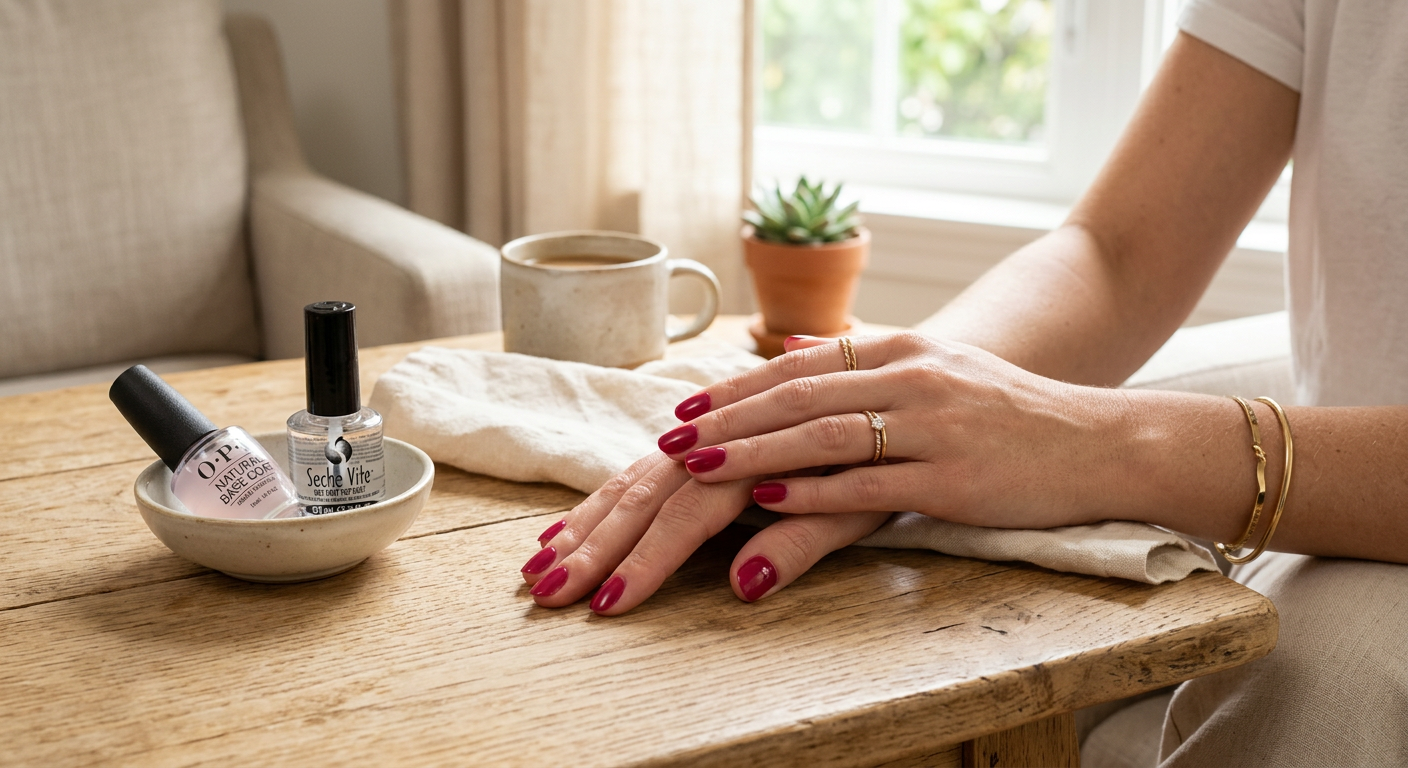
A well-done at-home manicure with regular polish lasts five to seven days, and a quality base and top coat push that further, per GlowAI. At-home gel manicures can hold for two to three weeks with proper curing and sealing.
The highest-impact maintenance habit is reapplying top coat. A fresh top coat every two to three days adds a protective layer that can extend your manicure by three to five extra days, GlowAI reports. It also restores the gloss that dulls with daily wear.
Day-to-day habits matter, too. Revlon recommends wearing gloves for dishes, avoiding long water exposure, and keeping your hands away from your teeth. Finish every session with cuticle oil to keep the surrounding skin hydrated.
Wear Times at a Glance
| Manicure Type | Typical Wear | Key to Longevity |
|---|---|---|
| Regular polish, no top coat | 2–3 days | Prep and thin coats |
| Regular polish with base + top coat | 5–7 days | Reapply top coat every 2–3 days |
| At-home gel manicure | 2–3 weeks | Proper curing and edge sealing |
| Semi-cured gel strips | 2–3 weeks | Firm application, wrapped tips |
Wear estimates based on data from GlowAI and Reddit user reports.
Consider Shortcuts That Still Look Professional
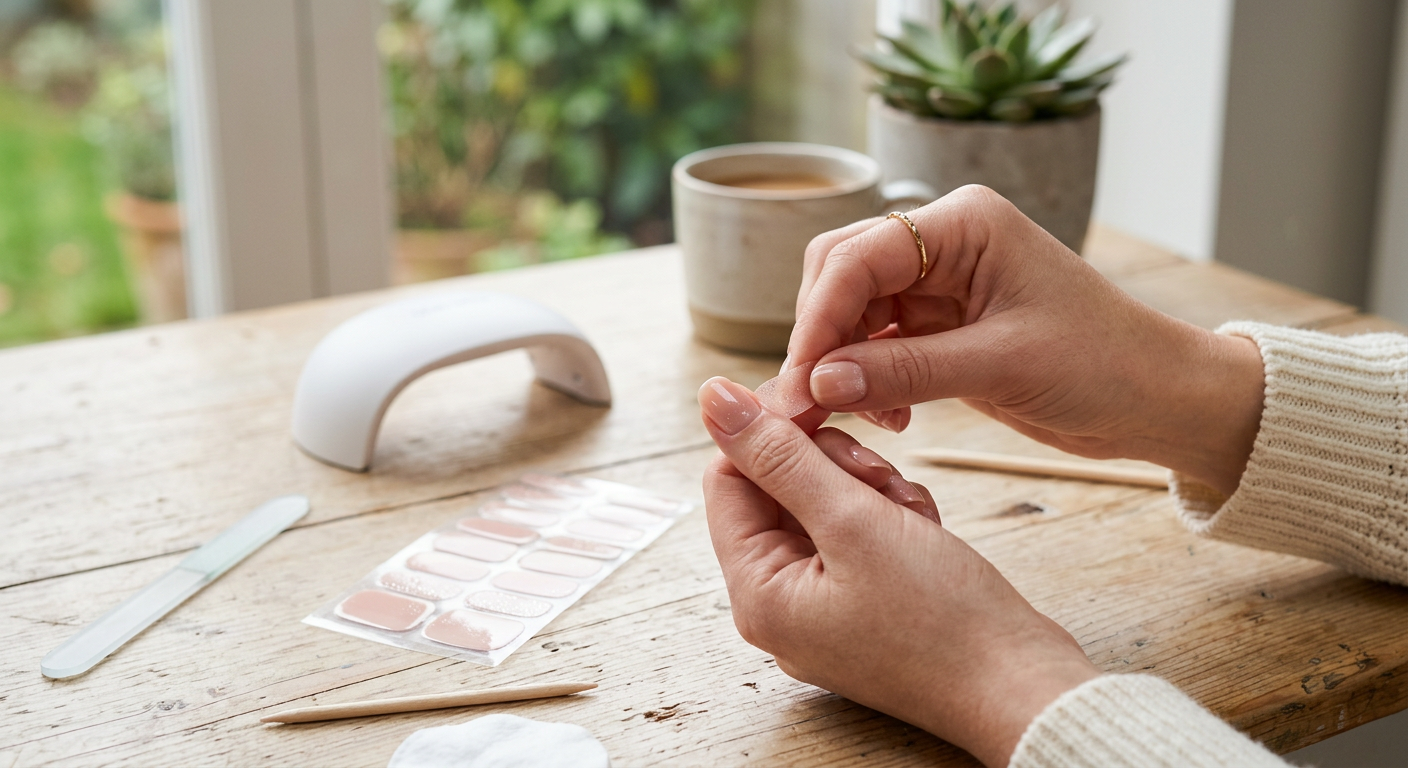
You don’t always need a bottle and brush to get a clean result. Semi-cured gel strips have become a go-to for busy people who want salon-quality nails fast. They apply easily, mimic a professional gel manicure, and deliver two to three weeks of wear per set, according to Reddit’s r/beauty.
The market reflects the shift. LED gel strip convenience has driven a 35% rise in at-home sales, and at-home salon-quality kits report an 80% satisfaction rate, per Gitnux. For a full gel setup, keep it minimal: a 48W+ LED lamp, one base coat, and one no-wipe top coat cover 95% of manicures, Madam Glam advises.
Whichever route you take, buy quality products. A durable base coat, a long-lasting top coat, and reliable color make a bigger difference than any single technique.
Conclusion
A polished at-home manicure is less about talent and more about method. Prep your nails properly, shape and buff with a light hand, apply thin coats using the three-stripe technique, seal the tips, and clean up your edges. Then protect the work with regular top coat reapplication and gloves during chores.
These adjustments turn a frustrating DIY session into results that rival a $50 salon visit, and they save you hundreds of dollars a year. Pick one technique to try on your next manicure, then add another the following week until the full routine feels automatic.
FAQ
Q: How long should an at-home manicure last?
A well-done manicure with regular polish lasts five to seven days when you use a base and top coat, according to GlowAI. At-home gel manicures can last two to three weeks with proper curing and edge sealing.
Q: What is the most common at-home manicure mistake?
Overloading the polish brush is the top error, leading to a thick, streaky finish. Nails Inc. founder Thea Green recommends loading just enough polish to cover the nail in three strokes: one down the middle and one on each side.
Q: How do I stop my polish from chipping so quickly?
Seal the free edge of each nail by swiping color and top coat across the tip, and reapply top coat every two to three days. This single habit can extend your manicure by three to five extra days.
Q: Do I really need a base coat and top coat?
Yes. A base coat helps polish adhere while preventing peeling, chipping, and staining, and a top coat locks in color and adds shine. Skipping either significantly shortens how long your manicure lasts.
Q: Are at-home gel manicures worth it?
For many people, yes. At-home salon-quality kits report an 80% satisfaction rate per Gitnux, and a minimal setup of a 48W+ LED lamp, base coat, and no-wipe top coat handles most manicures.
Q: How can I make my polish edges look clean?
Aim for slightly less coverage rather than painting all the way to the skin, then trace around each nail with an angled cleanup brush or corrector pen dipped in remover. This removes stray polish before it dries for a crisp, salon-like finish.