


Struggling to get your eyebrows on point without spending forever in front of the mirror? You’ve probably seen that 3-minute 3-minute routine blowing up on your FYP-it’s legit a game-saver for busy mornings. Stick around, and I’ll walk you through it step by step so you can nail perfect brows effortlessly with this MSN viral makeup routine.
Key Takeaways:
Why This 3-Minute Brow Routine is FYP Famous
The 3-Minute Eyebrow Routine has taken over For You Pages on TikTok and Instagram, captivating beauty trends enthusiasts with its quick, transformative results popularized by influencers like Alexis Adrienne.
Busy mornings demand time-saving transformations, and this guide delivers fuller brows without the hassle of salon visits. Imagine going from sparse bald patches to polished arches in under three minutes, fitting perfectly into rushed cosmetics routines.
The emotional satisfaction comes from that instant confidence boost. Users share how light lightly filling mid brow gaps near the nose creates a natural arch, making them feel put-together all day.
Its viral status stems from real-world appeal for those with a tendency toward unruly hairs or bald patches. Experts recommend starting with lighter colour products to avoid heavy, dark looks, ensuring effortless results.
The Viral TikTok Appeal
Creators like Alexis Adrienne showcase this routine’s magic, turning sparse brows into defined arches in mere minutes, sparking millions of views and duets across platforms.
Before-and-after reveals dominate feeds, showing step one: start light in the inner brow near the nose. Viewers duet with their own transformations, praising how it aligns with trends for natural, low-effort looks.
User testimonials highlight the ease of Step One: go heavier selectively in gaps and mid brow areas with darker colour product. For the outer arch, add a little leftover brow wax or pomade using a spoolie to tame unruly hairs on top.
- Step One: Use a light colour pencil to fill the front near the nose, avoiding heavy application.
- Step Two: Switch to a darker shade for mid brow gaps and bald patches, blending with a spoolie brush.
- Step Three: Set with clear wax, brush unruly hairs into place, then forget it all day.
To recreate at home, grab everyday products like a brow pencil and spoolie. Focus on lighter tones first, then build selectively for that authentic, fuller brow aesthetic.
Tools You’ll Need
Gather these minimal tools to execute the 3-minute eyebrow routine flawlessly without overwhelming your vanity. Focus on versatile, accessible items that handle multiple step in this quick guide. You will need just a few essentials for professional results at home.
Brow wax provides the hold for unruly hairs, keeping everything in place after shaping. A spoolie brush blends product smoothly for a natural look. Brow powder in lighter and darker colour shades allow customization to match your unique brow tendency.
These multi-use products fit any skincare routine. For example, the same brow wax works for setting and filling sparse areas. Keep them organized in a small pouch for fast access each morning.
Select items based on your skin tone and brow color. Test powders near your nose to find shades that blend with your natural tendency. This setup ensures the routine stays under three minutes every time.
Essential Products Breakdown
Start with a precise brow wax, a dual-ended spoolie brush, and brow powders in lighter and darker colours to customize your fill. Each tool plays a specific role in the 3-minute routine. They tame, blend, and add dimension for fuller brows.
Brow wax tames unruly hairs and sets the shape from step one. Apply a small amount with the tip to place hairs in position, especially at the arch and tail. It holds through the day without feeling heavy.
- Use wax on top of the brow for lift in large bald patches.
- Brush excess with the spoolie to diffuse.
- For care, store in a cool spot to maintain its grip.
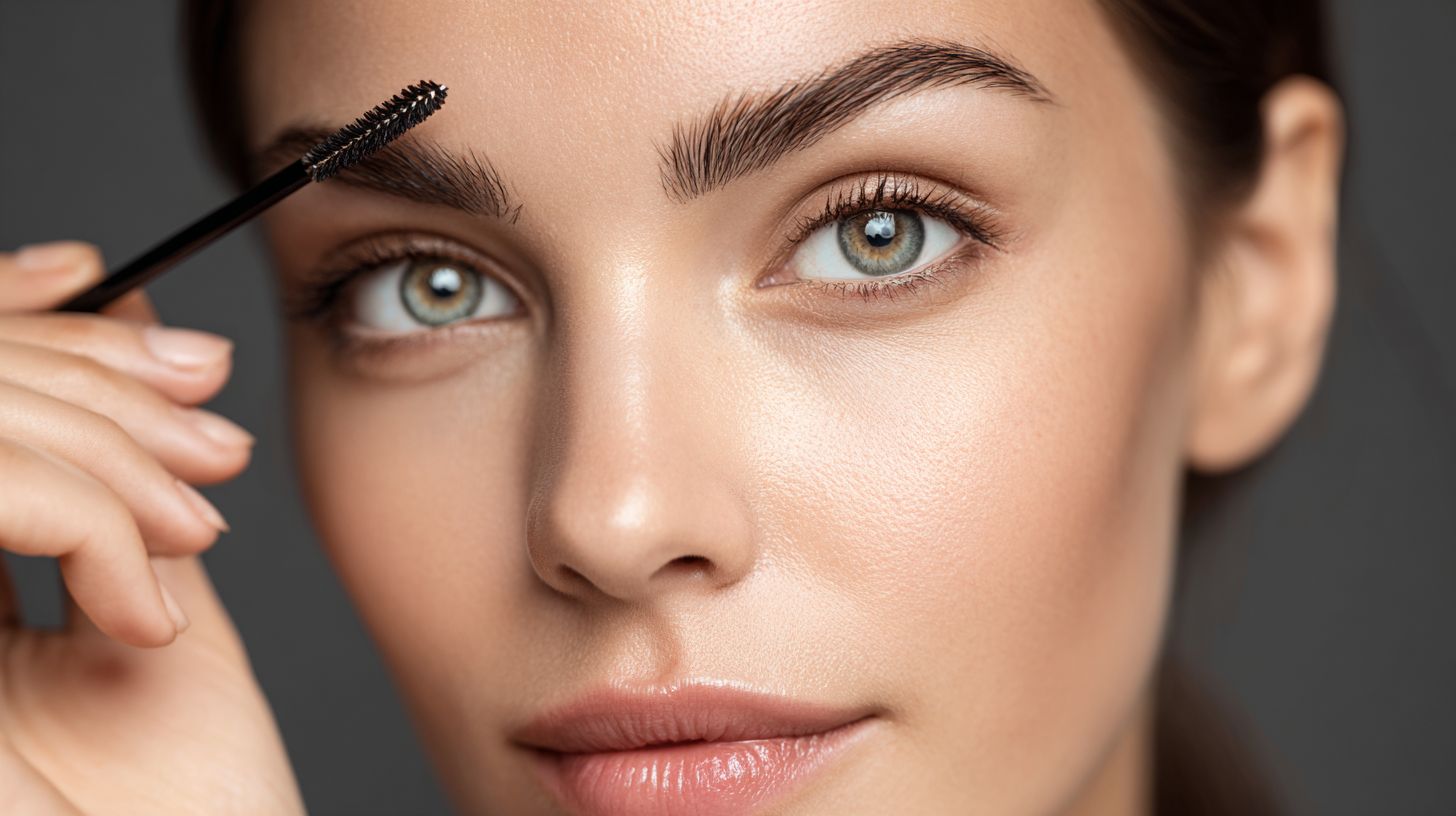
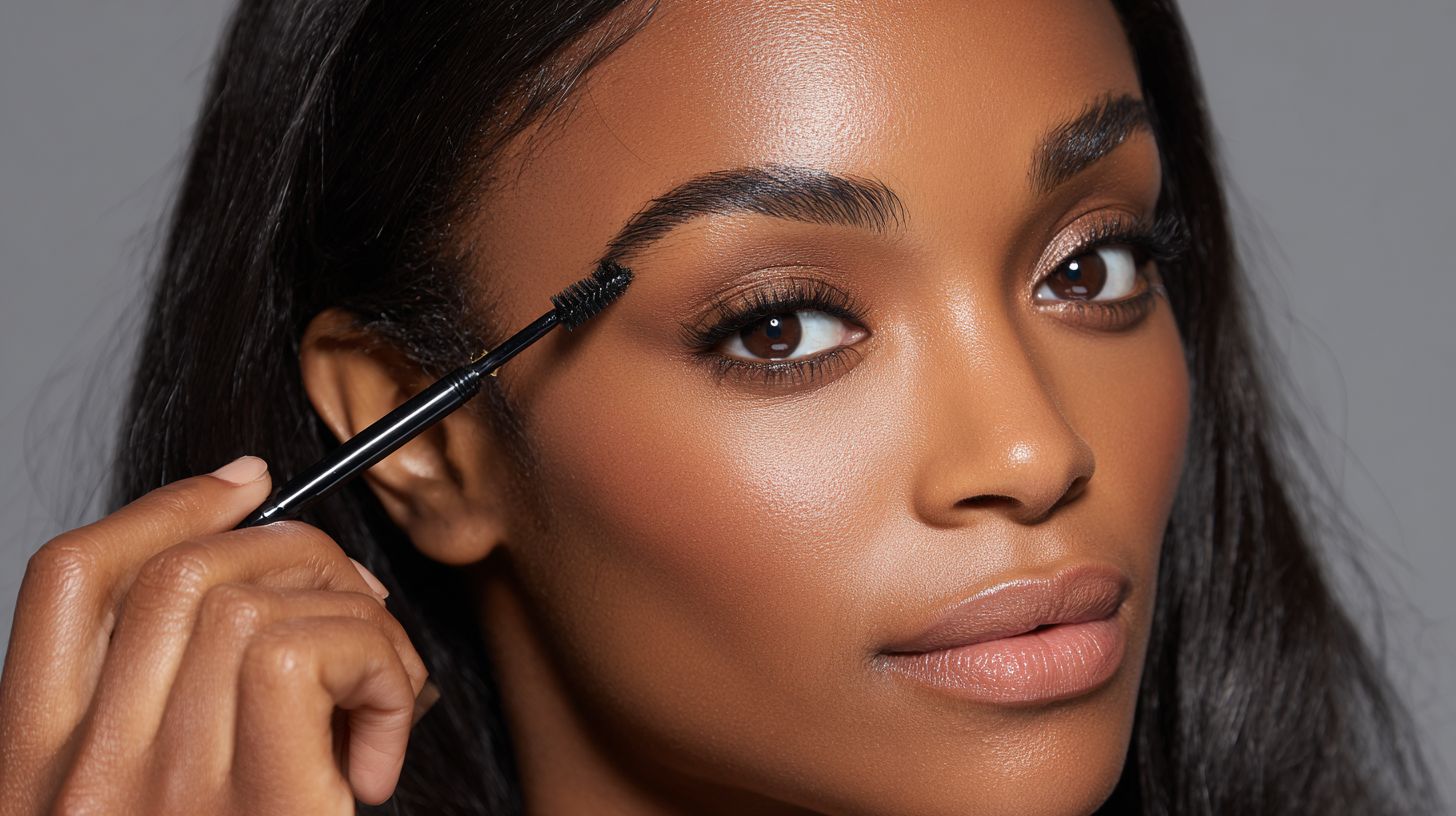
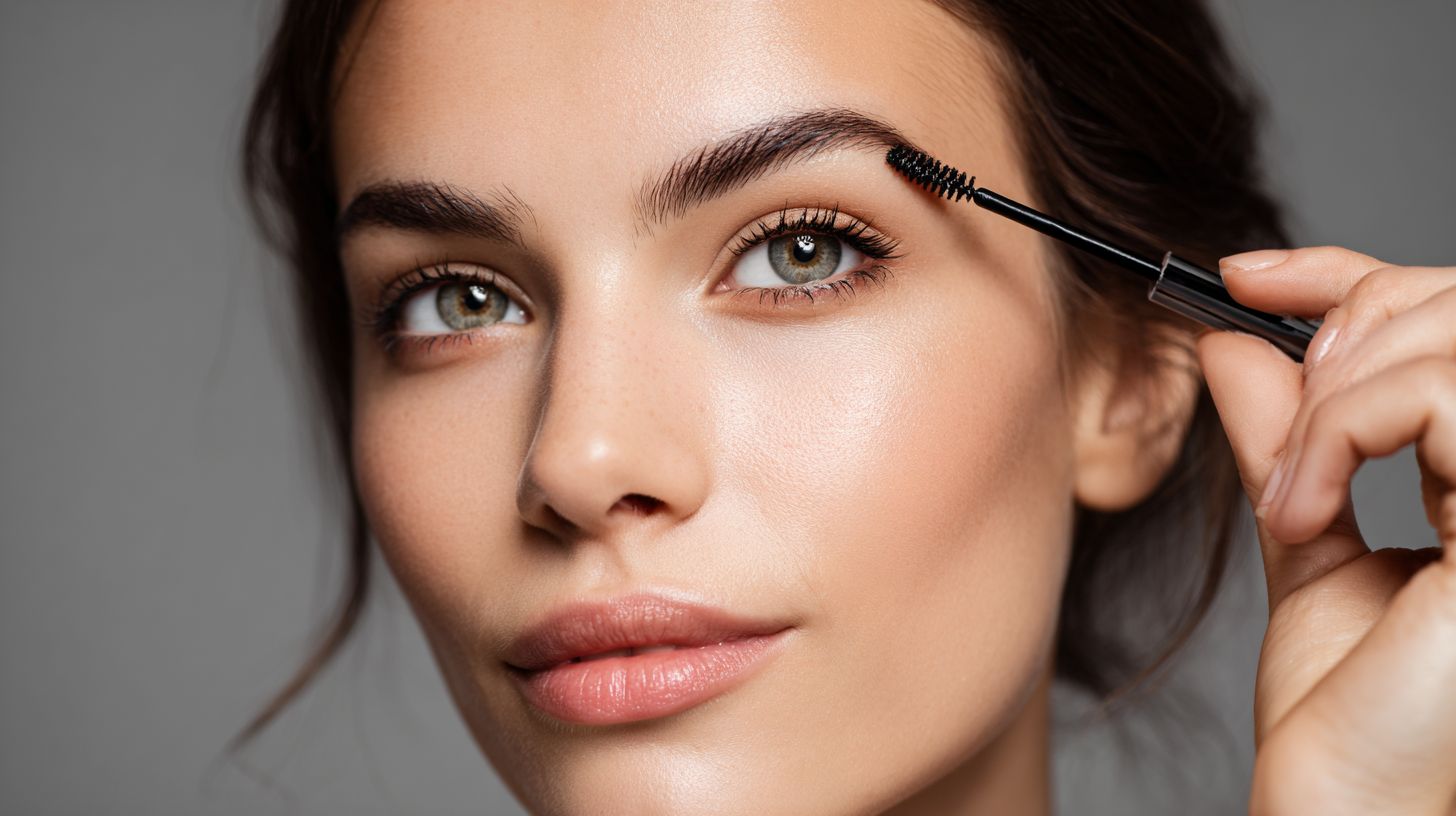
The spoolie brush diffuses product evenly after wax and powder steps. Start at the front, move through the middle, and finish at the tail for seamless blending. Wipe it clean after each use to avoid buildup.
Brow powders match skin tones for a natural fill. Pick a lighter colour for the front and under the arch, then go heavier with the darker shade for gaps and areas needing definition. Add a little at a time, blend with the spoolie, and set. Remove any hard edges or leftover product before step three.
Step 1: Brow Mapping
Begin by mapping your ideal brow shape to ensure symmetry and enhance your natural features. This quick 3-minute brow routine starts with precision to avoid uneven results. Spend just 30 seconds here for balanced brows.
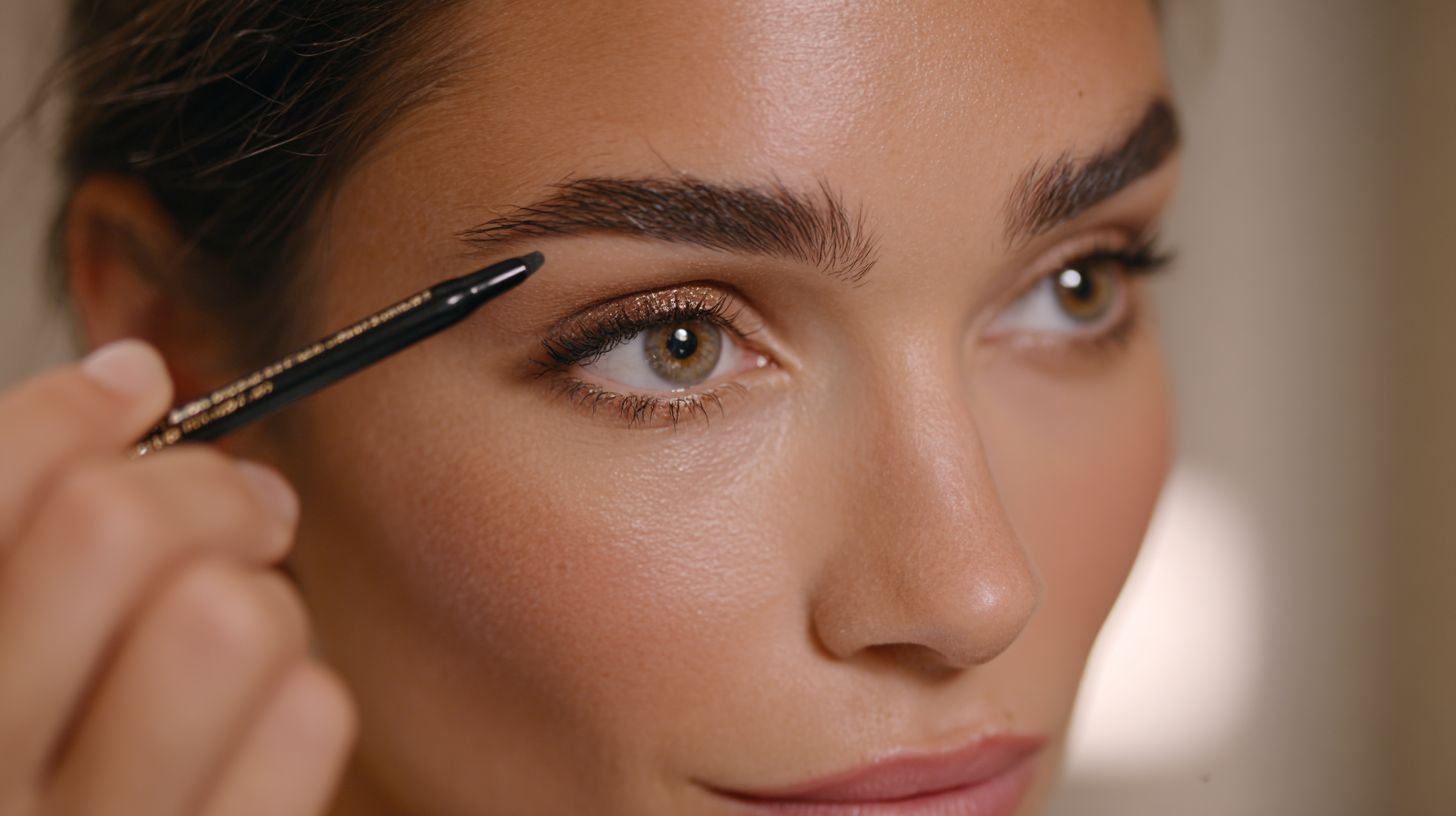
Grab a straight edge like a brow pencil or spoolie. Place it vertically along the side of your nose to mark the front start of your brow. This point sits near the nose where hairs naturally begin.
Next, angle the pencil diagonally from your nostril to the outer edge of your iris for the arch. This defines the highest point in the middle of the brow. Finally, extend it to the outer corner of your eye for the tail end.
Mark these three points lightly with a pencil. Precision in brow mapping corrects common asymmetries and flatters your face. Use a mirror in good light to check both sides match.
Finding Your Perfect Shape
Use a straight edge like a brow pencil to identify three key points: start near the nose, arch at the mid brow, and tail at eye’s outer corner. This step one in the routine takes under 45 seconds total. It sets the foundation for natural-looking brows.
- Hold the pencil vertically from your nostril to mark the brow start (10 seconds). This prevents tails from starting too far in or out.
- Angle it diagonally from nostril to the outer edge of your iris pupil for the highest arch point. Adjust slightly if one brow has a natural tendency to sit higher.
- Extend to the outer corner of your eye for the fade-out tail. Lightly dot these spots to guide filling.
Address asymmetries by comparing sides in the mirror. Tilt your head back slightly to spot if one arch peaks too early. This simple check ensures even results without heavy correction later.
For bald patches or sparse areas, map conservatively to follow your natural shape. Experts recommend starting light near the nose, building through the mid brow arch. This keeps the look balanced and effortless.
Step 2: Fill and Define
Fill sparse areas strategically to build a natural-looking brow that frames your face. This step takes about one minute in your 3-minute brow routine. Focus on precision to avoid a heavy look.
Start with step one: select a lighter colour for the base under the arch. Apply it lightly for 20 seconds to create a soft foundation. This prevents the tendency to go too dark near the nose.
- Pick a shade one lighter than your natural hair color for the base.
- Dab product sparingly under the arch with the brush tip.
- Build gradually to fill light middle areas without overload.
Move to step two: use an angled brush with a darker shade for gaps and bald patches. Target these spots selectively to add definition. A little product goes a long way here.
For step three, blend with a spoolie from the mid brow outward. Use light pressure to soften edges and set everything in place. This avoids leftover heavy buildup or hard lines.
Experts recommend this approach in your eyebrow routine guide because it mimics natural growth. If unruly hairs pop up on top, tame them with a touch of brow wax. Your brows will look full yet effortless.
Step 3: Set and Lift
Finish by setting your brows for all-day hold while lifting for a wide-eyed effect. This final step three in the 3-minute brow routine uses wax to tame unruly hairs and add lift. It keeps everything in place without stiffness.
Start with a brow wax product that matches your natural brow color. Apply it sparingly using the spoolie tip over unruly hairs on the top and arch areas. This takes about 20 seconds and completes the routine in under three minutes.
- Apply brow wax sparingly with spoolie tip over unruly hairs.
- Brush upward from the arch for lift, focusing on the middle and outer areas.
- Wipe excess with tissue if heavy, to avoid a stiff look.
Warn against over-application to prevent stiffness in your brows. If you notice heavy or dark leftover product near the nose or in gaps, remove it gently. This set-and-lift technique ensures brows stay natural all day.
For those with a tendency toward large bald patches, selectively add a little wax in those spots after filling lighter areas. Brush from the inner brow near the nose outward for even hold. Now your eyebrows are set, forget about them until tomorrow.
Common Mistakes to Avoid
Steer clear of these pitfalls to keep your 3-minute eyebrow routine results polished and natural.
global beauty trends on your FYP favor subtle enhancements over dramatic changes. Overfilling brows with heavy product often leads to unnatural looks. Uneven mapping creates asymmetry that distracts from your features.
Excess product buildup makes arches look blocky instead of soft. Skipping the spoolie step leaves leftover product clumpy. Always map from near the nose to the arch for balanced shape.
Use a lighter colour first to fill gaps selectively. Build in thin layers during step one of your routine. This keeps the mid brow natural and avoids the tendency to go darker too soon.
Over-Plucking Fixes
If over-plucking left bald patches, rebuild gradually without rushing the process.
Start with a lighter colour pencil to fill sparse areas near the nose. Use thin layers over time to mimic natural growth. Avoid heavy, dark product on large bald spots, as it draws attention to the issue.
- Apply growth serums nightly if patches persist for faster regrowth.
- Brush unruly hairs up with a spoolie before filling the mid brow.
- Selectively add a little heavier shade only at the arch in Step Two.
Patience pays off, as new hairs fill in the gaps naturally. In your 3-Minute Eyebrow Routine, dedicate the first minute to light mapping. Set and forget with clear wax on top to hold shape without hard lines.
Product Recommendations
Choose these tried-and-true products to streamline your 3-minute eyebrow routine. They fit perfectly into the steps of this guide, from filling gaps to setting brows in place. Each one targets a specific need in the process.
The Anastasia Beverly Hills Brow Wiz offers precision with its pencil tip. Use a lighter shade for the front near the nose and a darker duo for the arch and tail. It helps fill bald patches without looking heavy.
For holding power, pick up the Refy Brow Sculpt wax. It tames unruly hairs on top and keeps everything in place. Pair it with a Sigma spoolie to brush through after application.
These picks balance longevity and ease in your daily routine. They work for natural looks or bolder fills. See the table below for a quick comparison.
| Product | Shade Options | Best For |
|---|---|---|
| Anastasia Beverly Hills Brow Wiz | Multiple, including lighter and darker duos | Precision filling gaps and bald patches |
| Refy Brow Sculpt | Clear or tinted shades | Taming unruly hairs with wax |
| Sigma Spoolie | N/A | Brushing and blending product |
Tips for All Brow Types
Adapt the routine seamlessly whether your brows are naturally light, heavy, or anywhere in between. This 3-minute brow routine works for every shape and density. Tailor each step to your unique features for natural results.
Start with clean brows and the right products. Use a spoolie brush to comb hairs into place from the start. Focus on your brow type to fill gaps without overdoing it.
For straight or thin brows, emphasize the arch lightly. Bushy types need taming first, while sparse ones build in layers. These tweaks make the guide inclusive and practical.
Follow these category-specific tips after the main steps. Spend a little extra time where needed, then set and forget for the day.
Straight or Thin Brows
Straight or thin brows have a natural tendency to look flat near the nose. Use darker colour selectively at the arch to add lift without heaviness. Start light in step one for a soft base.
In step two, fill the mid brow gently to mimic feathery hairs. Avoid heavy product buildup, as these brows show every stroke. A fine-tip pencil works best here.
- Brush unruly hairs upward with a spoolie before filling.
- Add darker shade only to the outer third for definition.
- Blend leftover product toward the tail for a seamless fade.
Finish by setting with clear gel. This keeps thin brows looking full yet natural all day.
Bushy Brows
Bushy brows often have unruly hairs on top and dense areas. Wax first to shape, then use lighter fill for balance. Tame before step one to control volume.
During filling, choose a lighter colour than your natural shade. Focus on sparse gaps between thick clusters. Use a spoolie to brush everything into place mid-routine.
- Trim long hairs with a spoolie as a guide after waxing.
- Apply product sparingly to avoid a heavy look.
- Concentrate fill near the arch where brows tend to thin.
Set with gel to hold bushy strands down. This creates polished brows in under three minutes.
Sparse Brows
Sparse brows show large bald patches and gaps easily. Build with a two-layer approach from the mid brow outward. Start extra light in step one to map the shape.
Layer two goes heavier only in bare areas. Use short, hair-like strokes for realism. A pencil with a soft brush tip fills without harsh lines.
- Identify gaps near the nose first for even coverage.
- Blend each layer with a spoolie before adding more.
- Extend the tail slightly if arches look weak.
Finish strong with setting gel over everything. Sparse brows transform quickly into full, natural ones.
Frequently Asked Questions
What is ‘The 3-Minute Brow Routine That’s All Over Your FYP’?
The 3-Minute Brow Routine That’s All Over Your FYP is a quick, viral TikTok-inspired beauty hack that promises fuller, defined brows in just three minutes using simple products like brow pencils, gels, and powders. It’s exploded on For You Pages (FYP) for its ease and dramatic results.
How do I perform The 3-Minute Brow Routine That’s All Over Your FYP?
To do The 3-Minute Brow Routine That’s All Over Your FYP, start by brushing brows up with a spoolie, outline with a brow pencil, fill in sparse areas with powder, then set with clear gel. Time each step: 1 minute outline, 1 minute fill, 1 minute set for perfect brows fast.
What products do I need for The 3-Minute Brow Routine That’s All Over Your FYP?
Essential products for The 3-Minute Brow Routine That’s All Over Your FYP include a dual-ended brow pencil, angled brush with powder or pomade, spoolie brush, and brow gel. Popular picks from viral videos are Anastasia Beverly Hills pencils and Benefit gels.
Why is The 3-Minute Brow Routine That’s All Over Your FYP so popular?
The 3-Minute Brow Routine That’s All Over Your FYP went viral due to its speed, no-skill-required technique, and transformative before-and-afters shared by influencers. It’s ideal for busy mornings and has racked up millions of views on TikTok FYPs worldwide.
Can beginners try The 3-Minute Brow Routine That’s All Over Your FYP?
Absolutely! The 3-Minute Brow Routine That’s All Over Your FYP is beginner-friendly, focusing on simple strokes and blending rather than precision artistry. Follow along with FYP tutorials for step-by-step guidance to avoid common mistakes like overfilling.
Does The 3-Minute Brow Routine That’s All Over Your FYP last all day?
Yes, when using a strong-hold brow gel, The 3-Minute Brow Routine That’s All Over Your FYP stays intact for 8-12 hours, even through sweat or humidity. Many users report it outperforming salon brows in longevity and natural look.