

Feeling like your makeup routine needs a little pick-me-up but don’t want to shop? How to Refresh Your Look Using Only What’s Already in Your Makeup Bag is all about that-we’ll tweak what you have for fresh, effortless vibes. You’ll see simple ways to mix, layer, and revive your favorites right from your drawer.
Key Takeaways:
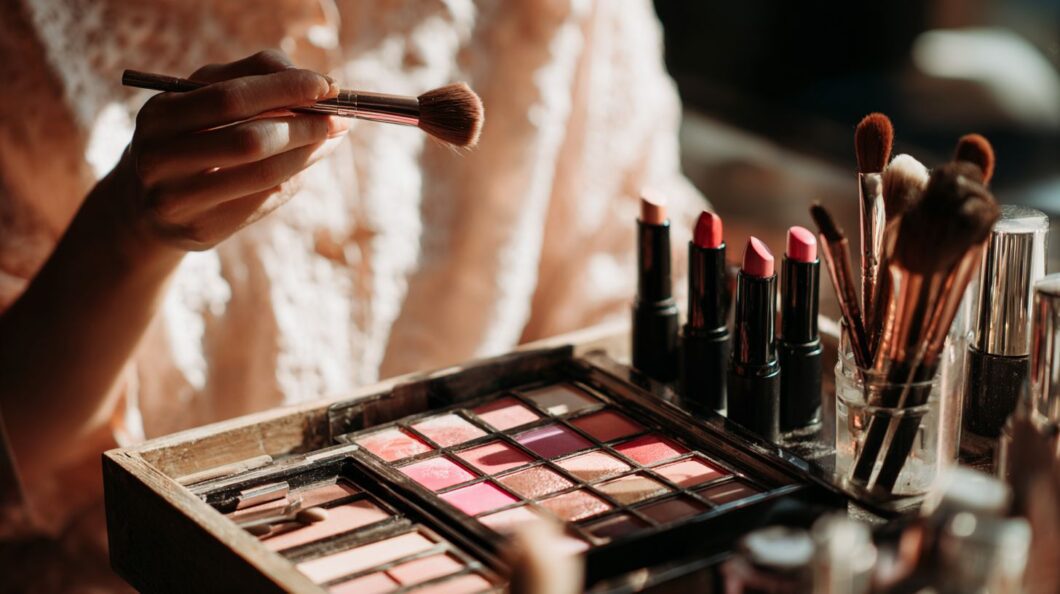
Assess Your Current Makeup Inventory

Start your makeup refresh by taking stock of what you already own to discover hidden gems and eliminate clutter. Lay everything out on a clean surface for a full view. This step helps you see what works for refreshing your look using only what is already in your makeup bag.
Sort products by expiration dates, texture, and shade suitability. Check packaging for open dates, usually marked with a small jar symbol. Swatch items on your inner arm to test if shades still match your skin tone.
Smell creams and lotions for rancidity, like a sour or off odor. Feel textures for separation or graininess in foundations. Divide items into ‘keep,’ ‘toss,’ and ‘repurpose’ piles to streamline the process.
For repurpose ideas, turn old lipsticks into cheek stains or mix eyeshadows for custom brows. This organized approach saves time and money. You will end up with a curated collection ready for new looks.
Declutter Expired Products
Expired makeup can harbor bacteria and alter in texture, so decluttering is essential for safe, fresh application. Begin by gathering all items in one spot. Work through them methodically to avoid overwhelm.
Follow this step-by-step checklist for efficiency:
- Check ‘best by’ dates, typically 6-24 months from opening, often shown as a number inside a jar icon on packaging.
- Discard if products look separated, discolored, or smell off, such as rancid oils in moisturizers.
- Wipe clean the exteriors of keepers with a damp cloth to remove residue.
- Store remaining items in a cool, dry place away from sunlight and humidity.
A common mistake is keeping almost empty tubes, which can contaminate brushes or skin. Toss them entirely to prevent bacterial growth. Clean your makeup bag or drawer afterward for a fresh start.
Regular checks keep your routine safe and effective. Focus on quality over quantity in How to Refresh Your Look Using Only What’s Already in Your Makeup Bag. This habit ensures your products perform at their best.
Prep Your Skin for a Fresh Base
A smooth skin base enhances makeup longevity and finish, using everyday skincare items you already have. Start by hydrating your skin to create that fresh canvas. Pat in your moisturizer generously with clean fingertips for even coverage.
Wait 2-3 minutes for it to absorb fully before adding makeup. This step prevents a greasy look and helps products layer smoothly. Tailor the amount to your skin type, using lighter layers for oily skin and richer applications for dry skin.
Balance hydration and oil control by focusing on the T-zone if needed. Gently press the moisturizer into cheeks and forehead to avoid pulling. This simple prep refreshes your look using only what’s already in your makeup bag.
For dry skin, choose a cream-based moisturizer you keep handy. Oily skin benefits from gel formulas that sink in fast. These adjustments ensure a comfortable, long-lasting base all day.
DIY Primers from Moisturizers
Transform a simple moisturizer into a primer by mixing it with a pinch of loose powder from your collection. This hack blurs pores naturally and preps skin without new purchases. It fits perfectly into how to refresh your look using only what’s already in your makeup bag.
Follow these steps for best results:
- In your palm, blend 1 pump of moisturizer with a dab of translucent powder for about 5 seconds.
- Apply the mixture thinly to your T-zone and cheeks using fingertips.
- Let it set for 1 minute before foundation to avoid pilling.
Avoid overuse to keep the finish smooth and matte. This method controls oil while hydrating, ideal for all skin types. Test on a small area first to match your needs.
Experts recommend this for a soft-focus effect that makes makeup last longer. Pair it with your go-to powder for customized grip. Refresh tired skin effortlessly with these everyday items.
Update Your Everyday Foundation Routine
Breathe new life into old foundation by customizing its coverage and finish to suit your current skin needs. Sun exposure or seasonal changes often shift your skin tone, making last year’s shade look off. Assess it by swatching on your jawline in natural light.
Thin out thick formulas with a drop of moisturizer for a sheer, natural look, or layer it for more opacity as the day goes on. A damp sponge gives an airbrushed finish, blending from the center of your face outward to avoid harsh lines. This technique refreshes your routine using only what’s already in your makeup bag.
Experts recommend testing adjustments on a small area first to ensure even wear. These tweaks help foundation adapt to dry patches or oiliness without buying new products. Practice creates a flawless base every time.
For best results, store foundation in a cool spot to maintain its texture. Combine these steps with your existing tools for a fresh, updated everyday look that feels current and comfortable.
Mix for Custom Coverage
Sheer out heavy foundations or boost light ones by mixing with complementary products from your bag. Start with simple ratios to match your desired finish, testing on your jawline before full application. This keeps things precise and waste-free.
Here are actionable mixes to try:
- Foundation + moisturizer in a 2:1 ratio for dewy, light coverage that hydrates as it evens skin.
- Foundation + powder blended smooth for a matte finish that controls shine all day.
- Blend two foundation shades together to create the perfect match for your current tone.
Stir mixtures in a clean cap or palette to avoid contaminating your products. These combinations refresh old formulas, giving you versatile options right from your makeup bag.
Pro tip: shake well after mixing for even distribution. Adjust based on your skin’s needs, like adding more moisturizer for winter dryness, to keep your look polished and natural.
Revive Dull Complexion with Highlighters
Highlighters add instant radiance, and you can repurpose cream formulas for a natural glow without new purchases. Dig into your makeup bag for that forgotten highlighter stick or pot. It works wonders to refresh your look using only what is already there.
Apply highlighters sparingly to the high points of your face. Target the cheekbones, brow bone, cupid’s bow, and bridge of the nose. This technique catches the light for a lifted, awake appearance.
Use your fingertips to sheer it out for everyday wear. Blend gently over set foundation in light tapping motions. Layering this way prevents a heavy look while building subtle shine.
For deeper skin tones, mix highlighter with a touch of tinted balm. This creates a custom shade that melts into your complexion seamlessly. On oily skin, skip heavy shimmer to avoid excess gleam, opting for matte-based formulas instead.
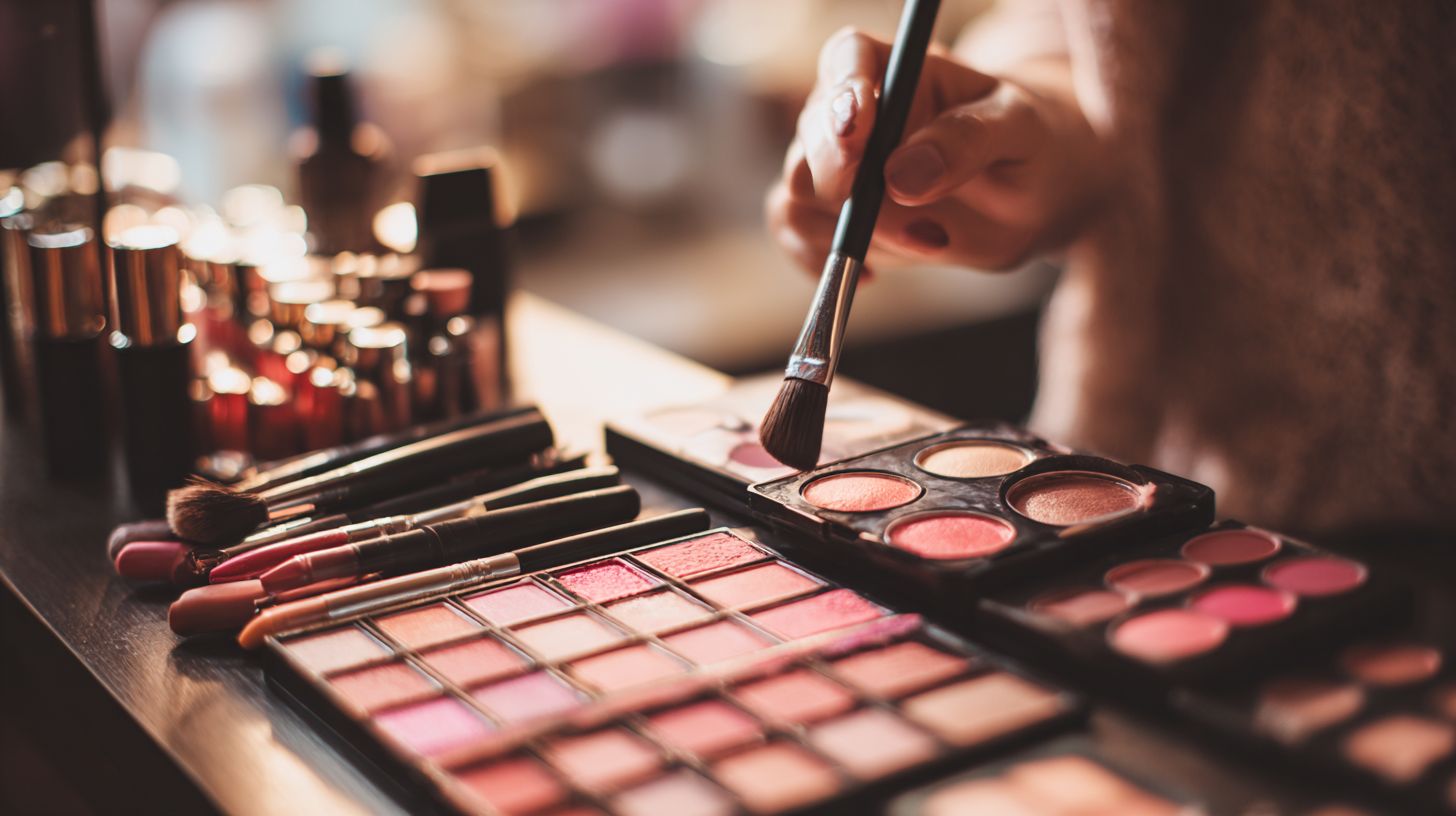
Transform Eyeshadow into Multi-Use Magic
Eyeshadows offer versatility beyond lids. Wet them or mix with other items for brows, liner, and more. This approach helps you refresh your look using only what’s already in your makeup bag.
Dampen your brush with water or setting spray to unlock intense pigment. Neutral matte shades work well as subtle brow fillers. Shimmers add a bright touch as inner corner highlights.
Always prioritize safety by using eye-safe shadows only, especially near the waterline. Avoid glitter formulas on sensitive areas to prevent irritation. Test on your hand first if unsure.
Experiment with mixing eyeshadow into moisturizer for a custom cream shadow. This multi-use magic saves space and sparks creativity in your routine.
Brow Filler and Liner Hacks
Fill sparse brows or create liner using matte eyeshadow powders from your palette. Select shades that match your hair color for a natural effect. This hack refreshes your look without new purchases.
Follow these steps for brows:
- Choose a taupe or brown shade close to your hair color.
- Dip an angled brush in shadow and tap off excess.
- Stroke lightly along the natural arch.
- Set with clear brow gel or hairspray on a spoolie.
For liner, pack the shadow tightly with short brush strokes. Use a flat liner brush for precision along the lash line. Blend softly for a smoky effect.
Practice on one brow first to build confidence. These techniques enhance definition and suit daily wear in your refreshed makeup routine.
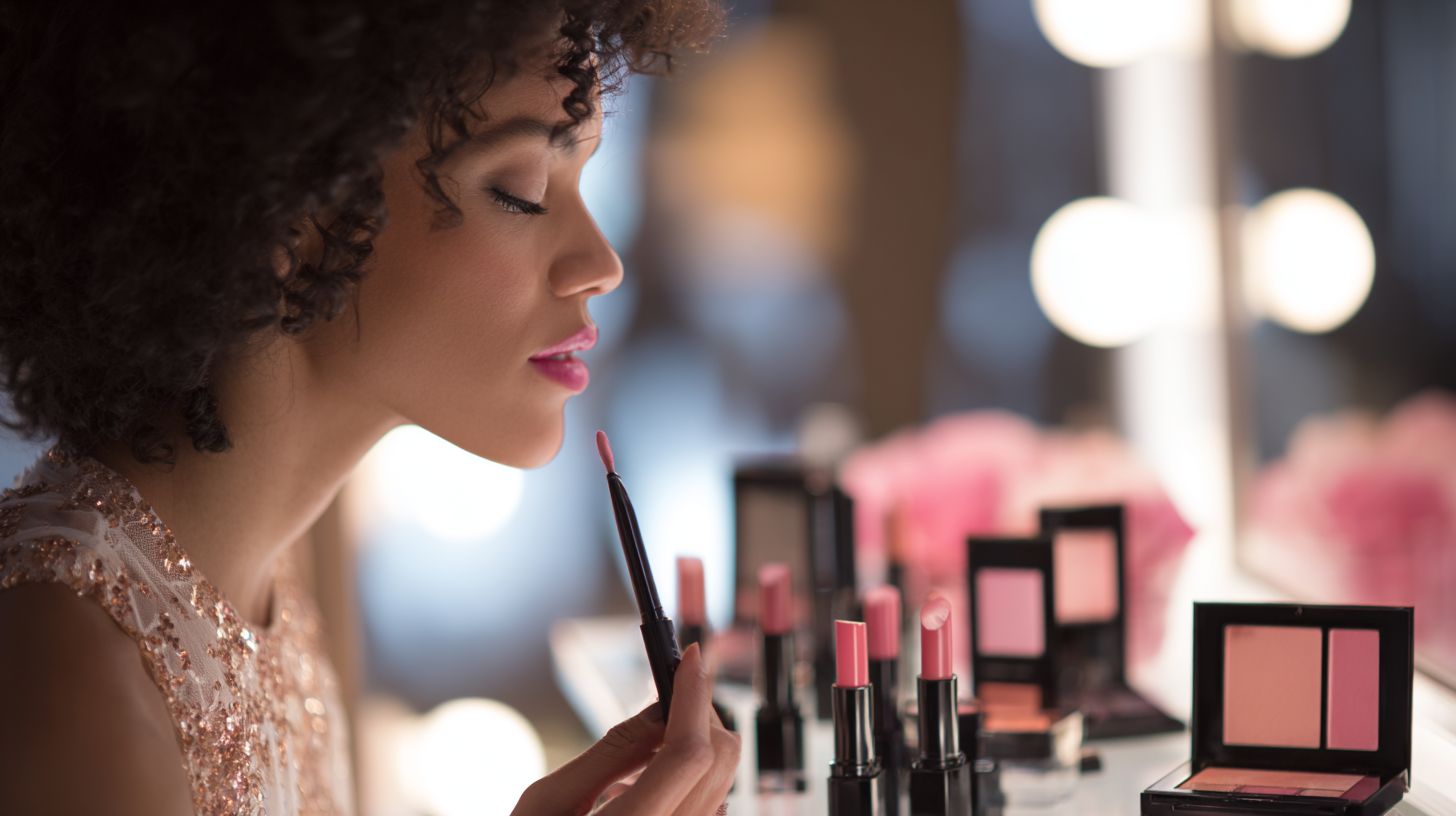
Refresh Lips with Layering Techniques
Layering lip products creates dimension and longevity, turning bold shades into everyday neutrals. How to Refresh Your Look Using Only What’s Already in Your Makeup Bag starts with lip liner if you have it to define edges and prevent feathering. This technique refreshes your look using only what’s already in your makeup bag.
If liner is unavailable, use a thin concealer brush for lip edge definition. Dab concealer just along the borders to sharpen your natural shape. Follow with a base layer of lipstick for a clean foundation.
Build with sheer layers, applying one thin coat at a time. Blot between layers using tissue to boost staying power and avoid heaviness. This method works well for all-day wear.
For added shine, mix gloss over matte finishes. Apply gloss sparingly on the center of lips to create a plump effect. Experiment with these steps to suit your skin tone and occasion.
Custom Shades from Existing Lipsticks
Blend lipsticks of different intensities to invent shades that complement your current mood or outfit. This DIY approach revives old products in your makeup bag. Warm dried-out sticks between your fingers first for smooth application.
Swatch candidate lipsticks on the back of your hand to preview combinations. Mix tiny dabs with your finger, like berry plus nude for a muted rose. Test the blend before full application.
- Swatch candidates on hand.
- Mix tiny dabs on back of hand with finger.
- Apply with doe-foot applicator or finger.
- Blot and layer gloss for finish.
Apply your custom shade with a doe-foot wand or fingertip for even coverage. Blot once to set, then add a clear gloss topper from your collection. These steps create personalized looks without new purchases.
Elevate Lashes and Brows Naturally
Enhance lashes and brows using clear mascara alternatives and grooming tricks from your kit. These simple methods help you refresh your look without new purchases. Focus on items already in your makeup bag for quick results.
Start with your lashes by curling them first for lift. Apply petroleum jelly or a clear gloss base to the lashes, then use a tight-line technique with dark powder for definition. This creates a natural, separated look that lasts.
For brows, tame stray hairs with lip balm using a spoolie brush. Fill sparse areas gently with brow shadow or a matching powder for fullness. These steps make your features pop effortlessly.
A pro tip is using Vaseline to separate clumpy mascara. Brush it through after application for smooth, defined lashes. Practice these techniques to elevate your everyday makeup routine.
Refreshing Lashes with Household Staples
Transform tired lashes using petroleum jelly as a clear mascara substitute. Curl lashes with your curler, then coat them lightly with jelly for shine and hold. Follow by tight-lining the upper waterline with a dark eye shadow powder mixed with a drop of gloss.
This method avoids heaviness while adding subtle length. It works well for a no-mascara day when you want a fresh, awake appearance. Keep the powder precise to prevent fallout under the eyes.
If mascara clumps unexpectedly, dab on a bit of clear gloss base or Vaseline with a clean spoolie. Comb through gently from root to tip. Your lashes will look separated and voluminous in seconds.
Grooming Brows for Definition
Achieve polished brows by brushing them with lip balm on a spoolie. The balm holds hairs in place without stiffness, mimicking clear brow gel. Choose a tinted balm for extra color if needed.
Fill gaps with a soft eye shadow that matches your hair tone. Use an angled brush for precision, blending softly afterward. This fills brows naturally without harsh lines.
For best results, work in thin layers. Set with a light dust of translucent powder if you have it. Your brows will frame your face beautifully, refreshing your overall look.
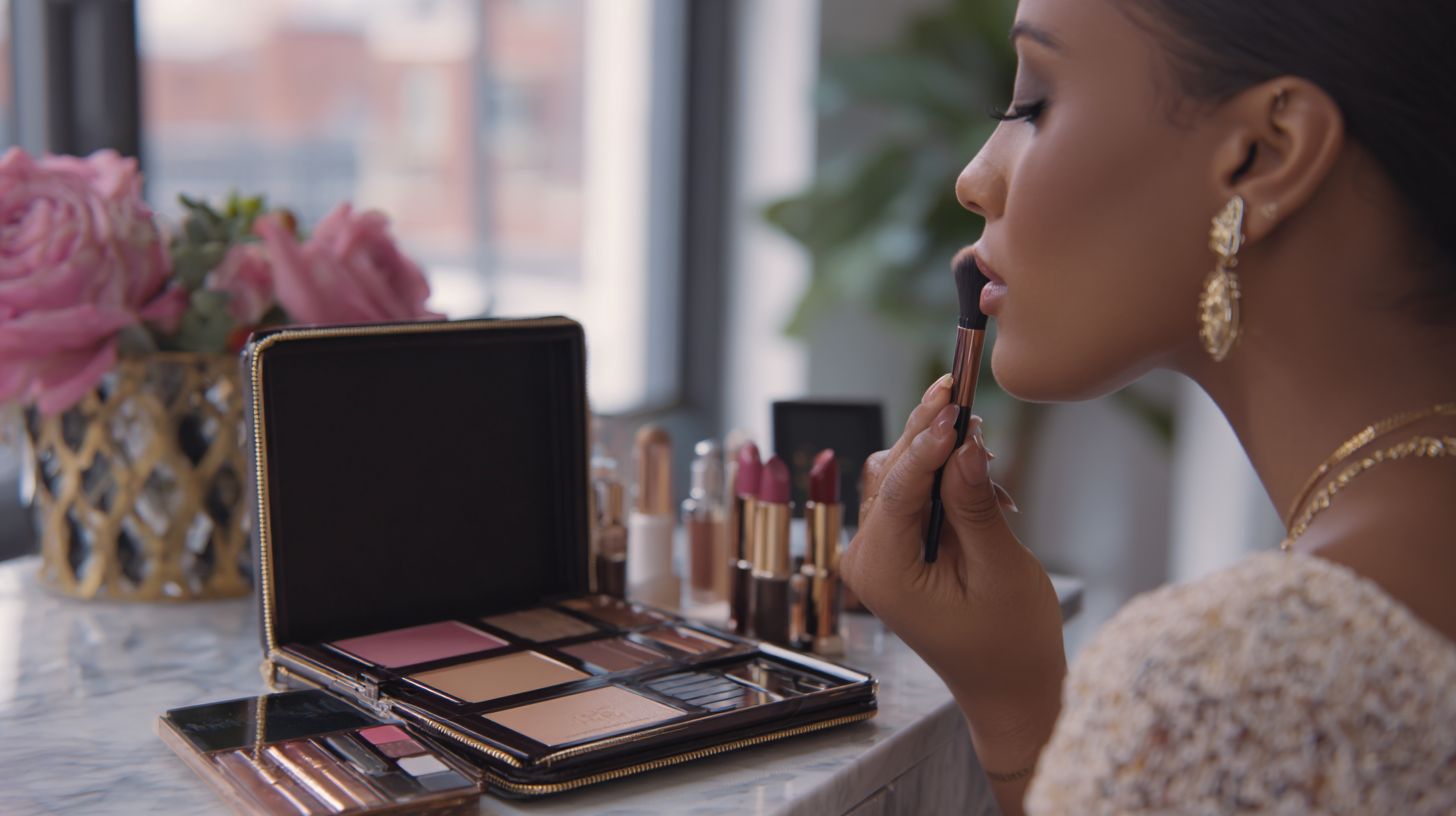
Quick Face Contouring on a Budget
Sculpt features using matte eyeshadows or foundation shades darker or lighter than your skin tone. This technique lets you refresh your look using only what’s already in your makeup bag. Focus on natural results with products you have on hand.
Start with the hollows of your cheeks. Pick a cool brown shadow and sweep it lightly into the area below your cheekbones. Blend well for a subtle shadow effect.
Define your jawline and sides of the nose next. Use the same shade along the edges, keeping strokes feather-light. A fluffy brush helps diffuse harsh lines.
Highlight the center of your face with a lighter product like a shimmery eyeshadow or leftover foundation. Apply to forehead, nose bridge, and chin cupid’s bow. Practice in neutral lighting to keep everything sheer and natural.
Target Areas for Contouring
Concentrate on three main spots to enhance your bone structure. The hollows of cheeks create lift, jawline sharpens definition, and nose sides slim the appearance. Use items from your makeup bag for this budget-friendly refresh.
For cheeks, dip a brush into taupe or cool brown shadow and trace under the bone. Jawline gets a soft line from ear to chin corner. Nose sides need just a hint along each edge.
Blend edges outward with a fluffy brush in circular motions. This prevents muddy looks and keeps contours realistic. Test on your hand first to check intensity.
Highlighting ties it together. Dab lighter shade on high points for glow. Sheer layers mimic professional contouring without new purchases.
Blending and Highlighting Tips
After shading, grab your fluffy brush for blending. Buff edges softly to avoid streaks and achieve a seamless finish. This step is key in how to refresh your look using only what’s already in your makeup bag.
Choose a lighter product for highlights, such as a pale foundation or champagne shadow. Pat it onto the face center where light naturally hits. Build gradually for even coverage.
Work in neutral lighting to see true results. Natural window light works best during the day. Adjust as needed for evening wear.
Keep everything sheer and diffused. Overdoing it looks heavy, so layer lightly. Practice a few times to master the natural effect.
Frequently Asked Questions
How to Refresh Your Look Using Only What’s Already in Your Makeup Bag: What does this mean?
Refreshing your look using only what’s already in your makeup bag means revamping your appearance with everyday products you have on hand, without buying anything new. Focus on creative combinations of foundations, lipsticks, eyeshadows, and more to achieve fresh, updated styles like subtle daytime glows or bold evening vibes.
How to Refresh Your Look Using Only What’s Already in Your Makeup Bag for a natural daytime style?
For a natural daytime refresh, mix a tinted moisturizer or foundation with a touch of highlighter from your bag for dewy skin. Use a neutral eyeshadow as a brow filler, line eyes thinly with brown liner or mascara wand, and add a nude lipstick blended with balm for soft lips-all from your existing stash.
How to Refresh Your Look Using Only What’s Already in Your Makeup Bag with bold lips?
Transform your look with bold lips by lining with a darker lipstick shade as liner, filling in with your brightest red or berry hue, and setting with clear gloss or powder. Pair with minimal eye makeup using a single neutral shadow to keep the focus on lips, all using items already in your makeup bag.
How to Refresh Your Look Using Only What’s Already in Your Makeup Bag for smoky eyes?
Create smoky eyes by blending two or three complementary eyeshadows from your palette over the lid and into the crease. Smudge a kohl pencil or lipstick along the lash line for intensity, then highlight inner corners with a light shadow or shimmer-repurposing what’s already in your makeup bag for drama.
How to Refresh Your Look Using Only What’s Already in Your Makeup Bag on a budget?
This approach is inherently budget-friendly since it relies solely on products in your makeup bag. Experiment with multi-use items like using cream blush as lip color, mascara to tint brows, or loose powder mixed with water for a cream contour, maximizing value without extra spending.
How to Refresh Your Look Using Only What’s Already in Your Makeup Bag for different occasions?
Adapt for occasions by layering: light foundation and mascara for office days; intensified blush and layered shadows for evenings. Use lipstick as a multi-tool for cheeks and eyes-tailor freshness to events using only what’s already in your makeup bag for versatile, effortless updates.