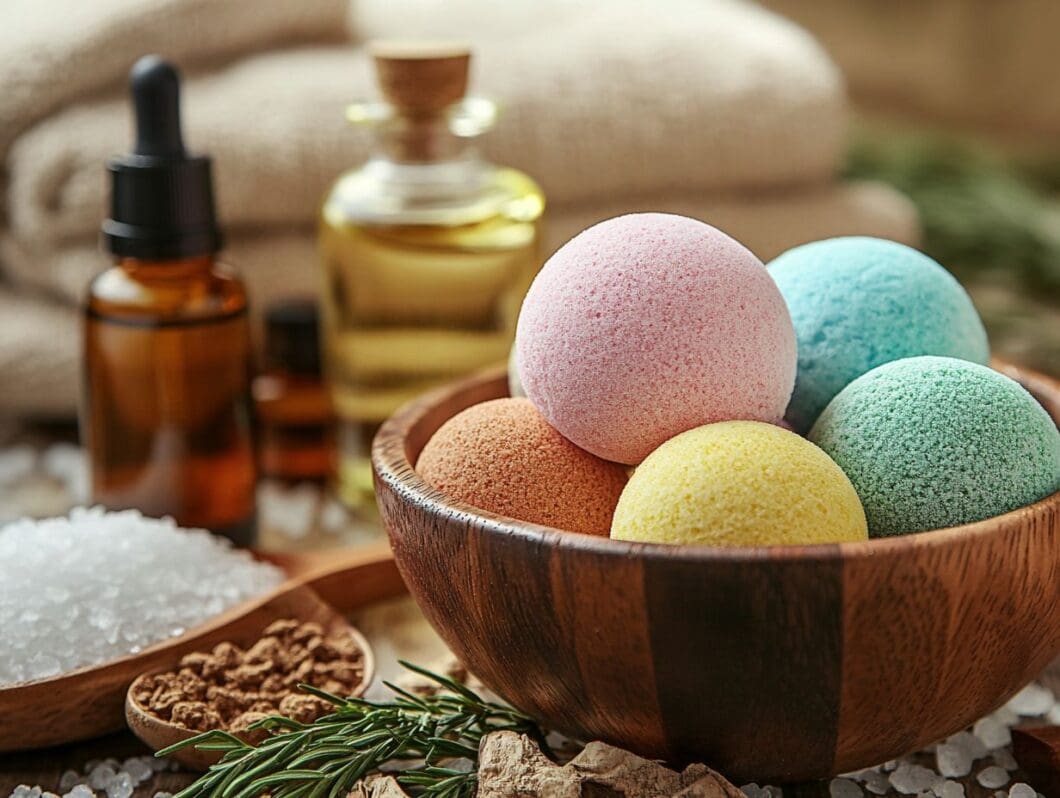
Discover the delightful world of DIY bath bombs and transform your bathing routine into a luxurious spa experience!
This article will guide you through everything you need to know, from the materials and tools required to step-by-step instructions for mixing and molding your own creations.
Learn how to customize your bath bombs with enticing scents and vibrant colors, plus tips to elevate your relaxation time.
Get ready to unwind and indulge in a soothing soak!
Key Takeaways:
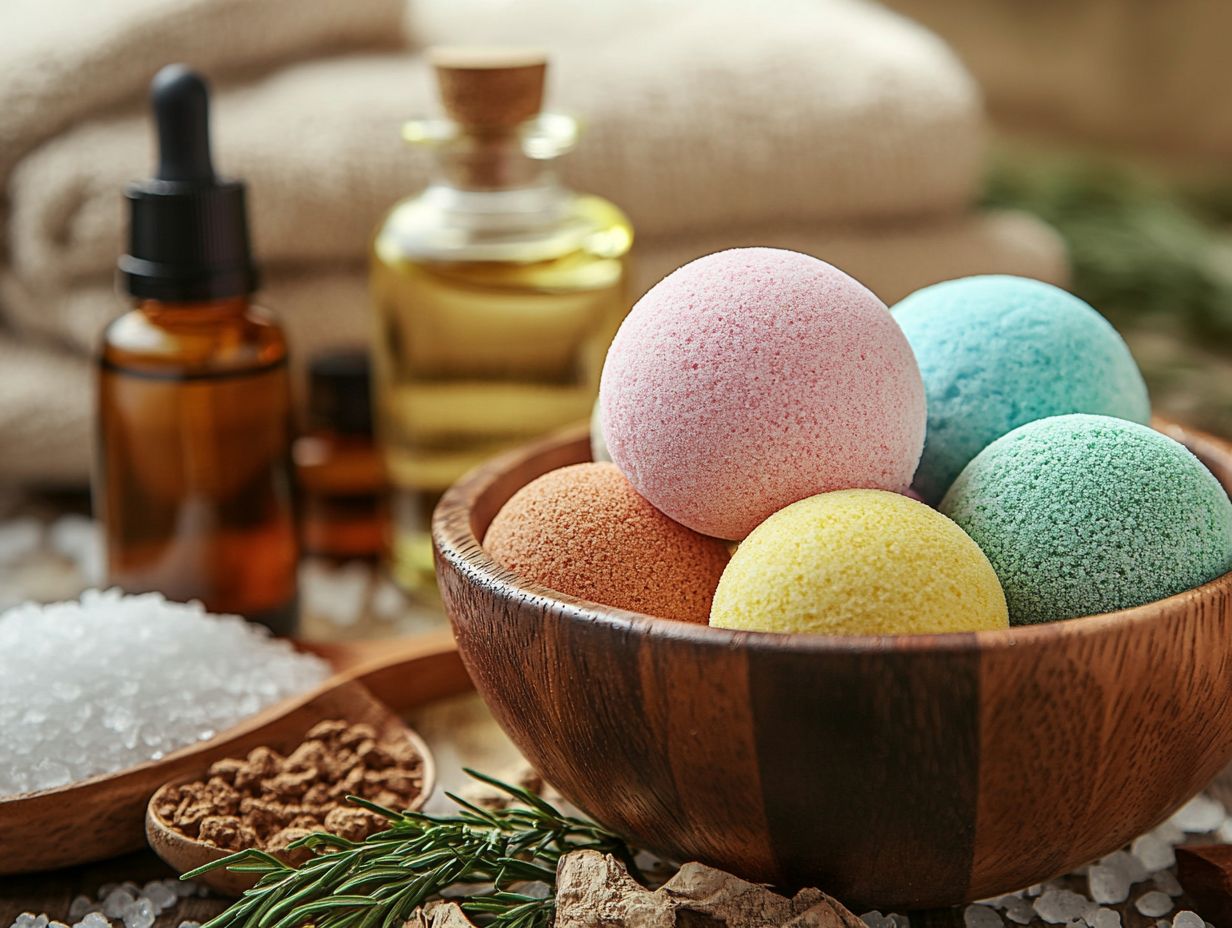
What are Bath Bombs and Their Benefits?
Bath bombs are effervescent spheres designed to dissolve in water, producing a delightful fizzing reaction accompanied by a burst of vibrant colors, essential oils, and therapeutic effects. This transformation elevates an ordinary bath into a luxurious spa experience within the home.
The appeal of these homemade products extends beyond their visual allure; they also possess skin-friendly properties and wellness benefits. Each bath bomb typically includes moisturizing components such as shea butter or cocoa butter, which work to hydrate and soften the skin during the bathing process.
Moreover, the incorporation of natural fragrances offers aromatherapy advantages, fostering relaxation and alleviating anxiety throughout the bathing ritual. This combination of wholesome ingredients culminates in an indulgent experience, allowing individuals to unwind in the comfort of their homes.
As a result, bath bombs serve as an excellent choice for personal pampering or as thoughtful gifts that promote overall well-being.
Materials and Tools Needed
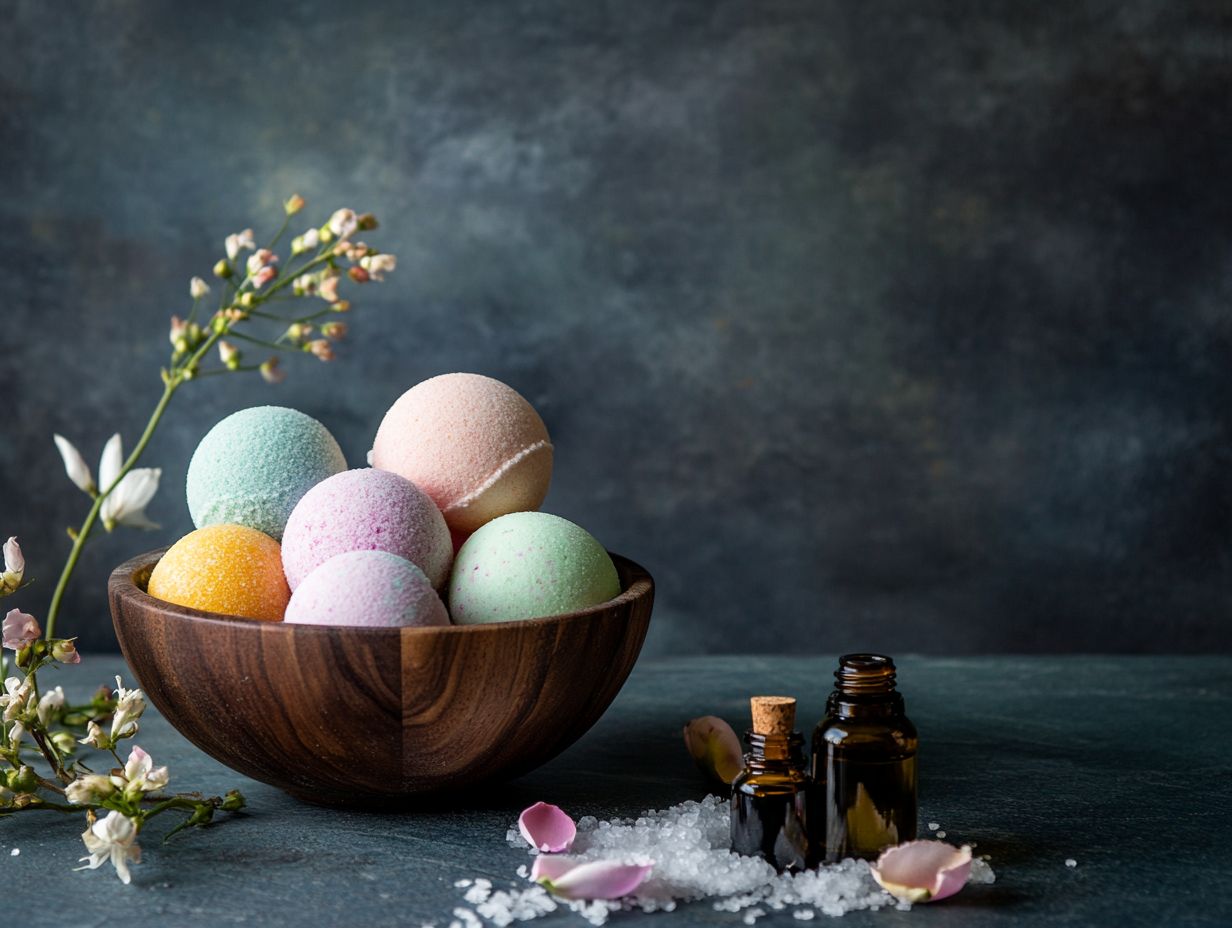
Creating homemade bath bombs necessitates several essential materials and tools to ensure a successful DIY project. Key dry ingredients include baking soda, citric acid, and Epsom salts, while wet ingredients such as essential oils and liquid soap dye are important for achieving vibrant colors.
Additionally, bath bomb molds are required to shape the final products, and corn starch serves as a binding agent to hold the components together.
The selection of appropriate materials not only facilitates the desired fizz reaction but also enhances the therapeutic benefits of the bath bombs, making them ideal for stress relief and providing a luxurious spa-like experience.
Gathering Ingredients and Supplies
To create homemade bath bombs, it is essential to gather a selection of natural ingredients, including baking soda, citric acid, Epsom salts, and corn starch, as these form the fundamental base of the fizzing product.
Each of these components contributes significantly to achieving the desired effervescence upon contact with water. Baking soda, an alkaline compound, helps to balance the skin’s pH while imparting softness. In contrast, citric acid enhances the effervescence, transforming the bath into a rejuvenating experience. Epsom salts not only provide relief for sore muscles but also promote relaxation, making them particularly suitable for a calming soak after a demanding day. Corn starch serves as a binder, ensuring the bath bombs maintain a firm texture.
By utilizing natural colorants such as beet juice or turmeric, one can infuse the bath bombs with vibrant colors while evading harsh chemicals. The addition of essential oils further enhances this experience; for example, eucalyptus offers a refreshing clarity, whereas chamomile provides a calming aroma.
Customizing with various fragrances and colors not only elevates the sensory experience but also allows for individual touches, making each bath uniquely personal.
Step-by-Step Instructions
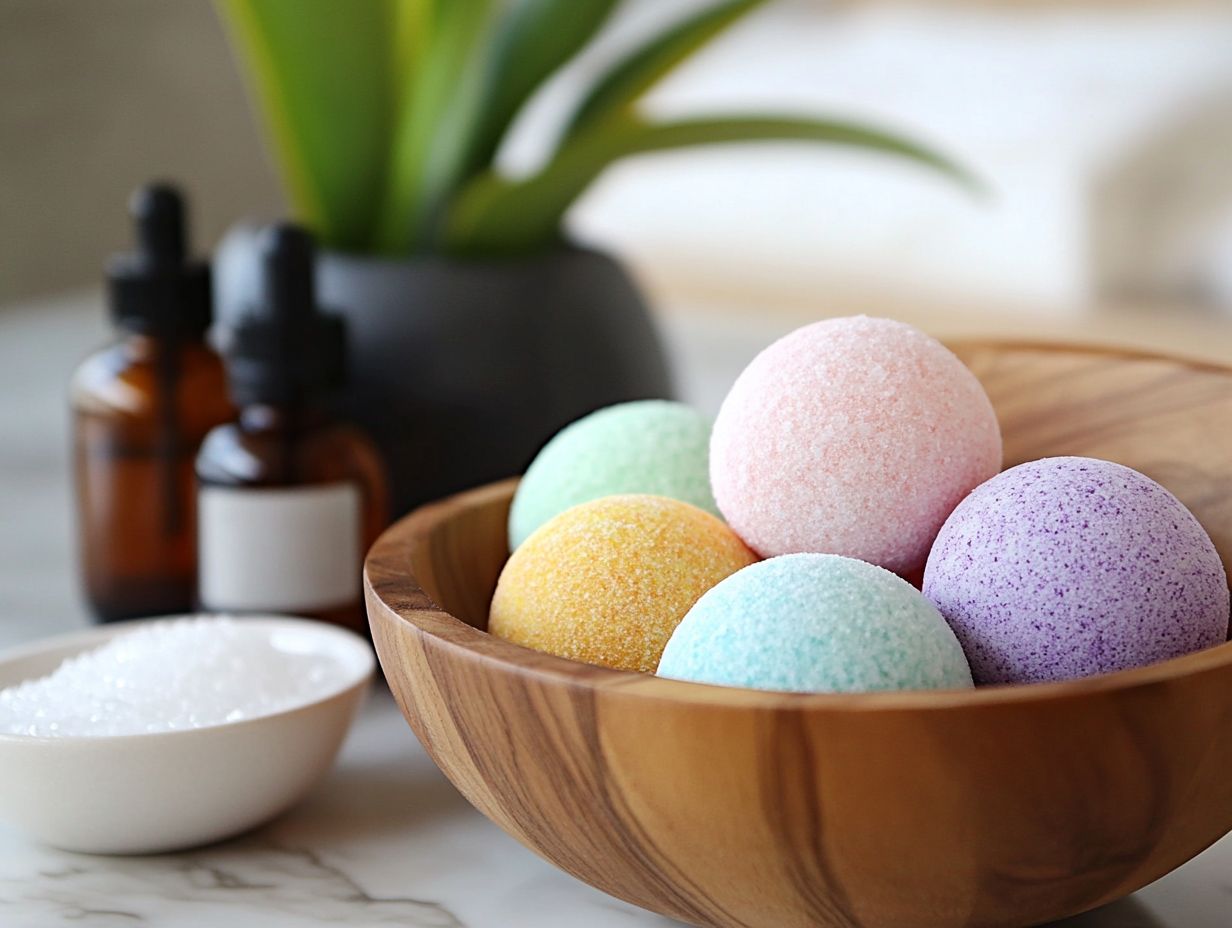
The process of creating homemade bath bombs is both enjoyable and straightforward. It involves mixing dry ingredients, such as baking soda, citric acid, and Epsom salts, in one bowl, while wet ingredients, including essential oils and liquid soap dye, are combined in another.
The key to achieving the ideal fizz reaction lies in gradually integrating these mixtures until they attain a consistency similar to damp sand.
Subsequently, it is essential to pack the combined mixture tightly into bath bomb molds to ensure they maintain their shape. Adhering to these simple recipe steps will guarantee that the bath bombs expand beautifully in water, providing a relaxing soak and enhancing the overall spa experience.
Mixing and Molding Your Bath Bombs
Mixing and molding bath bombs is a critical process that requires the careful combination of dry and wet ingredients to achieve the desired consistency for optimal fizz reaction. Begin by thoroughly blending the dry ingredients in a bowl, then gradually incorporate the wet ingredients, ensuring even distribution throughout the mixture.
When the mixture develops a clumping texture, it can be tightly packed into bath bomb molds to create aesthetically pleasing shapes that enhance the bathing experience.
For optimal results, it is advisable to maintain a ratio of approximately two parts dry ingredients to one part wet ingredients. This balance facilitates an effective fizzing effect upon the bath bomb’s dissolution. Additionally, incorporating essential oils or fragrances along with the wet components is recommended to ensure a pleasant aroma during use.
For those interested in experimenting with various shapes, silicone molds are suitable for intricate designs, while sturdy plastic molds are ideal for larger, more robust bath bombs. Utilizing a fine spray bottle can assist in controlling the amount of liquid added, thereby preventing premature fizzing of the mixture. It is essential to allow the formed bath bombs to dry for a minimum of 24 hours to ensure they retain their shape effectively.
Customization Options
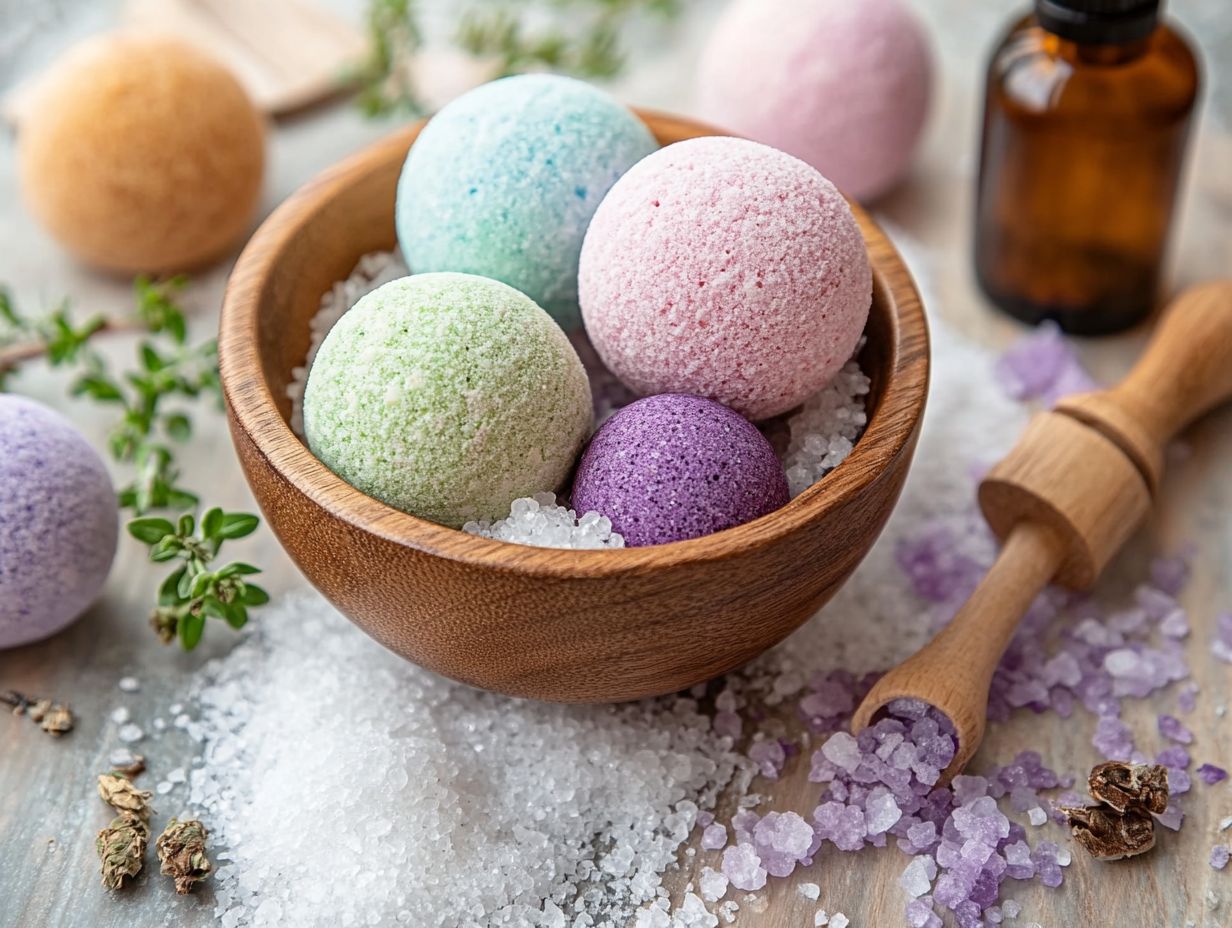
The customization options for bath bombs are extensive, enabling individuals to personalize each creation with distinctive scents, vibrant colors, and specialized therapeutic ingredients according to their preferences.
By selecting essential oils such as lavender or incorporating organic components into the formulation, one can enhance both the fragrance and therapeutic benefits. The inclusion of food coloring or natural pigments contributes to a visually appealing bathing experience, making these creations suitable for gifting or as an engaging project with children.
Adding Scent, Color, and Additional Ingredients
Incorporating scent and color into bath bombs can significantly enhance the overall experience, with the selection of essential oils playing a pivotal role in the accompanying aromatherapy benefits. For example, lavender essential oil is known for its relaxation properties, while other fragrance oils may serve to energize or uplift one’s mood. The addition of food coloring not only renders bath bombs visually appealing but also contributes to the enjoyment of a luxurious bubble bath, transforming each soothing soak into a spa-like retreat. For those interested in making their own, check out this guide on DIY Bath Bombs: Create Your Own Spa Experience.
To cultivate an inviting atmosphere, one might consider blending sweet orange essential oil with vibrant yellow hues for a cheerful summer ambiance, or combining eucalyptus with calming blues to evoke a refreshing spa experience. The visual aspect is equally important as the fragrance; utilizing natural colorants, such as beet powder or spirulina, can provide an aesthetically pleasing palette while adhering to a more organic approach.
Achieving a balance between these aesthetic elements and their therapeutic properties ensures that each bath not only engages the senses but also promotes overall well-being. This allows individuals to partake in a truly holistic self-care ritual.
Tips for a Relaxing Bath Experience
To maximize the relaxing experience of your bath, it is advisable to create a tranquil atmosphere that complements the use of homemade bath bombs. Integrating elements that promote stress relief and enhance the therapeutic effects of your soak is essential.
Begin by dimming the lights and lighting candles to establish a calming ambiance. Additionally, incorporating Epsom salts into the bathwater can provide further relaxation benefits. This approach fosters a holistic self-care routine that nurtures both the body and mind, allowing individuals to unwind and rejuvenate after a demanding day.
Enhancing Your Bath with DIY Bath Bombs
Enhancing one’s bathing experience with DIY bath bombs can transform a standard soak into a rejuvenating spa-like retreat, promoting self-care and relaxation. These homemade beauty products offer customization options and provide therapeutic benefits that alleviate tension in both the body and mind. Whether one prefers vibrant bath bombs infused with essential oils for their aromatherapy properties or simply enjoys the effervescent reaction, incorporating these delightful creations into a bathing routine elevates the experience to new heights of luxury and enjoyment.
The process of creating these unique bath products can also serve as an enjoyable activity, allowing individuals to explore various scents, colors, and ingredients that reflect their personal preferences. As one experiments with different combinations, it becomes possible to discover what aligns best with their emotional state, ultimately transforming the bath into a sanctuary for rejuvenation.
Moreover, taking the time to savor a soak with a meticulously crafted bath bomb not only aids in relaxing fatigued muscles but also fosters mental clarity and emotional well-being. This practice encourages a healthy routine of self-love and care that is essential for everyone.


