

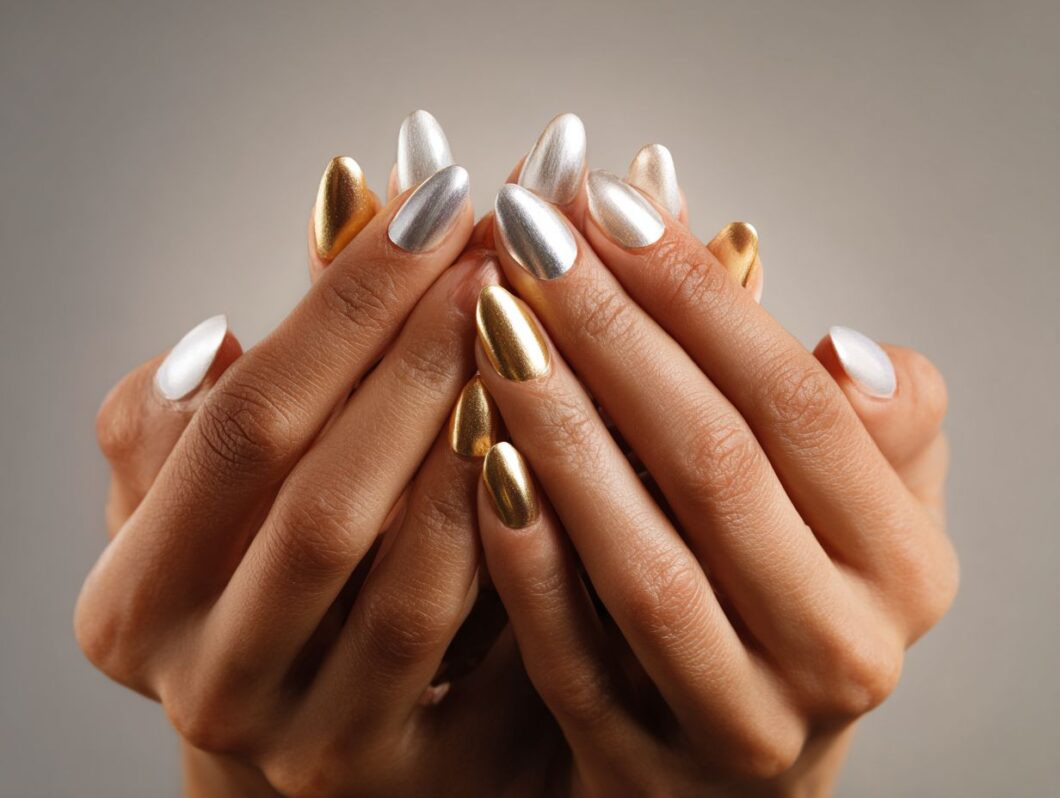
Chrome nails have taken the beauty world by storm with their stunning, mirror-like finish that exudes sophistication. As a nail enthusiast and part of the vibrant nail community, I’ve watched this trend grow, transforming ordinary manicures into striking fashion nails statements. In this guide, I’ll walk you through what chrome nails are, why they’ve become a must-have in nail trends, and the essential tools you need for professional nails at-home. Plus, I’ll share my step-by-step tips for achieving this creative nails look at home, ensuring your nails shine as bright as your ambitions, embracing nail fashion effortlessly.
What Are Chrome Nails?
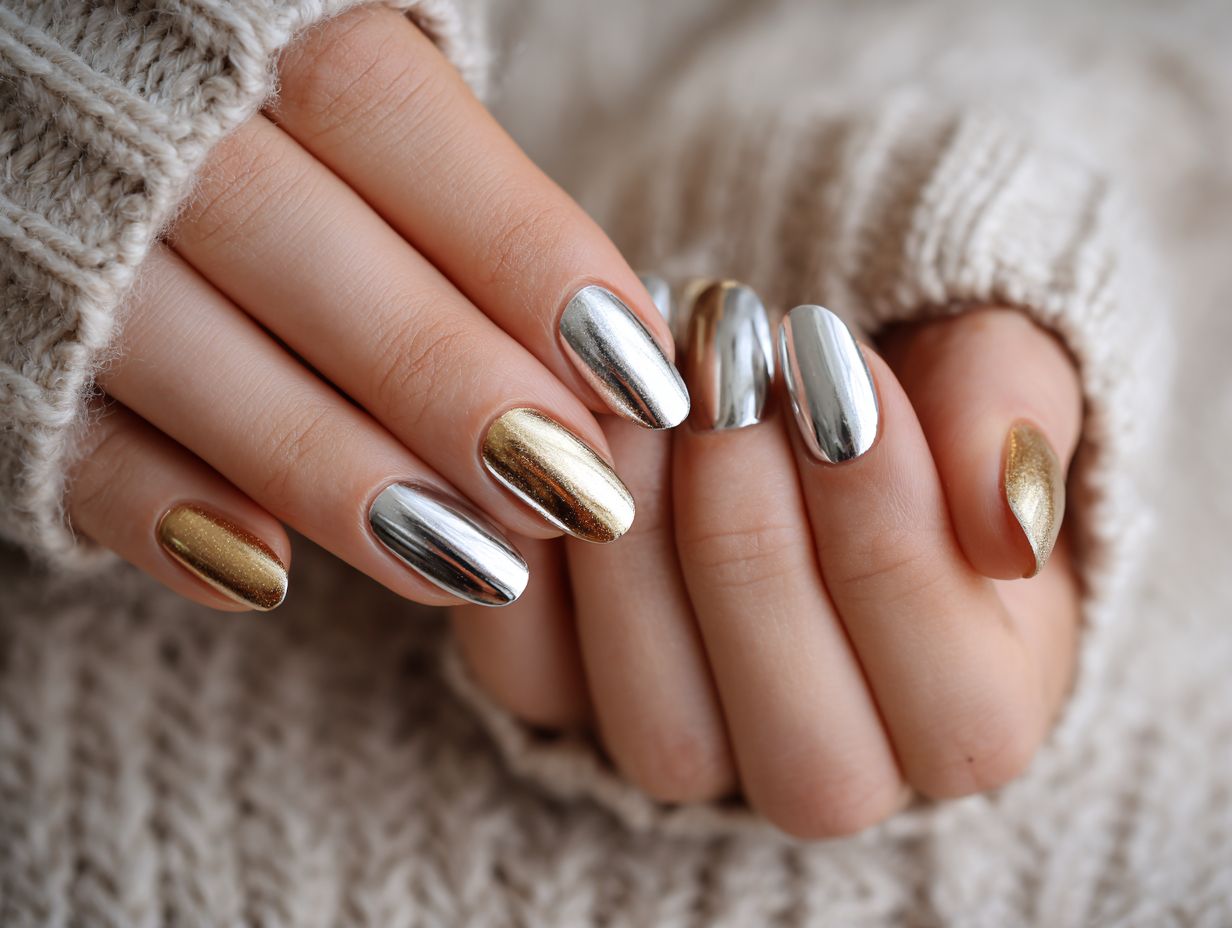
I achieve chrome nails by applying chrome powder over a gel base coat, resulting in a reflective, metallic finish that truly captivates attention, using nail art techniques to enhance the mirror effect.
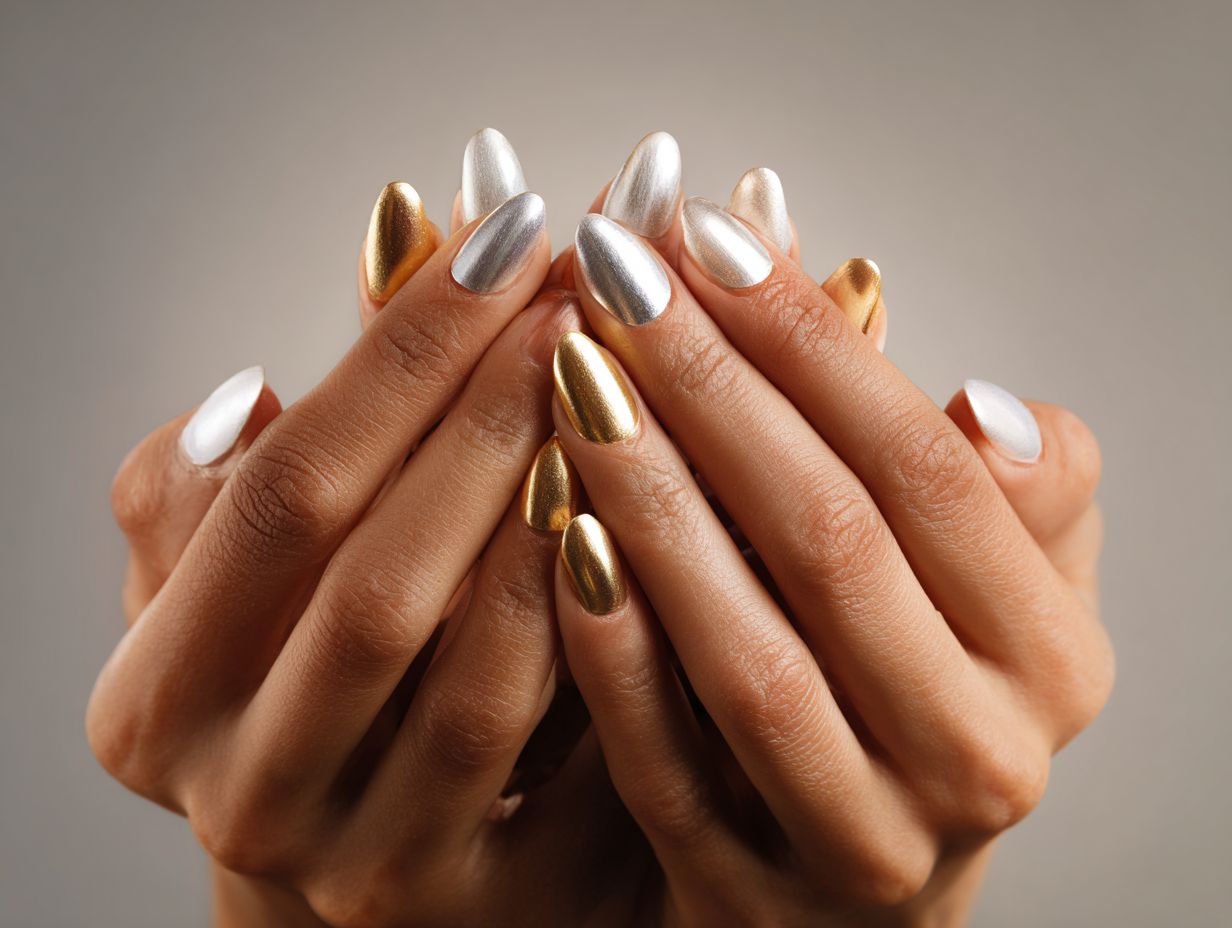
To create this stunning look, I begin by applying a black gel polish as my base coat to ensure the best contrast. After curing the base, I gently buff the surface to a smooth finish before applying the chrome powder with a soft applicator.
I then seal the chrome with a clear top coat and cure it again to guarantee longevity. Compared to traditional nail types, chrome nails are distinguished by their high shine and mirror-like appearance, making them perfect for special occasions or as a bold choice for everyday wear.
Why They’re Trending in Beauty Trends
The recent surge in popularity of chrome nails can be attributed to their striking appearance and the significant influence of social media platforms such as Instagram nails, where captivating nail art visuals often go viral.
Celebrity endorsements also play a crucial role in this trend. Notably, stars like Kylie Jenner and Dua Lipa have prominently showcased chrome nails and unique nails designs in their posts, inspiring fans to replicate the look.
Additionally, nail tutorials on TikTok nails greatly contribute to this rise; hashtags like #ChromeNails have garnered millions of views, making the style more accessible to a wider audience.
The convenience of DIY nails at-home application with kits from reputable brands like Modelones or Gelish has further propelled its popularity, enabling enthusiasts to achieve salon-quality results with minimal effort.
Essential Tools and Materials
To achieve stunning chrome nails, I ensure that I have a selection of essential tools and materials that facilitate a flawless application.
Nail Preparation Supplies and Nail Art Supplies
Proper nail preparation and nail hygiene are essential for achieving optimal results, and I always invest in quality tools such as a nail file ($10), a buffer ($8), and a cuticle remover ($6). I also consider using a base coat to protect my nails before applying chrome polish. Brands like Orly Bonder ($10) are excellent choices as they create a tacky layer that enhances adhesion, ensuring a longer-lasting finish.
To further improve the results, I utilize a UV lamp to cure the polish and increase its durability; I find options like the MelodySusie 54W ($50) to be quite effective.
I make sure to follow these nail care steps meticulously:
- I start by shaping and smoothing my nails.
- Then treat my cuticles.
- Finish with a top coat to lock in the chrome effect and shine.
Chrome Powder Options for Metallic Nails
There are several chrome powder options available that I find quite appealing.
For instance, the Starlet Chrome Powder, priced at $15, offers a vibrant finish that really stands out. On the other hand, the Born Pretty Mirror Powder, at $12, provides a more subtle glow that can be quite elegant.
I also appreciate the Kiara Sky Chrome Powder, which costs $20 and is well-regarded for its high-quality application, delivering a stunning and long-lasting finish. For those seeking a more budget-friendly alternative, the Modelones Chrome Powder at $10 is an excellent choice, as it offers a similar effect with slightly less intensity.
Before making a purchase, I recommend considering the finish desired-whether it be reflective, shimmering, or a soft metallic look, aligning with the nail aesthetics one aims for. This approach ensures that the chosen product aligns with the nail art style one aims for, ultimately leading to greater satisfaction with the manicure.
Top Coats and Base Coats for Nail Longevity
Utilizing high-quality base and top coats, such as the Gelish Foundation Base Coat ($12) and the Seche Vite Top Coat ($9), is essential for achieving a long-lasting chrome finish. These products not only enhance the shine but also provide a protective layer that is crucial for chrome nails.
The Gelish Foundation Base Coat serves as a strong adhesive, ensuring the chrome polish adheres effectively, while Seche Vite accelerates drying time and adds a glossy finish.
To further ensure durability, I recommend applying two thin layers of the chrome polish followed by the top coat. This meticulous approach typically results in a stunning, chip-resistant manicure that can last for weeks.
Step-by-Step Guide to Achieving Chrome Nails and Creative Nail Art
I will follow this detailed step-by-step guide to successfully achieve stunning chrome nails at home in under an hour.
Preparing Your Nails for Optimal Nail Application
I begin by thoroughly cleaning my nails, using a nail file to shape them and a buffer to ensure a smooth canvas for application.
Next, I apply a cuticle remover and gently push back my cuticles with a wooden stick or cuticle pusher, which typically takes about 2-3 minutes.
Once my cuticles are neatly pushed back, I rinse my hands to remove any residue. I then apply a base coat to protect my nails and enhance polish adhesion, allowing it to dry for approximately 5 minutes.
For the final touch, I select my favorite nail polish and apply two thin coats, ensuring to allow around 5 minutes of drying time between each. This entire preparation process usually takes about 10-15 minutes in total.
Applying Base Coat for Nail Durability
I apply a thin layer of base coat evenly on my nails and cure it under a UV/LED lamp for 30 seconds to ensure proper adherence. After curing, I carefully examine the surface for any uneven areas.
If I notice any spots, I use a small brush to touch up those areas with a little extra base coat, curing again for another 30 seconds. This step is crucial for creating a smooth foundation for my nail art.
I always work in a well-lit area to clearly assess the evenness of my application. Keeping a lint-free wipe nearby allows me to clean up any mistakes before curing.
I understand that a well-prepped nail bed enhances overall wear and minimizes chipping, which is essential for achieving a polished look.
Applying Chrome Powder for a Mirror Effect
Using a makeup sponge, I carefully dab the chrome powder onto the cured base coat, ensuring full coverage before gently buffing it to achieve a smooth nail finish.
To obtain optimal results, I begin with a small amount of chrome powder to prevent overwhelming the surface. I apply light pressure while dabbing to facilitate effective adherence of the powder.
Once I have covered the entire area, I utilize a clean, dry brush to gently buff the surface. This step is crucial for ensuring a shiny and even chrome effect. If I encounter any clumping, I lightly tap the sponge on a clean surface to remove excess powder before proceeding with the application.
Finally, I always seal the completed look with a top coat to preserve the chrome finish and enhance its durability.
Finishing with Top Coat for Shiny Nails
I always seal my design with a generous layer of top coat and cure it for an additional 30 seconds to enhance both shine and durability. Using a high-quality top coat is crucial for protecting my chrome nails from chipping and fading.
I prefer gel formulas such as Gelish Top It Off for a lasting finish or OPI GelColor Top Coat for an extra glossy effect.
After applying the top coat, I ensure it’s thoroughly cured under a UV or LED lamp to lock in that brilliance. It’s important to remember to wipe off the inhibition layer with isopropyl alcohol after curing, which helps maintain that stunning mirror-like finish.
This final touch not only elevates the appearance but also significantly extends the life of my manicure.
Tips for Long-Lasting Chrome Nails and Nail Durability
To maintain the fresh and shiny appearance of my chrome nails, I implement essential maintenance tips that help extend their longevity.
Maintenance and Care for Nail Health
I regularly apply cuticle oil ($5) and avoid harsh chemicals to keep my chrome nails in pristine condition for up to two weeks. To further enhance their longevity, I use a high-quality top coat like Seche Vite ($9) to add shine and provide protection against chipping.
For touch-ups, I consider using Posh Nail’s Chrome Powder ($12); it effectively refreshes any dull areas and maintains the overall finish. Regarding cleaning, I opt for gentle soap and steer clear of acetone-based removers, as they can dull the shine.
By following these practices, I not only prolong the lifespan of my nails but also ensure they remain fabulous and vibrant.
Common Mistakes to Avoid in Nail Art Designs
I make it a priority to avoid common pitfalls, such as applying excessive layers of chrome powder or using inferior top coats, as these practices can lead to chipping and dullness.
To achieve a flawless chrome nail application, I always start with a high-quality base coat, such as Gelish’s pH Bond, which enhances adhesion.
After curing the base coat, I apply a thin, even layer of chrome powder, keeping in mind that less is more to prevent lumps. I then use a reliable top coat, like Gelish’s Top It Off, ensuring it is specifically designed for chrome applications.
I ensure that each layer is thoroughly cured under an LED lamp for optimal durability. By following these steps, I can maintain the shine and integrity of my chrome nails for a much longer period.
Alternatives to Chrome Nails and Holographic Nails
If chrome nails aren’t my preferred choice, I can explore these trendy alternatives that provide unique aesthetics and allow for creative expression.
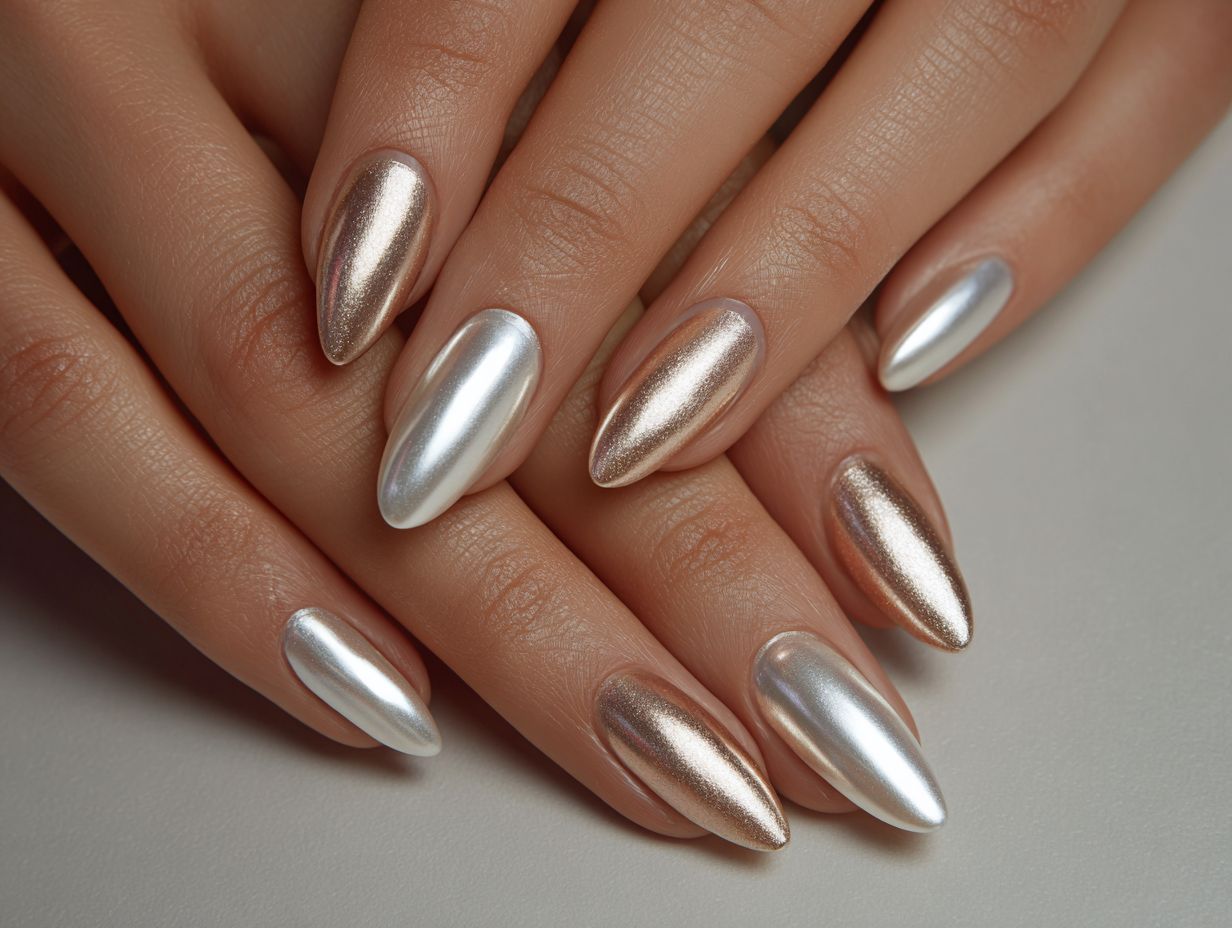
Other Metallic Nail Trends and Nail Polish Trends
From mirror nails to holographic finishes, I find that metallic nail trends provide a wide array of options for anyone looking to achieve a standout look. Popular metallic finishes include chrome, which delivers a polished mirror effect, and satin, known for its soft shimmer. Holographic nails create a prismatic effect, shifting colors with the light, adding a unique touch. Nail designs for beginners can start with these trends to explore nail inspiration.
To achieve these stunning looks, I recommend starting with a base coat to ensure smooth application. Applying metallic polish in thin layers is key; I allow each layer to dry completely before adding additional coats. Finally, I finish with a glossy or matte top coat, depending on the desired effect. Consider using quick dry polish for efficient nail finishing.
Regarding selecting high-quality metallic polishes, I suggest considering brands like Essie, OPI, or Sally Hansen, as they provide vibrant, long-lasting results. Exploring nail polish brands can lead to finding eco-friendly nails and cruelty-free products.
DIY Nail Art Ideas and Easy Nail Art Techniques
I enjoy experimenting with DIY nail art ideas, such as ombre effects and glitter gradients, using tools I already have on hand for a creative touch. These DIY nails offer a wonderful opportunity for nail transformation.
To start, I gather a few simple tools that are typically available, including a makeup sponge, tape, and an assortment of nail polish colors.
For creating an ombre effect, I paint a base coat and then dab a sponge with two complementary colors, gently pressing it onto my nails for a seamless blend. Including nail accessories like nail gems can add a festive nails appeal.
Regarding glitter gradients, I apply a solid color as a base and then use a makeup brush to dust glitter toward the tips of my nails. This process allows me to experiment with different color combinations and application techniques, helping me discover unique designs that truly reflect my personal style. Try incorporating nail stickers for added nail graphics.
Final Thoughts on Chrome Nails
I embrace the chrome nail trend and encourage others to experiment with various colors and finishes to discover their signature style. To begin this journey, I recommend using gel polish for its long-lasting shine and durability. Brands such as Gelish and Kiara Sky provide an extensive selection of metallic shades that are ideal for achieving that coveted chrome effect. Consider seasonal nail trends for a continuous flow of nail inspiration.
When applying the polish, it is essential to prepare the nails by buffing them lightly to ensure a smooth surface. Afterward, I apply a base coat, followed by two layers of my chosen color, and finish with a no-wipe top coat to add an extra layer of gloss. Buffing is a crucial step in nail maintenance and ensures nail shine.
I also believe in enhancing chrome nails with nail art or gems for a distinctive touch. Allowing creativity to shine through is important, and I enjoy sharing my designs with others. Nail influencers on Instagram and TikTok nails often showcase trendy nails designs.
Frequently Asked Questions on At-home Manicure Techniques
What are chrome nails and why are they so popular?
Chrome nails are a type of nail design that uses a metallic or holographic powder to create a shiny, reflective finish. They have become popular in recent years due to their unique and eye-catching appearance. Incorporating nail extensions can enhance the look for those seeking nail transformation.
Can I achieve the chrome nail look at home?
Yes, you can! With the right tools and materials, you can easily recreate the chrome nail look at home. It may take some practice to perfect, but it is definitely doable. Invest in high-quality manicure sets for professional results.
What do I need to create chrome nails at home?
To achieve the chrome nail look at home, you will need a base coat, a chrome powder, a top coat, and a UV or LED lamp. You may also want to have some rubbing alcohol and a makeup brush on hand for cleaning up any excess powder. Nail tools like nail brushes are essential for precise application.
Is it difficult to create chrome nails at home?
It may take some practice to get the technique down, but with a little patience and attention to detail, you can easily create beautiful chrome nails at home. Just remember to take your time and be precise in your application. Consult nail art tutorials for step-by-step guidance.
Are there any tips for achieving the perfect chrome nails?
Some tips for achieving the perfect chrome nails at home include using a matte base coat, applying the chrome powder with a gentle touch and buffing it in a circular motion, and sealing it with a good quality top coat. Also, make sure to clean up any excess powder around your cuticles before curing under the lamp. This process aids in nail growth and ensures nail safety.
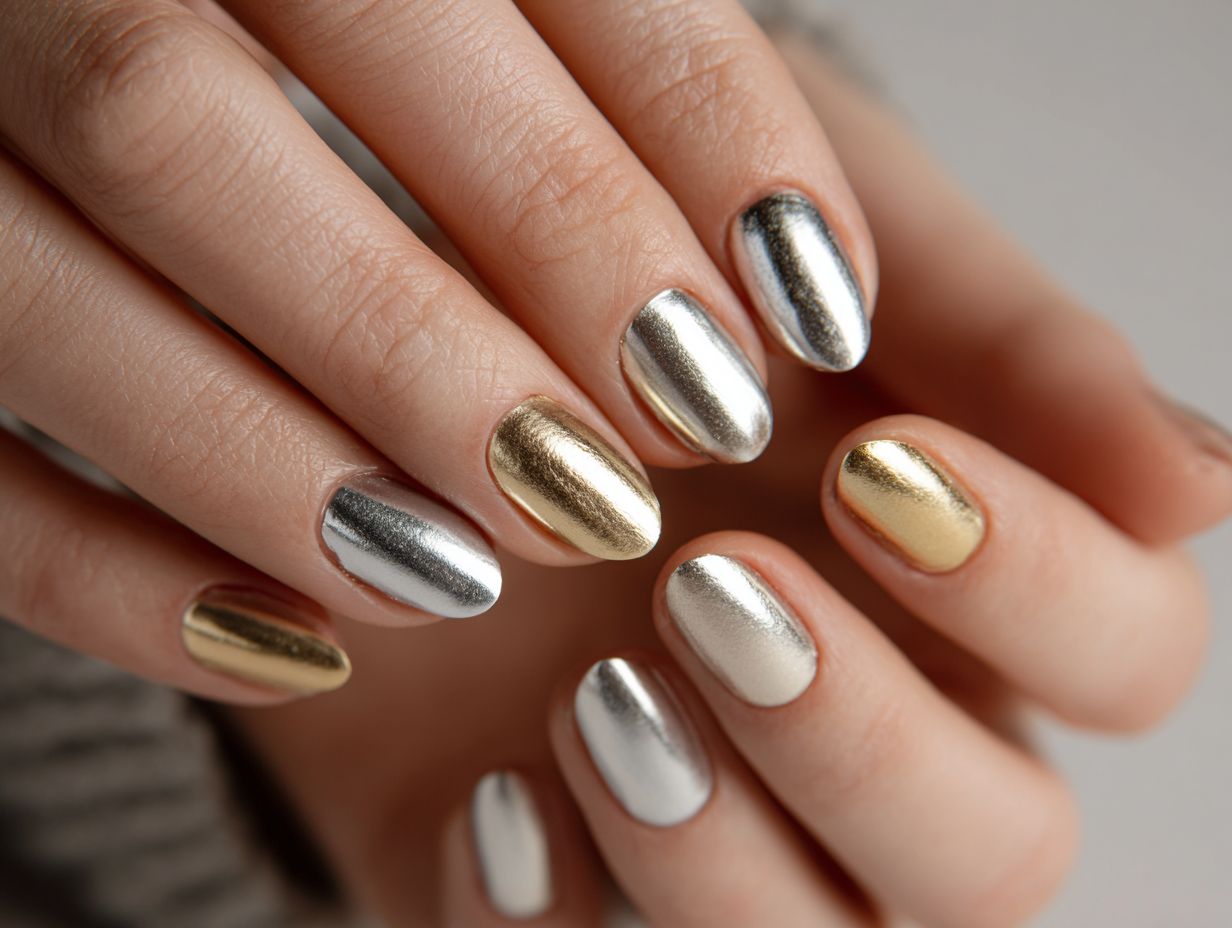
What are some popular colors for chrome nails?
Some popular colors for chrome nails include silver, gold, rose gold, and holographic finishes. You can also experiment with different base colors to create a unique look. The possibilities are endless with chrome nails! Consider nail dip techniques for varied nail color effects that align with color theory principles.