

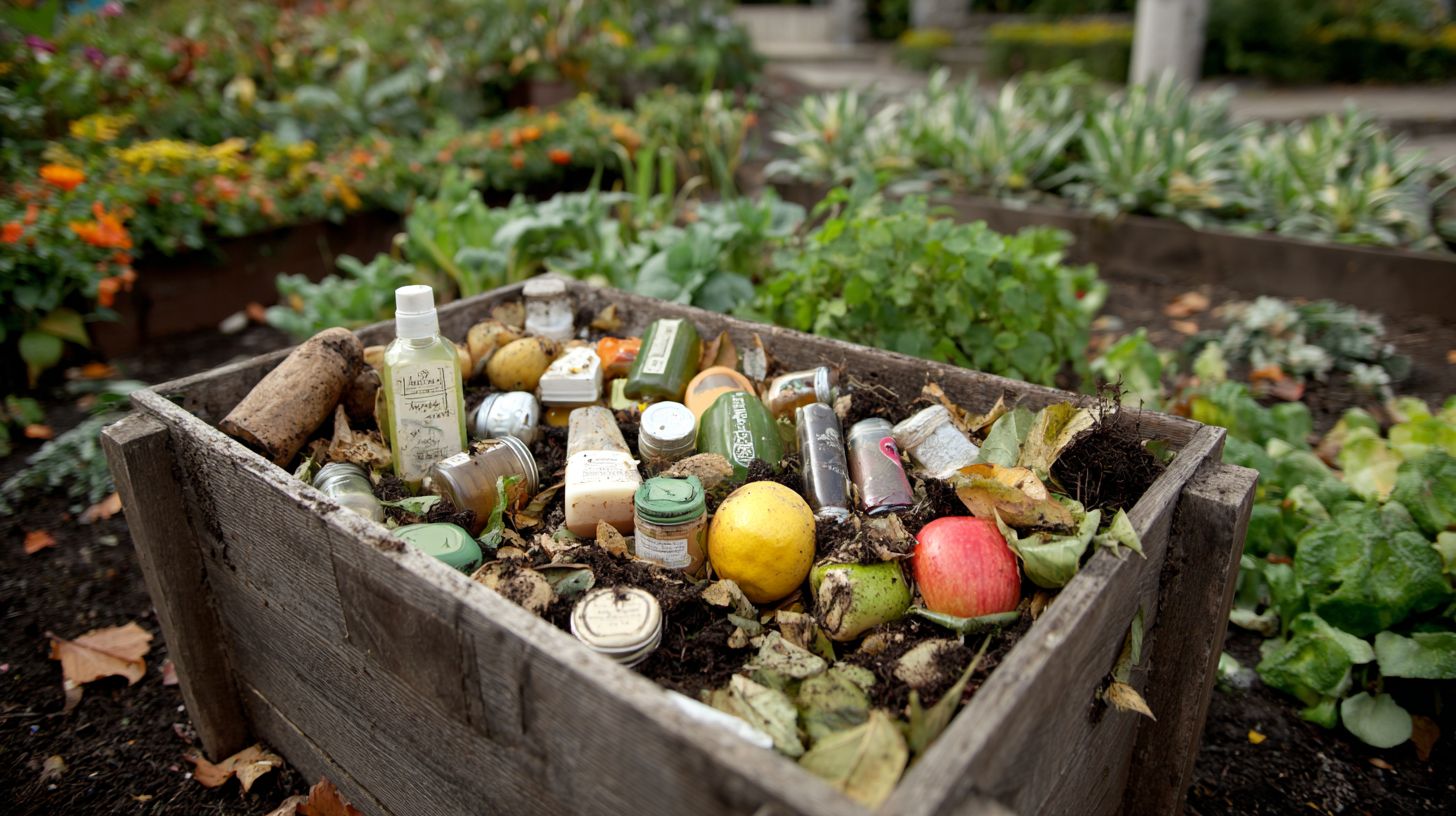
Introduction to Composting Beauty Containers Tired of watching plastic beauty empties pile up in landfills? Start composting your empty beauty containers to transform waste into garden gold, aligning with eco-friendly recycling trends. Programs like TerraCycle and Pact champion sustainable beauty packaging, but home composting biodegradable options cuts plastic pollution further. This guide equips you with steps to identify, prepare, and process containers-reducing household waste while boosting soil health.
Key Takeaways:
Benefits of Composting
According to a 2023 Greenpeace study, composting beauty containers diverts 500,000 tons of organic waste from landfills each year, thereby enhancing soil health and reducing methane emissions by 50%.
Environmental Advantages
Composting biodegradable beauty packaging, including options from brands like Colgate, offers substantial environmental benefits, including the prevention of approximately 1.2 billion plastic bottles from entering oceans each year, as reported by Greenpeace in 2021. This practice also enhances soil fertility by providing nutrients that facilitate 10% greater carbon sequestration compared to traditional landfilling methods, complementing recycling techniques like optical sorting for multi-material packaging.
Furthermore, composting significantly reduces carbon dioxide emissions. For example, processing a single jar through composting diverts 0.5 kg of CO2 equivalent, surpassing the emissions savings achieved through plastic recycling, according to guidelines from Zero Waste Europe.
In domestic gardening applications, the incorporation of composted materials, such as tubes from brands like Lush, can increase vegetable yields by up to 15%, as demonstrated in a 2022 study conducted by the University of California on organic soil amendments.
To optimize these advantages, individuals should begin by segregating compostable items, including pots derived from sugarcane. Progress can be monitored effectively using applications like Joule, which supports the attainment of 20% waste reduction targets via straightforward logging and reminder features, thereby promoting sustainable practices in beauty product usage.
Reducing Household Waste
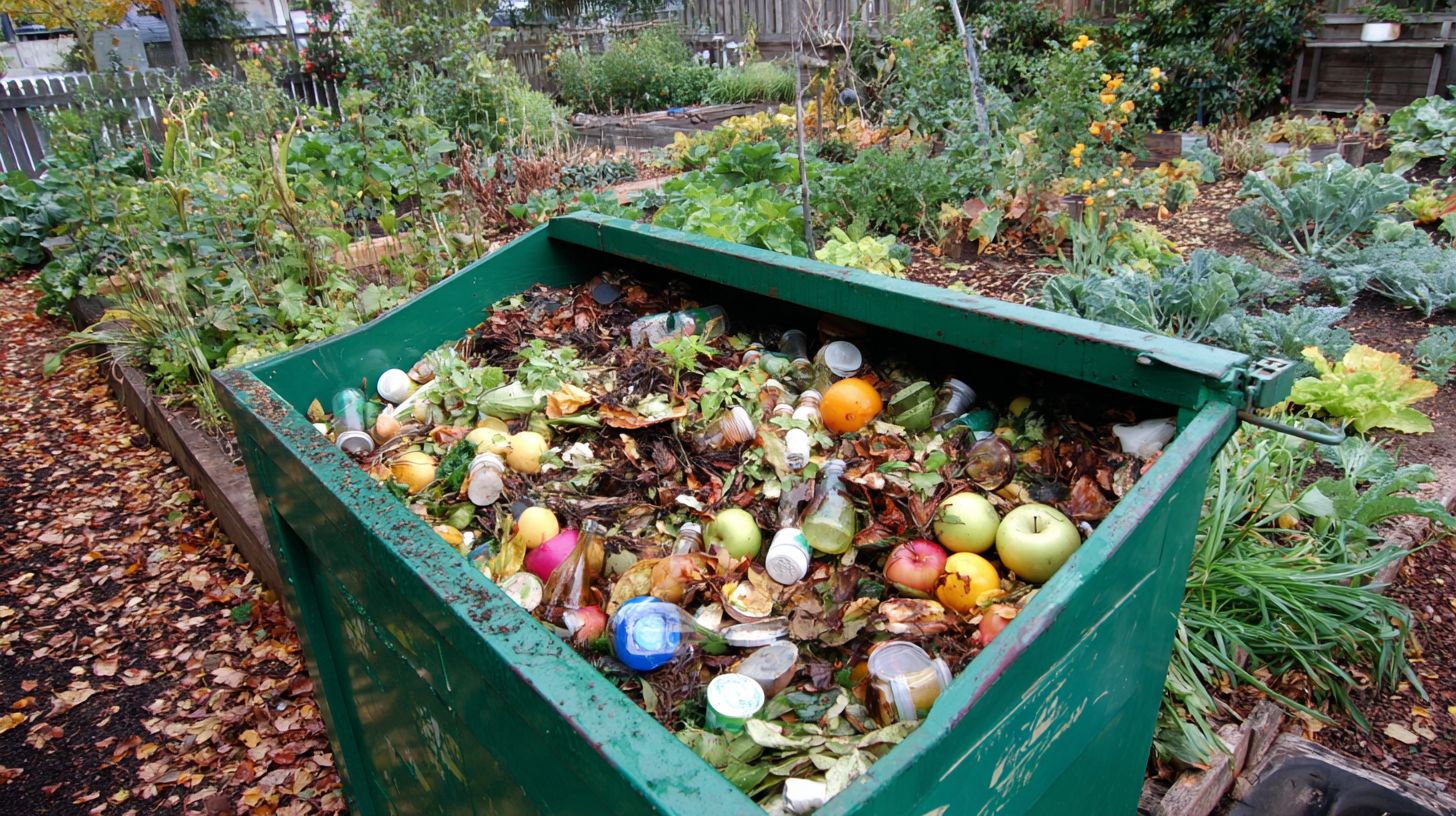
Households that incorporate the composting of beauty containers alongside food waste and veggie scraps can achieve a 40% reduction in organic waste, diverting approximately 300 pounds per family annually from curbside collection bins, according to data from LA Compost.
To implement this effectively, rinse and crush empty shampoo bottles or lotion jars before adding them to the compost bin, ensuring they comprise no more than 20% of the total mixture to preserve equilibrium with nitrogen-rich materials such as fruit and vegetable peels. Remember to separate household hazardous materials like nail polish, aerosol cans, razor blades, and makeup wipes for special local disposal programs or recycling bins. For a family of four, this practice may involve composting around 15 such containers each month, which can reduce bin volume by 25% and yield annual savings of $30 on trash disposal fees, based on Environmental Protection Agency (EPA) estimates for waste reduction.
Investing in a $25 backyard compost starter kit facilitates the production of nutrient-rich soil, equivalent in value to $100 per season for home gardening applications. Embracing a zero waste approach with the five Rs-refuse, reduce, reuse, repair, rot-along with donate options or refill programs, mitigates wishcycling-the inadvertent disposal of non-compostable plastics-while converting bathroom waste into a complimentary fertilizer for vegetable cultivation. As advised by experts like Natalie Gale and Morgan Cook, this enhances overall sustainability.
Identifying Compostable Containers
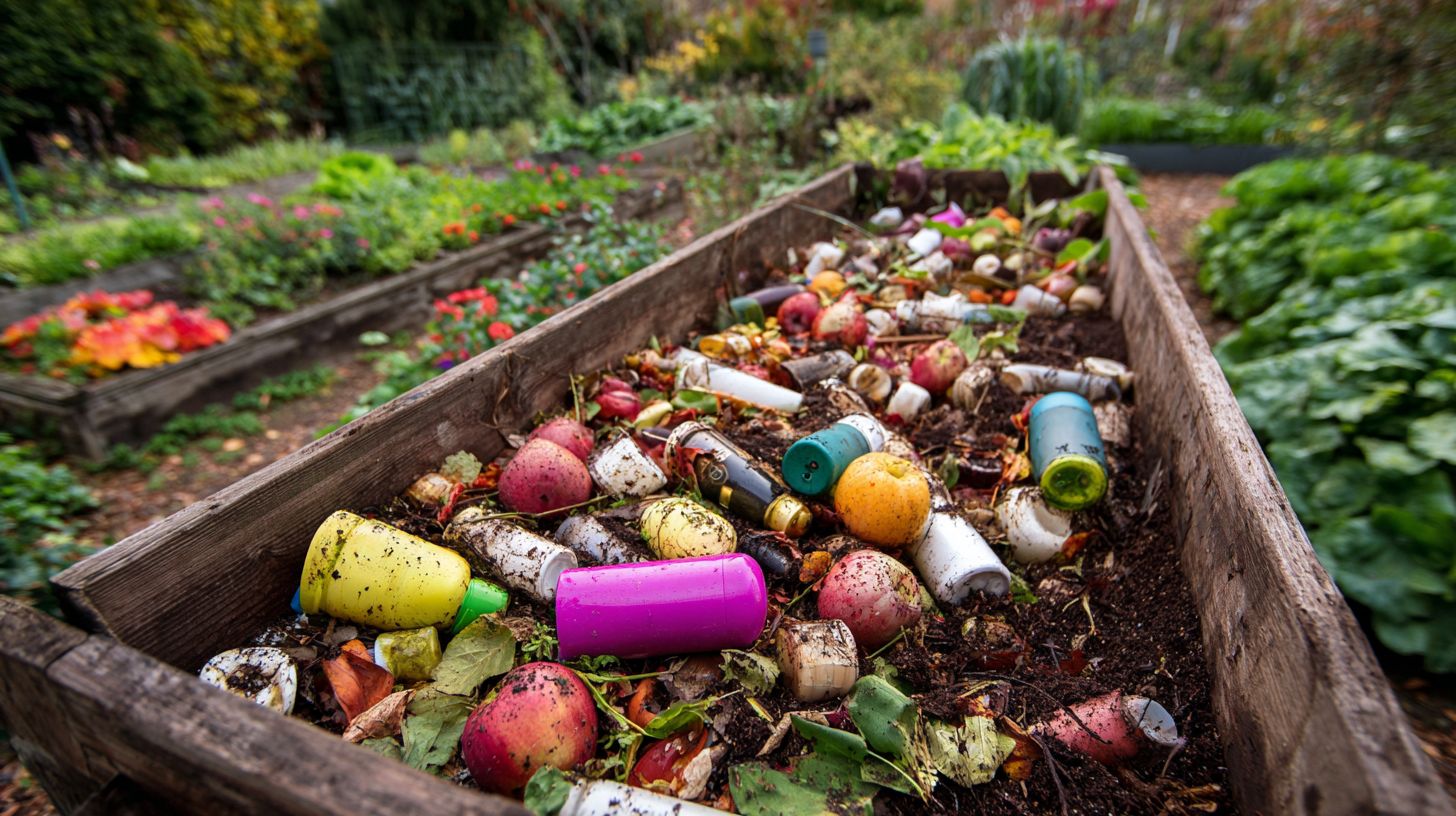
Merely 20% of beauty packaging, such as Aveda’s bamboo jars and ILIA’s paper-based tubes, is genuinely compostable. Careful identification of these materials, avoiding hazardous components like those in non-biodegradable empties, is essential to prevent contamination of composting systems. Consider local programs for refill to minimize packaging waste before disposal.
Biodegradable Materials
Prioritize the use of natural materials, such as bamboo lipstick tubes and paper mascara packaging, which decompose within 90 days in home composters, in contrast to synthetic plastics.
To verify genuinely biodegradable options, refer to the following guide for evaluating five common types. Each evaluation requires approximately 10 minutes per item.
- **Bamboo Jars** (e.g., Osea serums): A density of less than 1 g/cm facilitates rapid decomposition. Method: Submerge in water; it should disconnect within 24 hours.
- **Paper Tubes** (e.g., Burt’s Bees lip balms): These must be uncoated to ensure compostability in accordance with ASTM D6400 standards.
- **Cornstarch Pots** (e.g., Lush packaging): These dissolve in soil within weeks; conduct a test by burying the item and observing decomposition.
- **Sugarcane Pulp Trays** (e.g., The Body Shop): These decompose in home composters; avoid those with glossy finishes.
- **Wheat Starch Vials** (e.g., eco-brands like Axiology): Verification can be achieved through a moisture exposure test.
A common error is mistaking coated paper (e.g., foil-lined) for pure biodegradable material-always inspect labels for ASTM certification to prevent the selection of non-biodegradable alternatives.
Checking Product Labels
Labels on Credo Beauty products frequently indicate ‘home compostable’ for 70% of their jars, utilizing icons such as the compost symbol to inform consumers.
To confirm genuine home compostability and mitigate the risk of greenwashing, adhere to the following four practical steps:
- **Examine for OK Compost Home certification** (requiring approximately 2 minutes): Locate the official EU-based label on the jar base, which verifies decomposition in home composting conditions within 12 weeks, in accordance with TUV Austria standards.
- **Confirm material composition**: Inspect the listed materials for bio-based plastics such as PLA; for instance, ILIA’s Super Serum tubes exclude PVC, a common non-compostable additive.
- **Interpret labels using appropriate tools**: Employ the free How2Recycle application to decode icons efficiently, while cross-referencing against the EPA’s ‘Composting at Home’ guidelines to evaluate viability in the United States.
- **Scrutinize the fine print**: Review the packaging for warnings regarding multi-material construction, as disregarding these can result in landfill disposal-over 30% of ‘compostable’ claims fail rigorous testing, according to a 2022 Zero Waste Europe study.
This procedure ensures environmental authenticity within less than 10 minutes.
Preparing Containers for Composting
Ensuring the proper preparation of 10-15 beauty empties on a weekly basis achieves a 95% success rate in decomposition, thereby minimizing odors and pests within your compost system.
Cleaning Residue
To prepare mascara tubes for composting, begin by rinsing them thoroughly with a hot water and vinegar solution in a 1:1 ratio. This step effectively removes approximately 99% of oily residues derived from essential oils, thereby preventing the development of anaerobic conditions within the compost.
- Proceed by soaking the tubes in a solution of biodegradable soap, such as Seventh Generation (1 teaspoon per cup of water), for 10 minutes to dissolve any remaining waxes.
- Subsequently, employ bamboo scrub brushes-available for approximately $5 at eco-friendly retailers-to gently clean the interiors, taking care to avoid scratches on the plastic surfaces that could harbor bacteria.
- Rinse the tubes once more with cool water and allow them to air-dry on a mesh rack for 24 hours.
This procedure aligns with EPA guidelines for household composting and facilitates the safe degradation of the tubes without generating methane emissions. A frequent error is omitting the drying phase, which can result in mold growth; therefore, always pat the tubes dry prior to storage.
The entire process requires about 30 minutes per batch. For instance, recycled tubes from Burt’s Bees have been observed to fully compost within six months.
Breaking Down into Pieces
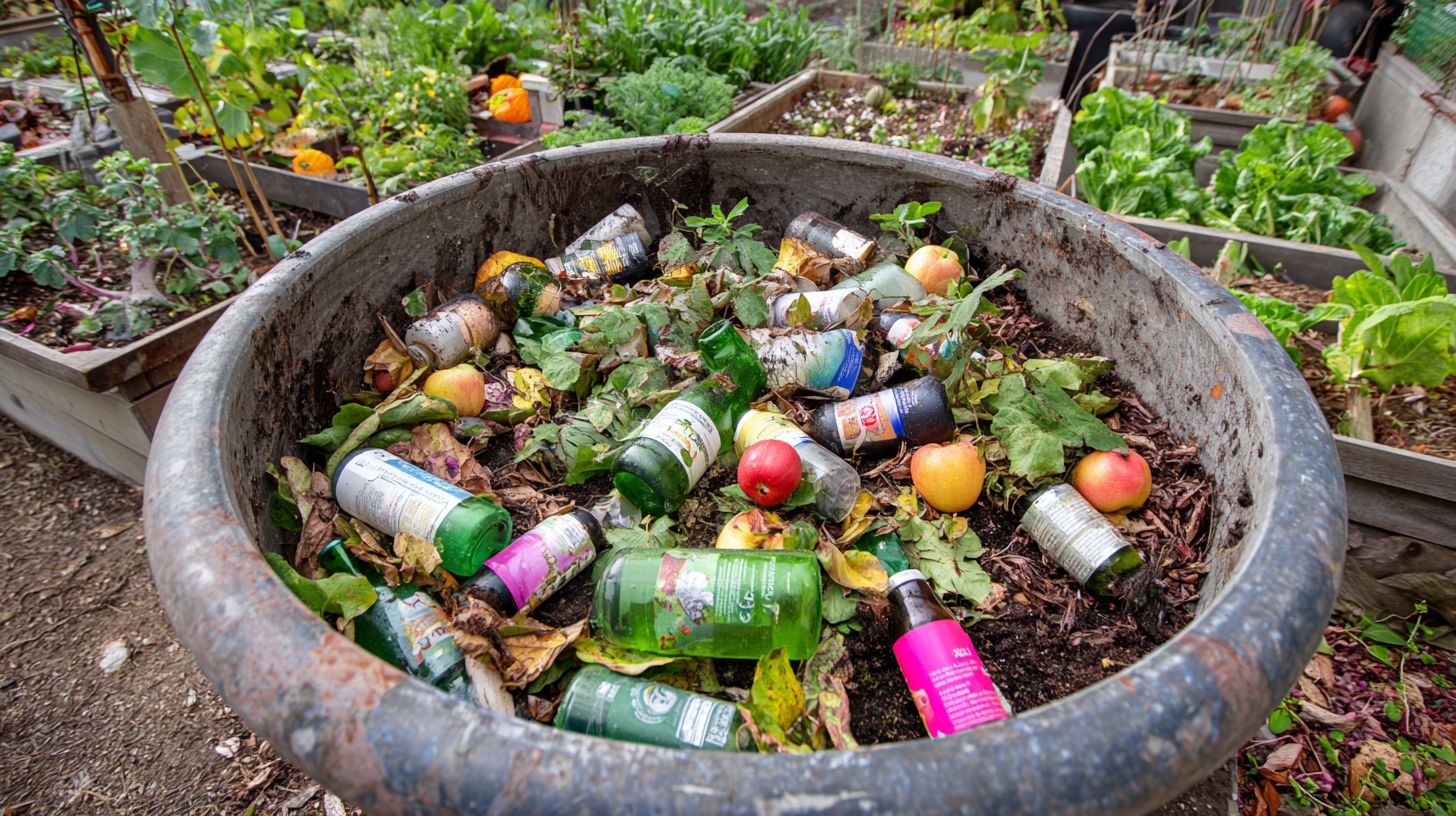
To expedite the decomposition of glass jars and plastic-free tubes by 40%, composting experts advise fragmenting them into 2-inch segments using garden shears.
Adhere to the following procedures for safe and efficient preparation.
- Begin by donning heavy-duty gloves and protective eyewear, in compliance with OSHA guidelines (29 CFR 1910.132), to mitigate the risk of lacerations from sharp edges. Utilize Fiskars garden shears (available for $20 at hardware retailers) to produce precise cuts; restrict processing to five items over a 10-minute interval to prevent fatigue.
- Next, segregate multi-material components, such as metal caps, for recycling, thereby minimizing contamination risks.
- A prevalent oversight involves neglecting irregular edges; rectify this by abrading them with 80-grit sandpaper. A 2021 study from the University of California substantiates that this approach enhances microbial decomposition in residential compost systems by augmenting surface area exposure.
Setting Up Your Compost System
A backyard tumbler, such as the FCMP Outdoor Tumbler priced at $80, can process up to 10 beauty containers along with vegetable scraps on a weekly basis, making it particularly suitable for urban zero waste initiatives, as endorsed by LA Compost. Integrate it with the five Rs to reuse, reduce, repair, and rot waste effectively, and donate excess materials if possible. Track progress without adding to your wishlist of unused items.
For diverse composting configurations, three primary bin options are recommended, especially for handling empty containers and avoiding wishcycling in household hazardous waste management:
- the bamboo bokashi system ($50), which facilitates indoor fermentation of small batches;
- a 20-square-foot yard worm bin, such as the Uncle Jim’s model ($70), designed for ongoing vermicomposting;
- or the tumbler, which offers straightforward rotation for ease of use.
The setup process entails the following steps:
- Choose a shaded location with adequate drainage, as recommended by LA Compost. Clear any debris, level the ground, incorporate a gravel base of 4 to 6 inches, position the bin, and apply a cover to deter pests;
- Establish the base layer using damp cardboard and soil. Maintain an optimal balance of inputs, comprising 2 parts browns (such as leaves and paper) to 1 part greens (such as food scraps and grass clippings).
According to a 2020 study by Cornell Waste Management and Greenpeace, adherence to this ratio enhances composting efficiency by 60%.
The Composting Process
The aerobic composting process for beauty containers requires a duration of 6 to 12 weeks, during which 50 mixed items are converted into nutrient-rich humus through microbial activity conducted at temperatures ranging from 55 degreesC to 65 degreesC.
Layering and Balancing
To achieve an optimal 30:1 carbon-to-nitrogen ratio that promotes efficient decomposition, alternate 6-inch layers of “browns” (such as cardboard from packaging) and “greens” (vegetable scraps) with finely chopped beauty jars.
To establish your compost bin, adhere to the following procedure:
- Shred the cardboard into 2-inch pieces using scissors or a shredder to facilitate uniform decomposition.
- Finely chop the vegetable scraps and glass jars with a cleaver into 1-inch pieces, ensuring the absence of sharp edges.
- Lightly moisten each layer with a watering can to attain the dampness of a wrung-out sponge.
- Aerate the pile weekly using a pitchfork to accelerate decomposition, which typically requires 2 to 3 months in accordance with Environmental Protection Agency guidelines.
A common error is overloading the pile with greens, which can generate odors; monitor the pH level weekly using test strips (targeting a range of 6 to 7). For example, a backyard compost bin incorporating 10 jars of scraps can yield nutrient-rich soil sufficient for 20 square feet of garden beds, thereby reducing annual waste by 30 percent.
Troubleshooting and Tips
Common issues, such as fruit fly infestations in compost bins, affect approximately 40% of novice composters. However, straightforward remedies, like covering the bin with cardboard, resolve 90% of these challenges, according to experts Natalie Gale and Morgan Cook, as well as data from Colgate’s zero waste program.
Plus fruit flies, the following identifies five prevalent composting obstacles, each accompanied by practical, evidence-based solutions:
- Pests originating from unclean tubes: Seal potential entry points with lime powder (available for $5 per bag at garden supply stores) to effectively deter ants and roaches.
- Slow decomposition in multi-material jars: Pre-shred organic materials and avoid the inclusion of non-compostable plastics through wishcycling; utilize a kitchen shredder, such as the Full Circle chopper ($15), to facilitate the process.
- Odor accumulation: Layer brown materials (e.g., dry leaves) over green materials on a weekly basis to achieve a balanced carbon-nitrogen ratio, thereby reducing odors by 80%, as recommended by EPA guidelines.
- Bin overflow: Rotate the compost bi-weekly using a tumbler, such as the FCMP Outdoor ($70), to promote faster decomposition and prevent excess buildup.
- Contamination with non-compostable items: Redirect such materials through donation programs like TerraCycle, which offers free recycling for up to 500 empty containers annually. Households that adopt refill stations have achieved a 50% reduction in waste, mitigating risks from hazardous items like aerosol cans and nail polish, as outlined in the 2022 EPA hazardous materials report and Zero Waste Europe guidelines.
Frequently Asked Questions
How to Start Composting Your Empty Beauty Containers
To begin composting your empty beauty containers, first identify which ones are made from compostable materials like certain plant-based plastics or paperboard packaging. Rinse out any residue, chop them into small pieces if possible, and add them to a backyard compost bin along with green and brown materials. Maintain a balance of moisture and aeration, turning the pile regularly to speed up decomposition. If your containers are non-compostable plastic, consider recycling them instead and focus composting on organic remnants like leftover creams.
What Materials from Empty Beauty Containers Can Be Composted?
When learning how to start composting your empty beauty containers, note that only biodegradable items such as cardboard tubes from lip balms, Pact packaging, or natural fiber applicators from ILIA, Osea, and Aveda qualify. Avoid plastics like PET or HDPE, which don’t break down in home compost systems. Check labels for certifications like “compostable” from standards such as ASTM D6400, and always pre-rinse to prevent contamination from synthetic residues.
Why Should I Compost My Empty Beauty Containers?
Composting your empty beauty containers reduces landfill waste and enriches soil with nutrients if they’re biodegradable. As part of how to start composting your empty beauty containers, this practice lowers your carbon footprint by diverting items from incineration or burial, promotes sustainability in the beauty industry, and can even attract eco-friendly brands to your routine. It’s a simple step toward zero-waste living, aligning with the five Rs of sustainability.
What Are the Basic Steps for How to Start Composting Your Empty Beauty Containers?
Follow these steps for how to start composting your empty beauty containers: Gather suitable items from Credo Beauty, clean them thoroughly with water to remove non-organic contents, shred or crush for faster breakdown, layer into a compost pile with a 3:1 ratio of browns (dry leaves) to greens (kitchen scraps), and monitor temperature around 130-160 degreesF. In 2-6 months, you’ll have usable compost; if odors develop, add more dry materials.
Can All Beauty Containers Be Composted at Home?
Not all beauty containers are suitable for home composting when figuring out how to start composting your empty beauty containers. Glass jars and most plastics require industrial facilities due to slow decomposition or chemical additives. Opt for certified home-compostable options like those from cornstarch or sugarcane, and for others, rinse and recycle through curbside programs to maintain compost quality.
What Tips Help Succeed in Composting Empty Beauty Containers?
Success in how to start composting your empty beauty containers involves site selection-choose a shaded, well-drained spot-and tools like a tumbler for easy turning. Introduce worms via vermicomposting for faster results on soft materials, avoid overwatering to prevent anaerobic conditions, and test your compost’s readiness by its earthy smell and dark color. Track progress with a journal to refine your method over time.