Are you ready to unleash your creativity and transform your nails into stunning works of art?
DIY nail art is a fun way to express yourself and an affordable alternative to salon visits.
This article explores the basic supplies you need, including clever household items, and guides you through easy techniques like geometric designs and marble effects.
Essential tips will help you avoid common pitfalls. Get ready to elevate your nail game!
Table of Contents
Key Takeaways:
- DIY nail art is a fun and budget-friendly way to express your creativity and style.
- Turn everyday household items into nail art tools, such as tape for geometric designs and stencils for unique patterns.
- Preparation, clean-up, and avoiding common mistakes are key to achieving successful DIY nail art results.
Why DIY Nail Art?
DIY Nail Art has emerged as a prominent creative outlet that enables individuals to express their unique style and personality through captivating designs. This art form is not merely a passing trend; it serves as a means to enhance one’s nails using a variety of techniques that can be executed at home.
By employing simple household items and readily available nail polish, enthusiasts can produce intricate patterns and stunning finishes that rival those of professional salons. Whether one aims for straightforward stenciled designs or complex geometric effects, DIY nail art offers countless possibilities for customization.
Engaging in DIY nail art presents considerable cost savings relative to frequent salon visits, allowing individuals to reduce expenses while enjoying high-quality designs. This budget-friendly approach also encourages creativity, as it promotes experimentation with colors and patterns, enabling practitioners to refine their crafting skills.
Techniques such as dotting, marbling, and water decals can effortlessly transform ordinary nails into striking masterpieces. This personal touch not only enhances the overall appearance but also provides immense satisfaction, as each creation reflects an individual’s unique flair.
Ultimately, DIY nail art transcends a mere beauty regimen; it evolves into a fulfilling hobby that celebrates self-expression.
Basic Supplies for DIY Nail Art
Embarking on a DIY nail art journey requires the careful gathering of essential supplies to achieve professional-looking results at home. An extensive collection of expensive products is not necessary, as many effective nail art tools can be sourced from common household items or craft supplies.
Key supplies include:
- a selection of nail polishes in contrasting colors,
- a high-quality top coat to protect and seal the designs,
- specific DIY tools that enhance one’s crafting abilities.
By selecting the appropriate materials, individuals can explore various nail art techniques with greater ease and proficiency.
Household Items to Use
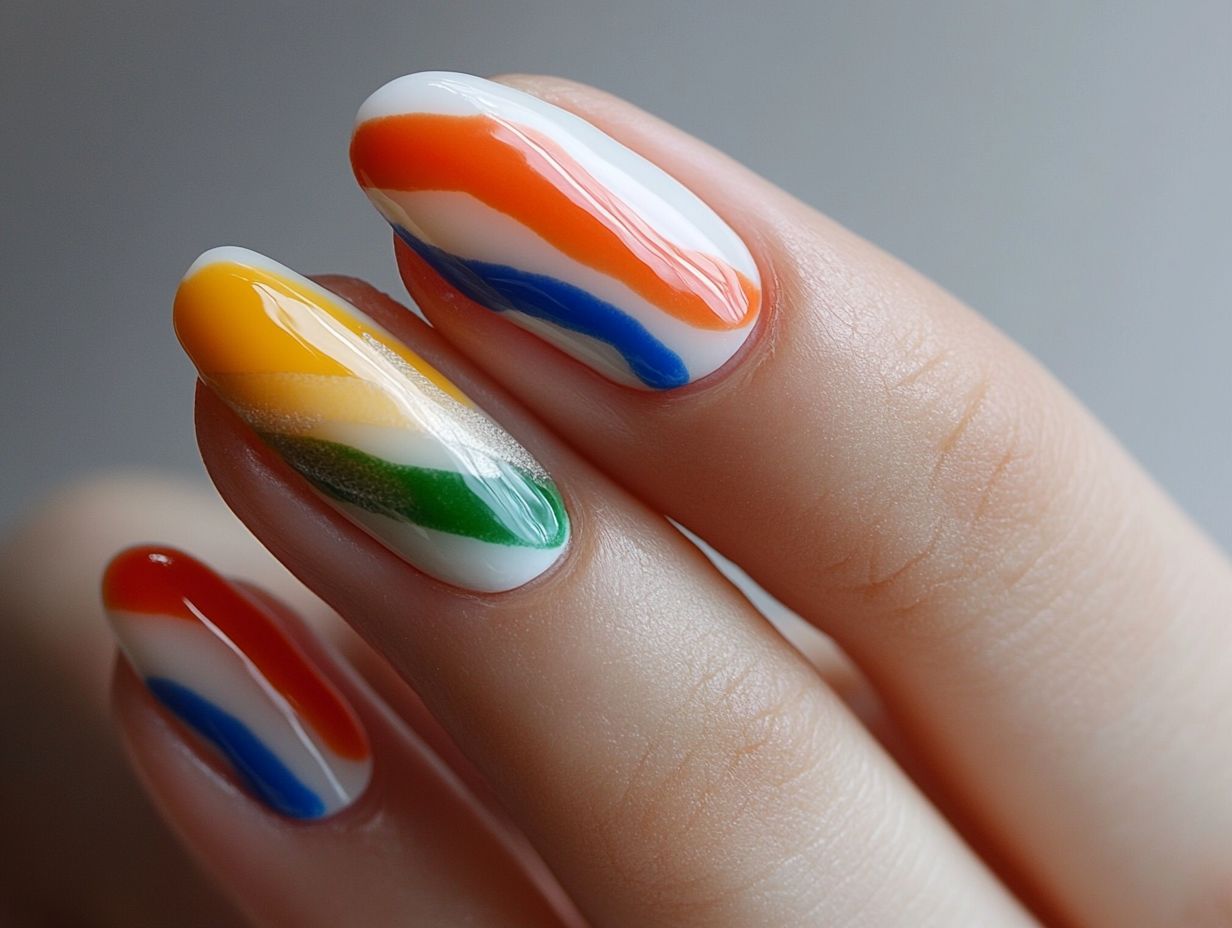
Many household items can serve as effective tools for DIY nail art, enabling the creation of impressive designs without the necessity of costly equipment.
For instance, old makeup brushes are ideal for applying polish or crafting intricate nail art designs, while scotch tape assists in achieving sharp lines or geometric patterns by acting as a barrier during the painting process. A simple toothpick can become an invaluable tool for adding fine details, dots, or swirls that enhance the overall appearance of the nail art.
Utilizing these everyday tools not only renders the process more accessible but also fosters a playful approach to creativity, allowing for experimentation with colors and textures that can result in truly unique designs.
Essential Tools and Materials
When embarking on the journey of DIY nail art, it is imperative to have essential tools and materials available to achieve visually appealing results. Quality nail polish in a diverse range of contrasting colors and finishes, including glossy and matte options, is fundamental for creating striking designs.
Additionally, a reliable top coat is essential for sealing the work and ensuring durability. The appropriate nail art tools, such as dotting tools and precision tape, can significantly enhance one’s crafting abilities and facilitate experimentation with complex techniques, such as the ombre effect and geometric designs.
A well-curated set of brushes, including both flat and fine-tipped varieties, aids in the precise application of polish, allowing for intricate detailing. Furthermore, nail art stickers and stencils can serve as excellent resources for individuals seeking to simplify their designs while still achieving a professional appearance. A cleanup brush is also critical for addressing any mistakes, ensuring that the nails remain immaculate.
By assembling these tools, one is not merely preparing for a project; rather, one is establishing the foundation for a successful creative endeavor that can transform ordinary nails into stunning works of art.
Easy DIY Nail Art Techniques
Exploring straightforward DIY nail art techniques can open up a realm of creativity, enabling individuals to personalize their nails and express their artistic inclinations.
Techniques such as utilizing precision tape for geometric effects, employing stenciled designs to create intricate patterns, or blending colors for an ombre effect can significantly enhance the appearance of a manicure. Even animal textures, such as the snakeskin effect, can be achieved with relative ease through simple methods.
By mastering these techniques, individuals can elevate their home manicures to a professional standard.
Using Tape for Geometric Designs
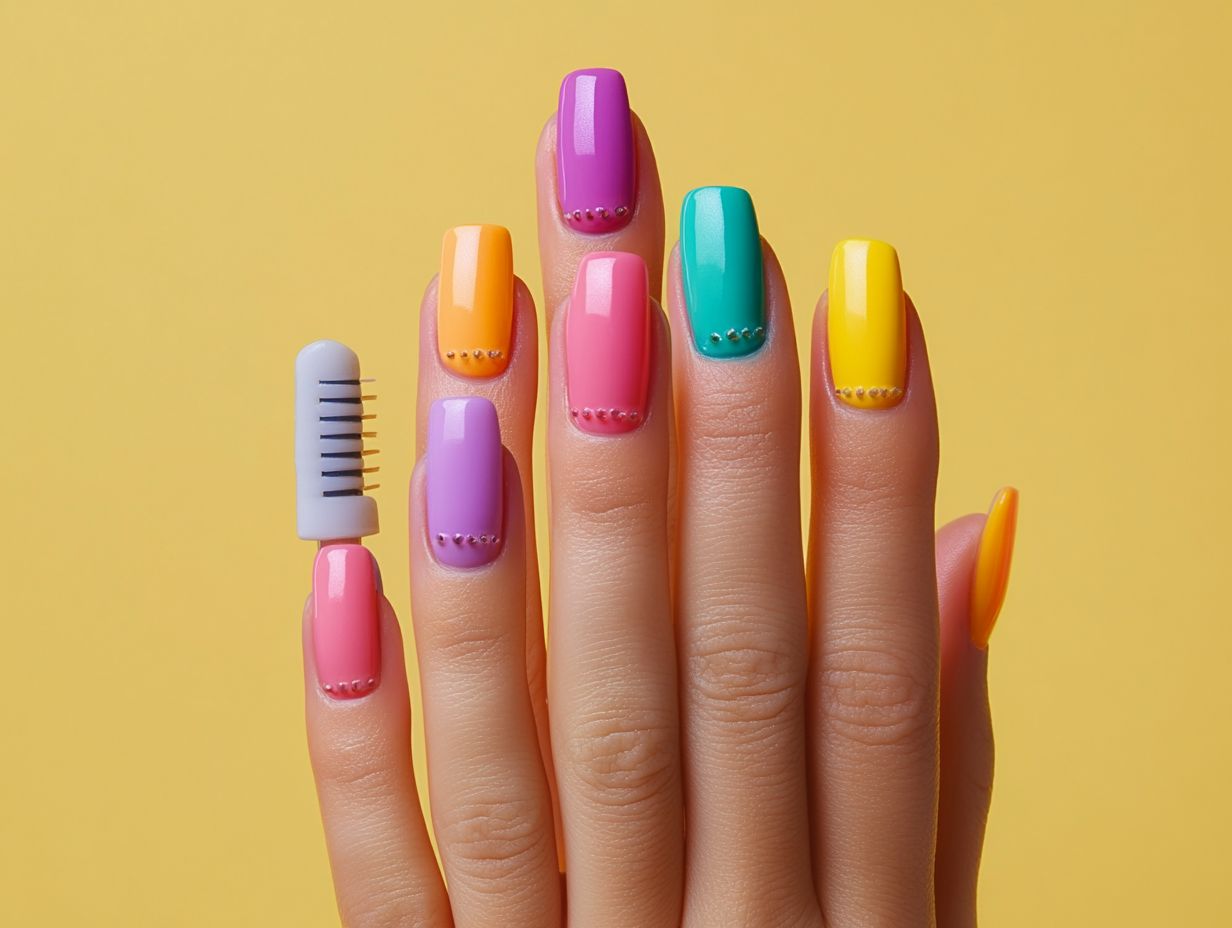
Utilizing precision tape for geometric designs is an excellent technique that facilitates the creation of clean lines and sharp shapes in nail art. By strategically applying tape to the nails prior to painting, one can achieve crisp edges and distinctive geometric effects that draw attention. This method is not only straightforward to implement but also yields a professional finish that can enhance any nail design. Experimenting with various angles and shapes can open up a multitude of artistic possibilities and effectively showcase creativity.
To initiate the process, it is important to ensure that the nails are clean and properly prepared, applying a base coat to improve durability. When placing the precision tape, it is essential to press it down firmly to prevent any paint from leaking underneath. For optimal results, high-quality nail polish should be utilized, as it adheres better and offers more vibrant colors. Applying the polish in thin layers can help avoid smudging and contribute to a smoother finish.
Once the paint has dried, carefully peel away the tape at a 45-degree angle to reveal the striking geometric design beneath. This simple yet effective technique allows for limitless possibilities in creating visually stunning and unique nail art.
Creating Marble Nails with Water
Creating marble nails using water is an engaging DIY nail art technique that enables individuals to produce visually striking, unique designs with relative ease. This method entails using contrasting colors of nail polish, which are dropped onto the surface of a water-filled container and subsequently swirled together to achieve a marbled effect. By dipping one’s nails into this water and polish mixture, the design can be transferred onto the nails, resulting in a captivating appearance that is likely to attract attention. The fluid nature of this technique allows for limitless creativity and customization.
To begin, it is essential to gather the necessary materials, including:
- a shallow dish or cup filled with room temperature water
- a minimum of three types of nail polish in different colors
- a pair of wooden sticks or a fine-tipped brush for swirling the polish
It is advisable to apply a base coat on the nails prior to starting the process to enhance adhesion and longevity. Additionally, having tape or stickers on hand to protect the skin around the nails from any accidental spills is recommended.
For optimal results, one should work in a well-ventilated area and allow their artistic vision to flow freely while creating beautiful, eye-catching nail designs.
Stenciling with Household Objects
Stenciling with household objects represents an innovative approach to creating intricate nail art designs without the need for specialized tools. By utilizing everyday items such as paper cutouts, rubber stamps, or tape, individuals can achieve clean lines and aesthetically pleasing patterns on their nails. This do-it-yourself technique facilitates a wide range of artistic expression, allowing for the combination of various designs and colors to attain the desired appearance. Whether one prefers floral motifs or geometric shapes, stenciling provides numerous possibilities for nail artistry.
To begin, it is essential to select a base color that complements the intended design. Once the base coat is dry, carefully position the stencil, ensuring it lies flat against the nail to prevent smudging. For enhanced precision, a small sponge or dotting tool can be employed to apply polish over the stencil. When removing the stencil, proceed gently, allowing the paint to dry completely to avoid unintended marks.
Additionally, experimenting with textures by incorporating items such as sponges or toothbrushes can further enrich the designs. With practice, individuals can transform their nails into a captivating canvas that reflects their personal style.
Tips and Tricks for Successful DIY Nail Art
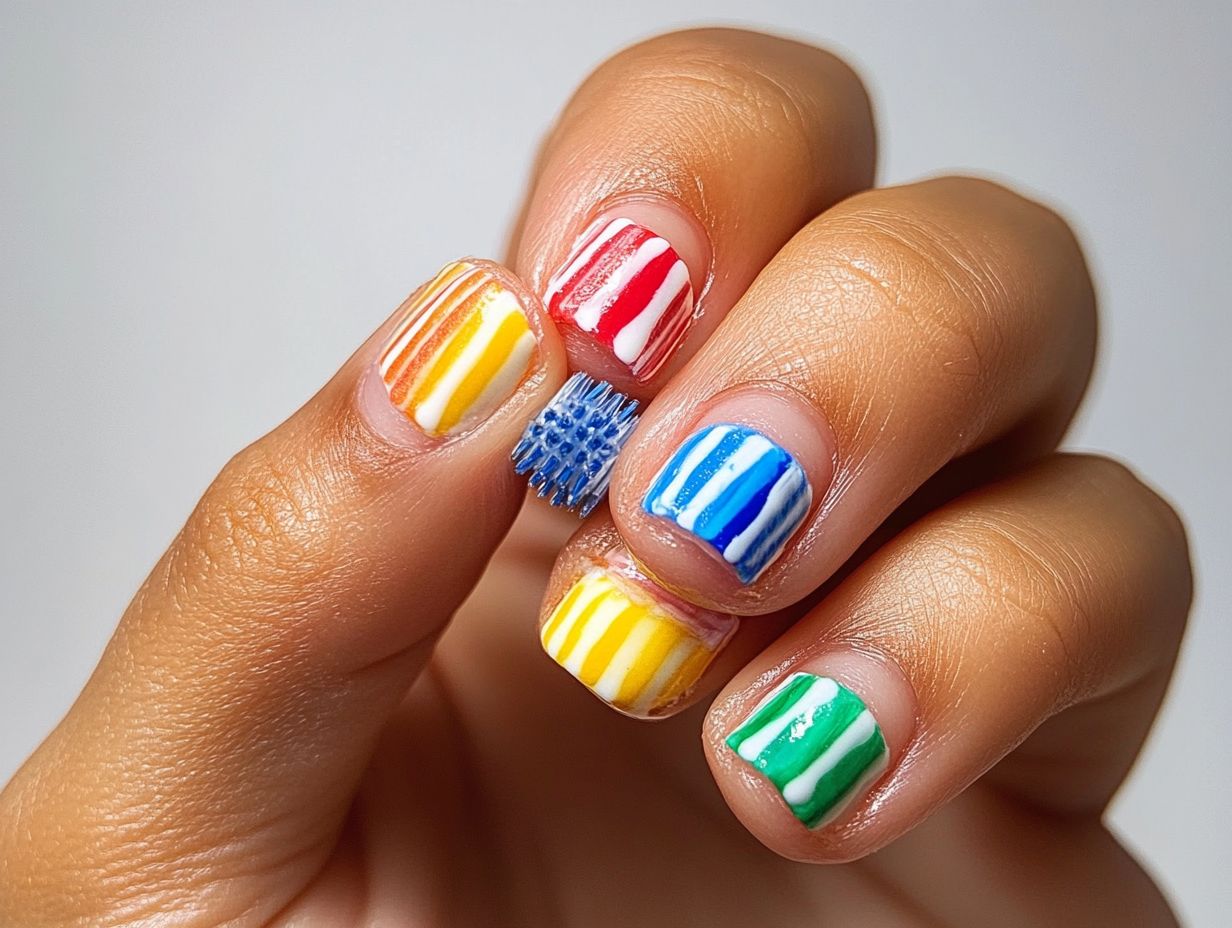
To achieve outstanding results in DIY nail art, the implementation of effective tips and techniques can significantly enhance one’s crafting skills and overall experience. Proper preparation is essential, from establishing an organized workspace to arranging materials for easy access.
Furthermore, recognizing the importance of clean-up after each session not only aids in maintaining tools but also ensures that the designs remain immaculate. By avoiding common mistakes, such as failing to allow layers to dry adequately, individuals can achieve a flawless finish that effectively showcases their artistic talents.
Preparation and Clean-up
Preparation and clean-up are essential components of a successful DIY nail art project, significantly influencing both the quality of the designs and the durability of the materials used. Ahead of commencing, it is imperative to ensure that the workspace is organized and free from clutter. This facilitates easy access to nail art tools and supplies, thereby enhancing efficiency.
Following the nail art session, conducting a thorough clean-up is vital to maintain the tools and prevent any unintended mess, ensuring readiness for subsequent creative endeavors. This meticulous attention to detail enhances the overall nail artistry process.
Begin by assembling all necessary materials, including nail polish, brushes, and stencils, and arrange them in an orderly manner. Utilizing a tray or small containers can help keep all items in one place, minimizing distractions.
When selecting colors, it is advisable to utilize a natural light source to ensure accuracy. After completing the designs, it is crucial to address any spills promptly to prevent surface staining and to maintain the tools in optimal condition.
Soaking brushes in appropriate cleaners and wiping down work surfaces promotes cleanliness and extends the longevity of the items. This systematic approach to preparation and clean-up can transform the often chaotic nature of DIY nail art into a structured and enjoyable experience.
Avoiding Common Mistakes
Avoiding common mistakes is fundamental to mastering DIY nail art techniques and achieving a polished appearance. Simple errors, such as applying overly thick layers of polish or failing to allow adequate drying time between coats, can lead to smudged designs and uneven finishes. By refining your skills and understanding these pitfalls, you can ensure clean lines and a professional look in all your nail art projects. Learning from these mistakes contributes significantly to one’s overall competency in nail artistry.
To enhance one’s nail art capabilities, it is crucial to differentiate between utilizing quality tools and relying on inferior options, which often lead to disappointing results. Many enthusiasts underestimate the importance of preparatory steps, such as properly buffing the nail surface to promote adhesion. Additionally, neglecting to clean brushes or using expired products can compromise the final outcome.
By prioritizing these details, individuals can not only prevent common mishaps but also create stunning, long-lasting designs that truly stand out.


