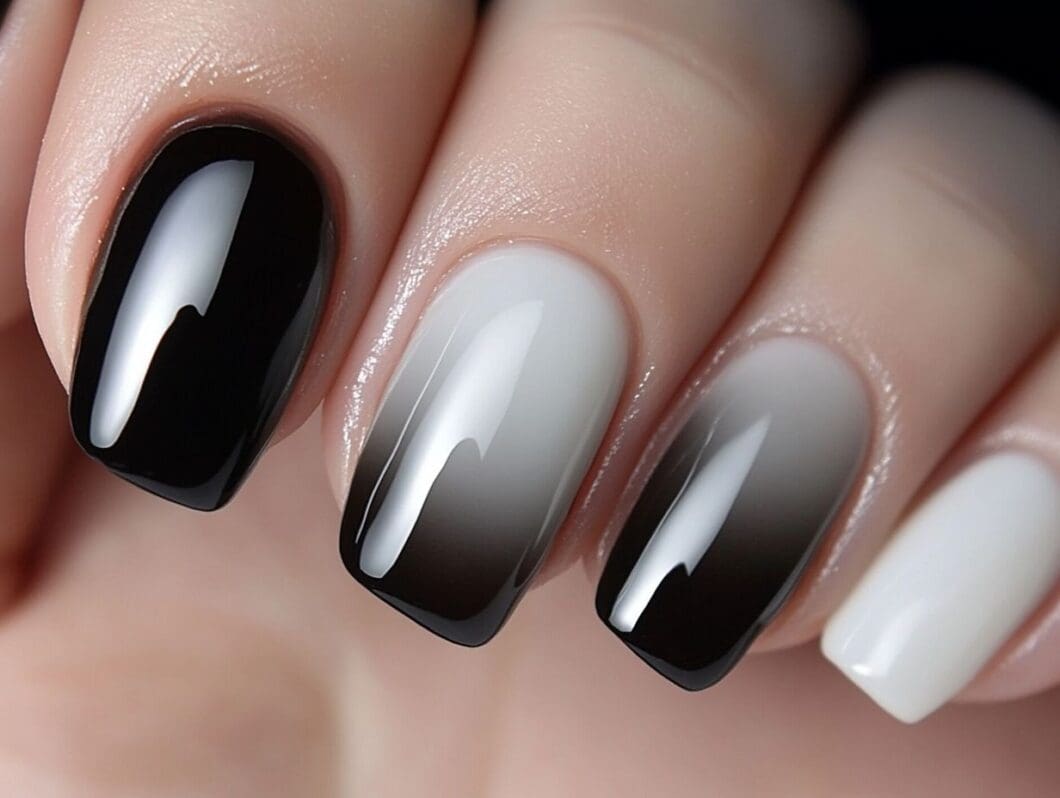
Ombre nails are a stunning way to showcase creativity and style, blending two or more colors for a beautiful gradient effect.
Whether you’re a nail art novice or a seasoned pro, this guide will cover everything you need to know about creating ombre nails at home.
From essential supplies and preparation tips to step-by-step instructions and maintenance advice, you’ll learn how to achieve a flawless finish that turns heads.
Get ready to elevate your nail game!
Key Takeaways:
What are Ombre Nails?
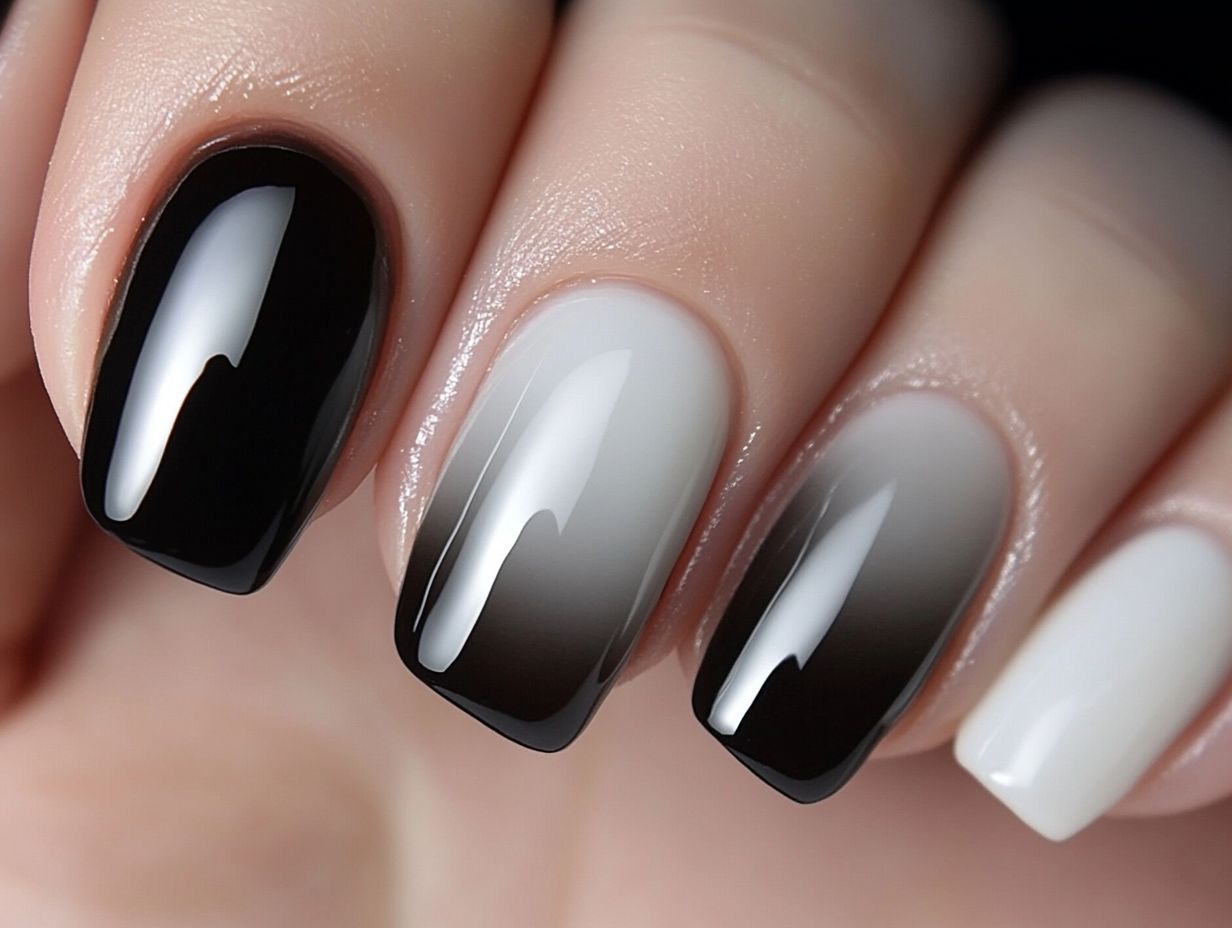
Ombre nails represent an elegant nail art technique characterized by a seamless gradient of colors, resulting in a distinctive ombre effect that attracts attention. This innovative design can be accomplished through various methods, enabling nail technicians, such as Marta Nagorska, to showcase their creativity and artistry.
As a favored choice in contemporary nail care and beauty, ombre nails offer a refreshing interpretation of traditional nail design techniques, making them a preferred option for both everyday wear and special occasions.
Explanation and Benefits
Ombre nails present a captivating aesthetic that enhances the appearance of the nails while serving as a canvas for creativity in nail design techniques.
This particular style of nail art is remarkably versatile, easily adapting to various themes and seasons, which allows individuals to coordinate their nail designs seamlessly with a range of outfits. Whether one is preparing for a formal event or enjoying a casual day out, ombre nails can elevate any look. The proliferation of online nail care tutorials has made mastering this technique more accessible than ever.
As individuals gain confidence and skill in creating ombre effects, they not only improve their overall proficiency in nail art but also enrich their beauty experience, showcasing a harmonious blend of sophistication and personal flair.
Supplies Needed for Ombre Nails
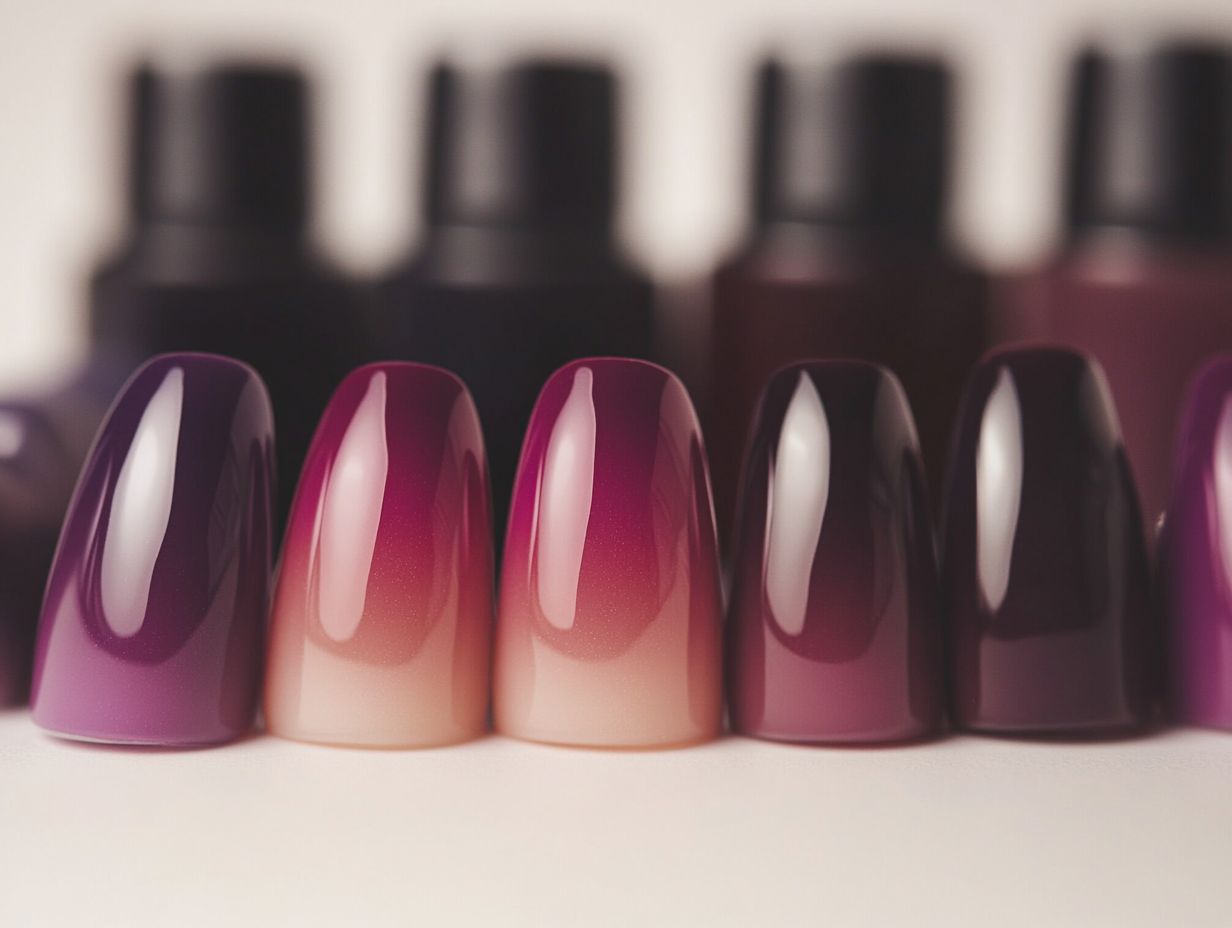
To achieve exquisite ombre nails, it is essential to gather a selection of supplies that facilitate a flawless application and ensure a long-lasting finish. This includes high-quality nail polish, a base coat, a top coat, and specialized tools such as the Semilac Ombre Brush and a makeup sponge.
Essential Tools and Products
Essential tools and products for achieving impeccable ombre nails encompass a selection of nail polish colors, a reliable base coat, a high-quality top coat for sealing the design, and nail polish remover for efficient clean-up.
Selecting the appropriate nail polish colors is imperative; it is advisable to choose shades that blend harmoniously, such as pastels or complementary hues, to achieve a seamless transition. For a more durable finish, reputable brands like OPI or Essie provide excellent base and top coat options that ensure lasting vibrancy.
Utilizing a specialized ombre sponge can significantly facilitate the blending process, allowing for a smooth gradient effect. Additionally, glitter ombré is gaining popularity in nail art, where the incorporation of glitter at the tips creates an eye-catching sparkle.
Each of these products not only enhances the final appearance but also ensures that the nails remain healthy and well-maintained throughout the process.
Preparing Your Nails for Ombre
Preparing the nails for an ombre effect requires meticulous attention to nail plate preparation. This step is essential to ensure a smooth application, which is critical for achieving a flawless finish in the nail art design.
Clean and Shape Your Nails
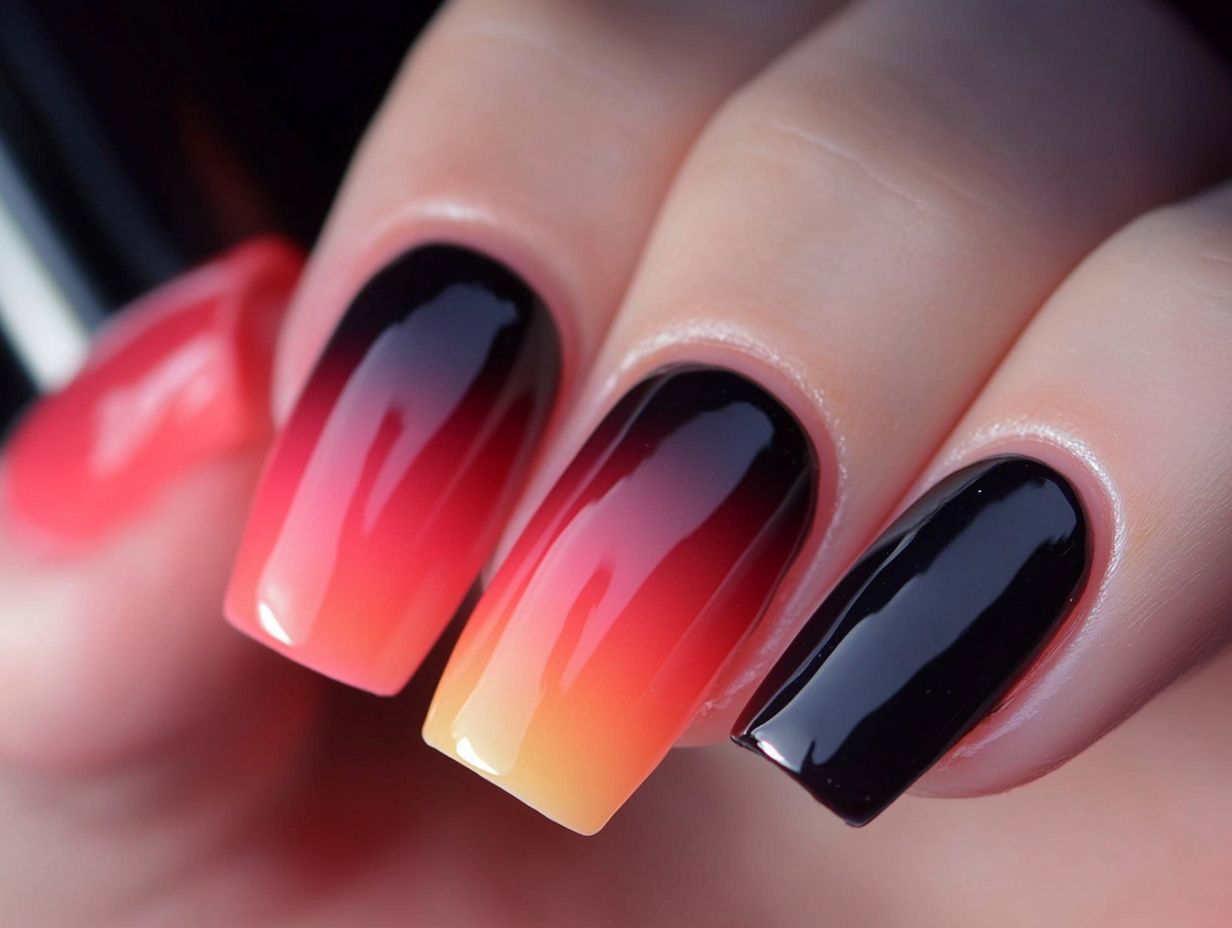
To achieve aesthetically pleasing ombre nails, it is essential to begin by cleaning and shaping the nails, which not only enhances their visual appeal but also provides an appropriate canvas for the design.
Commence the process by gently pushing back the cuticles using a wooden orange stick, ensuring that care is taken to avoid damaging the surrounding skin. Following this, utilize a high-quality nail file to shape the nails to the desired length and form, whether square, oval, or almond. It is advisable to file in one direction to prevent splitting.
After shaping, lightly buff the surface of the nails to achieve a smooth finish, and cleanse them with a gentle nail cleanser to remove any dust or oil residue. Additionally, it is prudent to keep a clean-up brush readily available; this essential tool allows for the tidying of any stray polish around the edges, ensuring a clean and polished appearance that resembles a professional salon finish.
Creating the Ombre Effect
Achieving the ombre effect necessitates the application of specific techniques to blend colors seamlessly. This process transforms the nails into a striking visual representation of advanced nail art, a skill that can be mastered by anyone through dedicated practice.
Step-by-Step Instructions
Follow these step-by-step instructions to achieve the ideal ombre nails, ensuring that each layer blends seamlessly for a polished finish.
By investing time and selecting colors that complement one another, one can create a stunning gradient effect that truly stands out. Whether preparing for a special occasion or engaging in self-care, the process can be both enjoyable and rewarding.
Begin by assembling your materials, which should include base coats, sponges, and the selected nail polishes. It is important to note that experimenting with different hues and techniques can yield unique results that reflect your personal style.
Therefore, do not hesitate to mix and match shades or explore various sponging methods to discover your perfect look.
Tips and Tricks for a Flawless Finish
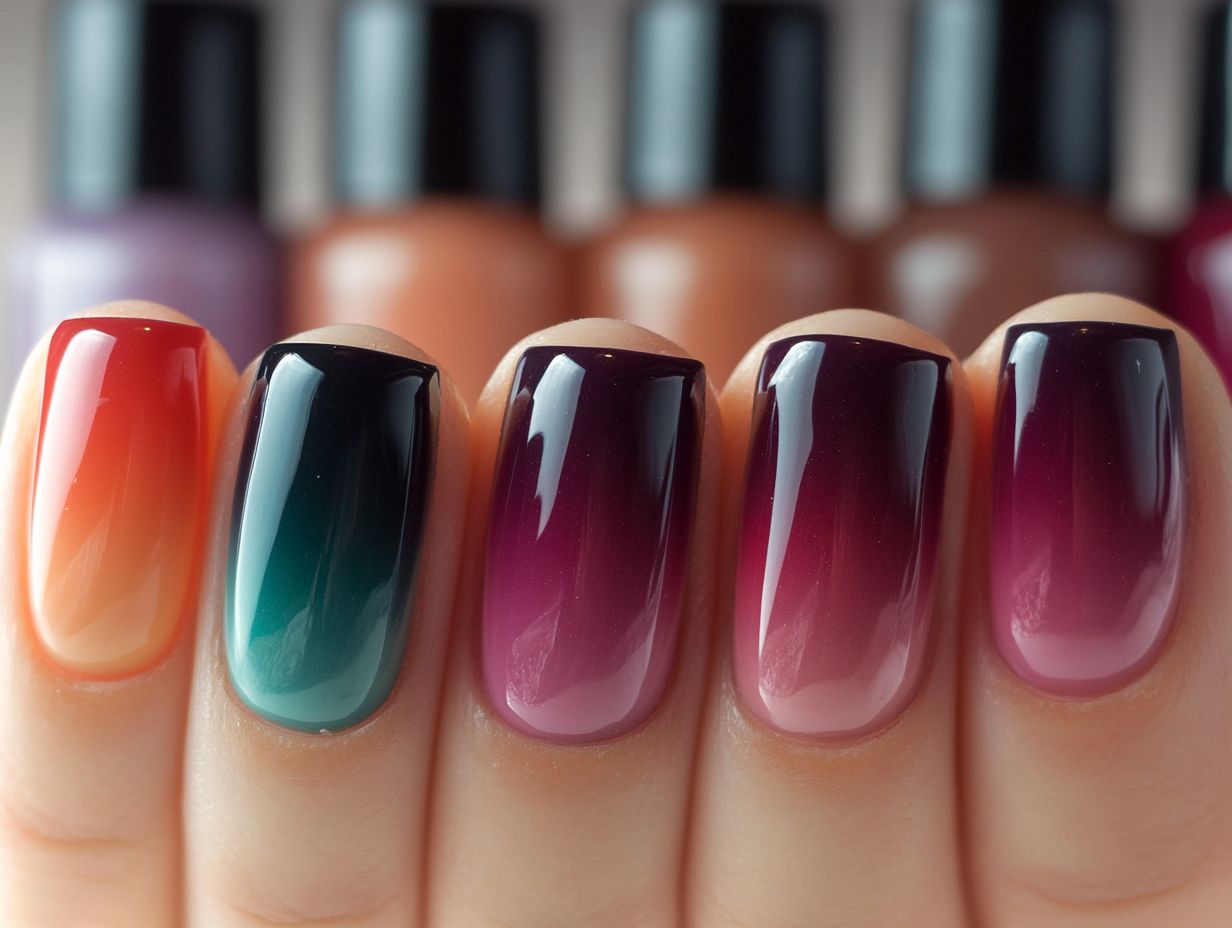
To achieve a flawless finish on ombre nails, it is advisable to consider the following expert tips and techniques.
Implementing these strategies can significantly enhance the quality of the application, resulting in a professional appearance that may impress even in nail art competitions.
Expert Advice for Perfecting Your Ombre Nails
Expert guidance from seasoned nail technicians, such as Marta Nagorska, can significantly enhance one’s ability to achieve perfection in ombre nails, offering valuable insights that elevate nail design skills to a professional standard. For those interested in learning more, check out this guide on how to create ombre nails at home.
By recognizing common pitfalls, such as improper blending or insufficient layering, enthusiasts can avoid frustrating errors that detract from their artistic vision. Nagorska underscores the importance of technique, recommending the ‘wet-on-wet’ method to achieve a seamless appearance.
It is essential to remain informed about the latest nail care tutorials, as trends and tools evolve rapidly within the industry.
Engaging in ongoing education not only hones technical skills but also fosters creativity, enabling artists to explore innovative designs while providing clients with the most current advancements in nail artistry.
Maintaining Your Ombre Nails
Maintaining ombre nails is crucial for ensuring that the manicure remains fresh and vibrant. This requires adherence to proper nail care practices and regular touch-ups to extend the longevity of the design.
Caring for Your Nails and Touch-Up Tips
Proper care for ombre polished nails necessitates the use of appropriate nail polish and a high-quality top coat to protect the design and preserve its aesthetic appeal.
To ensure the longevity of the exquisite gradient effect, it is crucial to apply a premium top coat every few days. This practice not only enhances the shine but also provides protection against chips and dullness. Should the color begin to fade or wear, a simple touch-up can be effective; one may utilize a small brush to blend a small amount of the original polish along the edges.
To refresh the gradient, gently dabbing a lighter shade on the tips and blending it into the base color will yield a seamless finish. Additionally, maintaining nail hydration with cuticle oil can significantly enhance their appearance and prevent dryness, ensuring that the ombre nails remain vibrant and fresh for an extended period.


