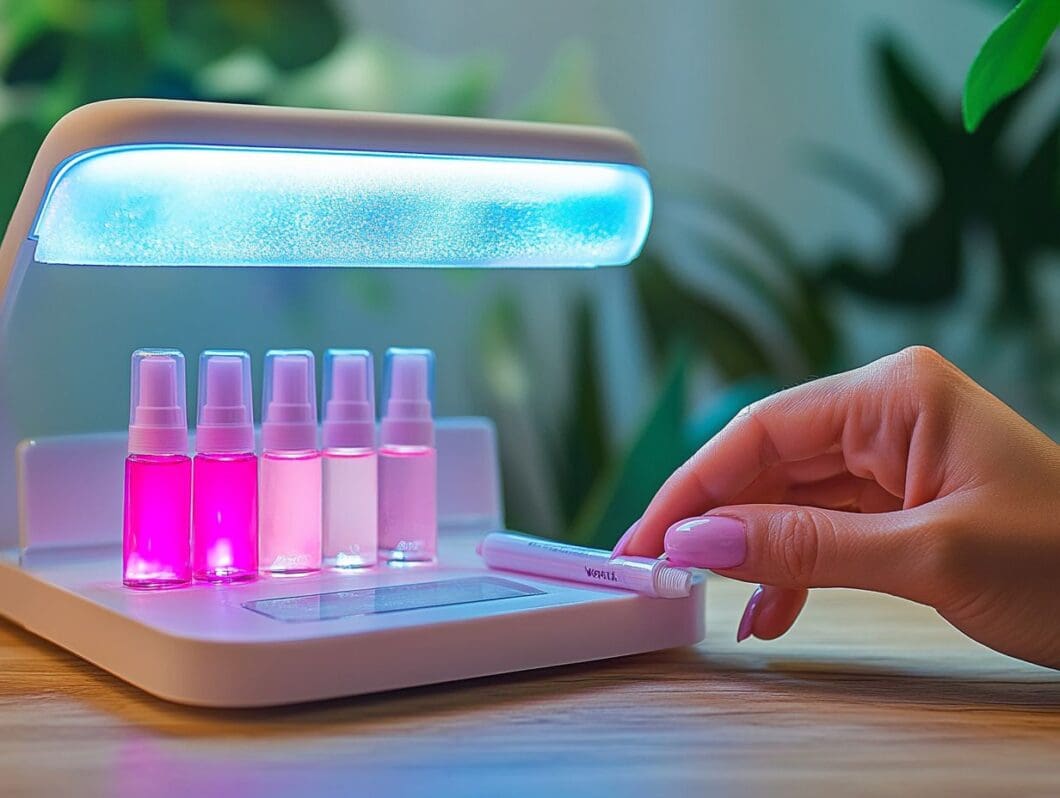
If you’ve ever admired a flawless gel manicure, you might be surprised to learn that achieving that salon-quality finish at home is more attainable than you think.
This guide will walk you through everything you need to know about gel manicures, from the benefits of doing them yourself to the essential supplies you’ll need.
You’ll discover techniques for a perfect application, tips for maintaining your manicure, and safe methods for removal.
Get ready to elevate your nail game!
Key Takeaways:
What is a Gel Manicure?
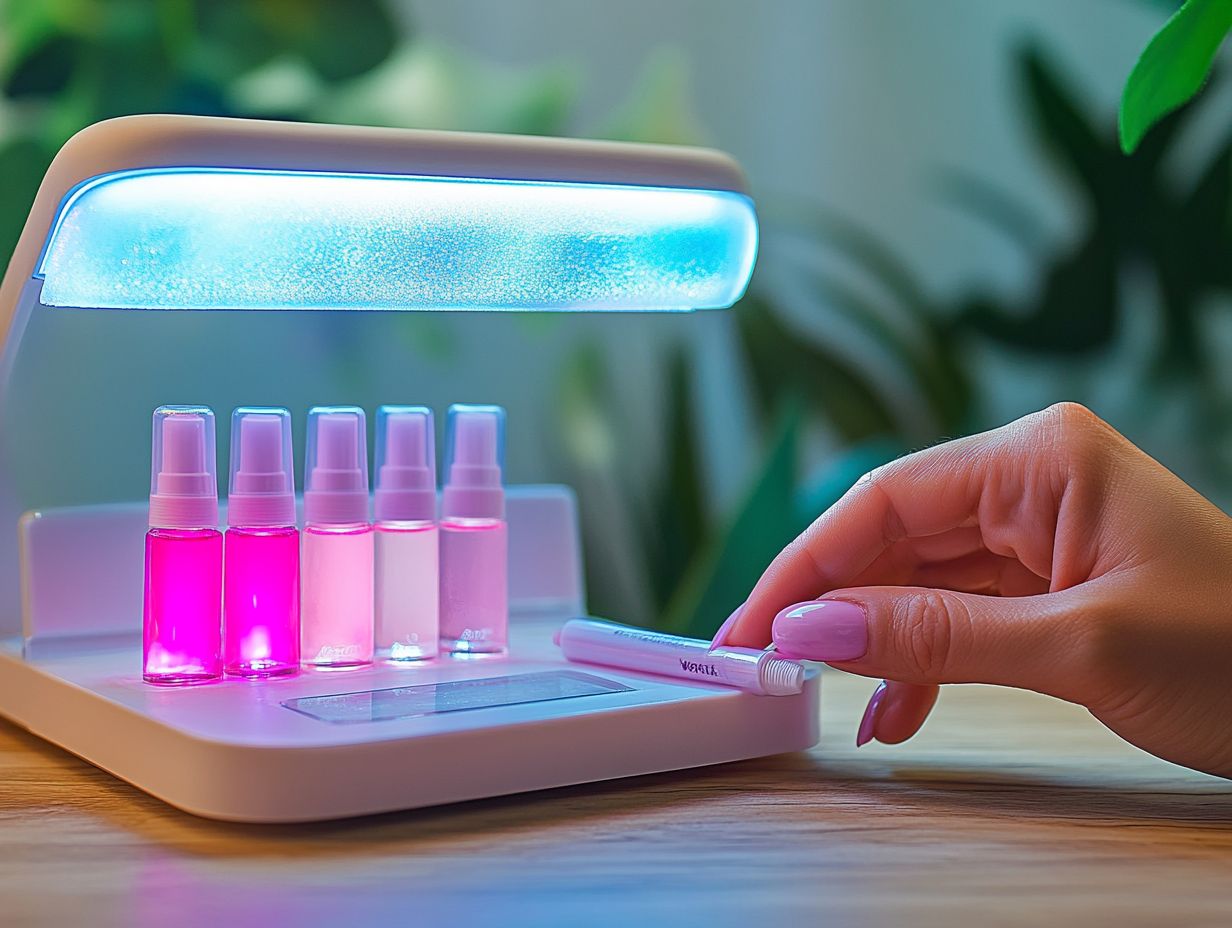
A gel manicure is a specialized nail treatment that involves the application of gel nail polish, which is cured under UV or LED lamps to produce a long-lasting, chip-resistant finish. This method has become increasingly popular due to its durability and vibrant color options, distinguishing it from traditional nail polish alternatives.
The application process for gel polish typically begins with a gentle buffing of the nails, followed by the application of a base coat, a color layer, and a top coat. Each layer is meticulously cured under a lamp to achieve the desired glossy appearance.
In contrast to conventional nail polish, which is prone to chipping and necessitates frequent touch-ups, gel polish, provided by reputable brands such as OPI and CND Shellac, offers a significantly more resilient finish that can last for up to three weeks or longer.
Plus its impressive longevity, gel manicures provide a high-gloss shine that enhances the overall aesthetic, making them a preferred option for special occasions or for individuals seeking a polished appearance that endures.
Benefits of Gel Manicures at Home
The advantages of performing gel manicures at home encompass convenience, cost-effectiveness, and the opportunity for customization in nail art according to individual preferences.
By utilizing gel nail kits, individuals can attain salon-quality results without incurring the additional expenses and time commitments typically associated with visiting a nail salon.
Cost and Convenience
The cost of gel manicures can vary significantly between salon services and DIY applications, with professional nail care often being more expensive but providing a more comprehensive experience. Engaging in gel manicures at home can yield long-term financial savings while offering greater flexibility in design choices and scheduling.
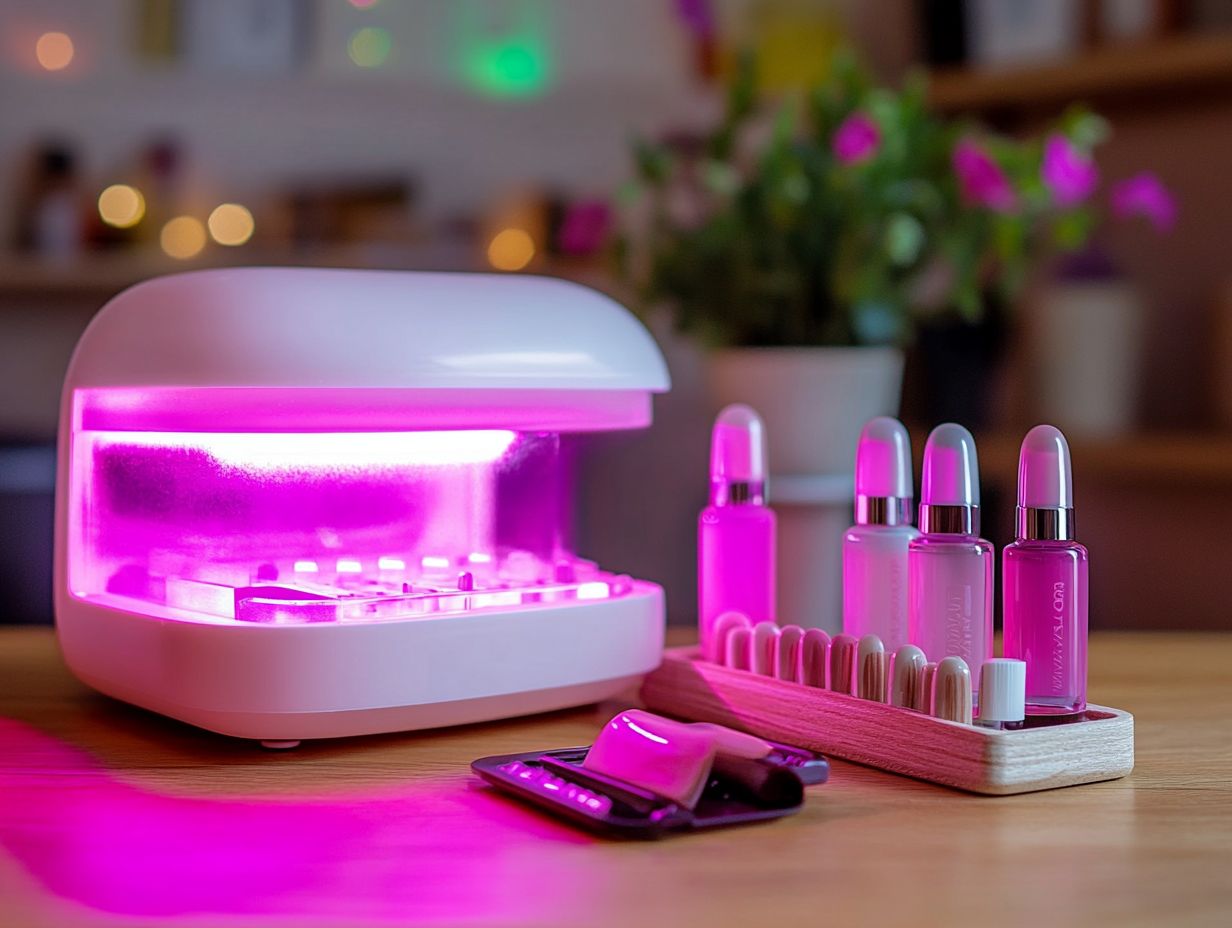
When assessing these costs, it is important to consider that investing in essential tools and high-quality products for home application, such as an LED lamp and reputable gel polish brands like Gelish and OPI, constitutes an upfront investment. However, these items can be reused multiple times, resulting in considerable long-term savings compared to regular salon visits.
The convenience of performing manicures at home eliminates concerns regarding appointments or last-minute cancellations, allowing for spontaneous nail art creativity whenever inspiration arises.
Furthermore, the ability to experiment with various colors and techniques without the financial burden associated with salon visits give the power tos enthusiasts to explore their creativity fully.
Supplies Needed for a DIY Gel Manicure
To achieve a successful DIY gel manicure, it is essential to utilize a comprehensive set of supplies. This includes gel nail kits, UV or LED lamps for curing, and crucial tools such as nail files, cuticle oil, and a variety of gel polish colors.
Having the appropriate equipment not only streamlines the gel application process but also guarantees a high-quality finish that can compete with professional salon results.
Essential Tools and Products
The essential tools and products required for a DIY gel manicure encompass a reliable nail lamp for curing, gel polish in a variety of colors, nail files, and cuticle care items, including cuticle oil. A comprehensive understanding of the gel polish application process is vital for achieving a professional finish and ensuring the health of the nails.
Plus these fundamental items, beginners should consider investing in nail buffer blocks to create a smooth surface, thereby facilitating better adhesion of the gel polish. The selection of high-quality gel polish brands is critical, as they not only provide superior color payoff but also ensure longevity.
Employing proper application techniques, such as applying thin layers and adhering to the recommended curing times, can significantly enhance both the durability and shine of the manicure. When it is time for removal, utilizing a gentle acetone-soaked cotton ball wrapped in foil can effectively break down the gel polish while minimizing damage to the natural nail.
Step-by-Step Guide to a Perfect Gel Manicure
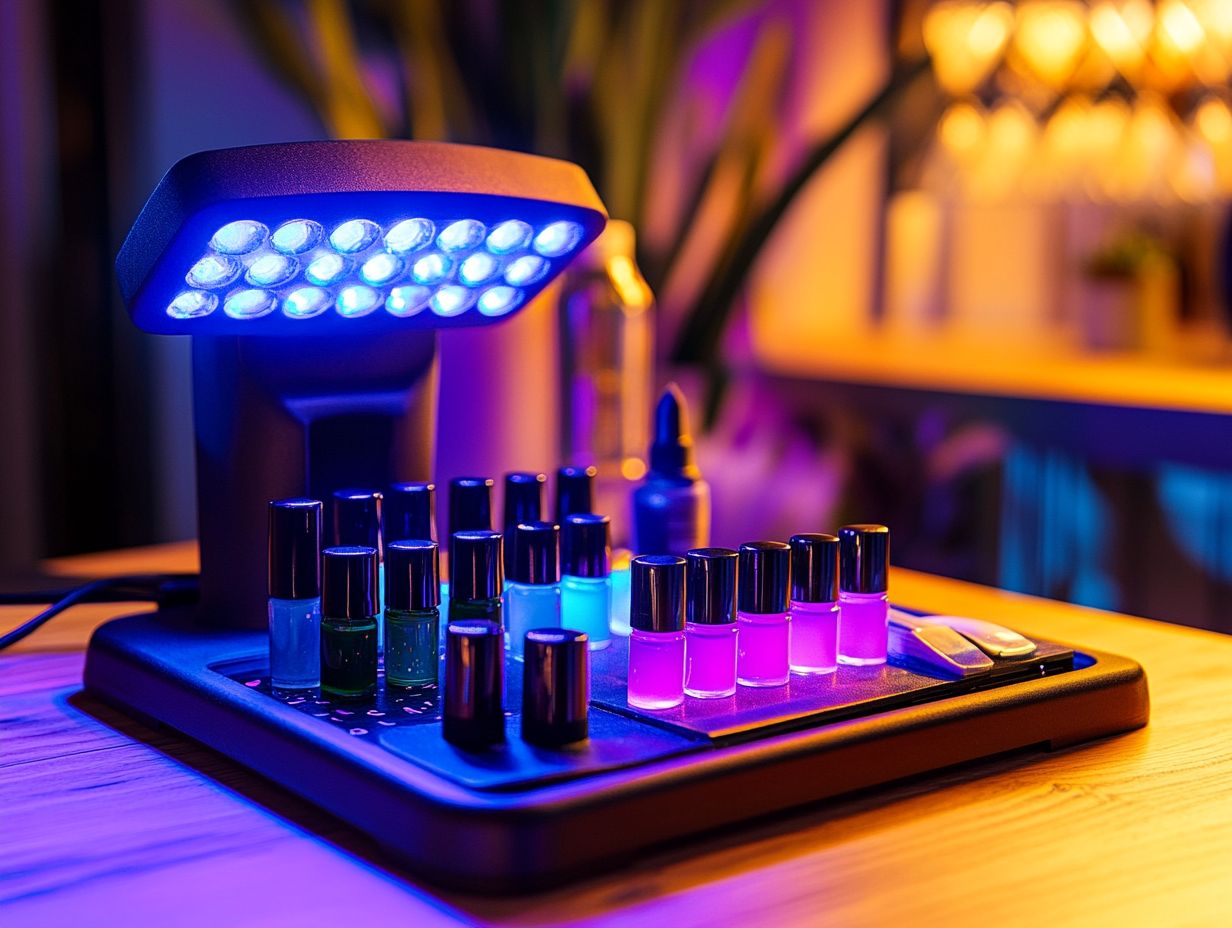
A comprehensive guide to achieving the ideal gel manicure involves a thorough understanding of the gel application process, which encompasses nail preparation, curing, and maintenance of the gel nails.
Each stage is crucial in ensuring a flawless finish, extending the longevity of the manicure, and promoting overall nail health.
Preparation and Application Techniques
Preparation and application techniques are critical components of the gel nail process, as they significantly influence the quality and longevity of the manicure.
Meticulously filing and buffing the nails, along with proper cuticle care, establishes a smooth surface for application. This preliminary step not only enhances adhesion but also reduces the likelihood of chipping and lifting over time.
Once the nails are adequately prepared, achieving even layers of gel polish becomes essential. The use of UV or LED lamps with appropriate curing times is equally important, as improper curing may result in subpar outcomes.
Additionally, embracing innovative gel polish techniques allows for the creation of stunning designs, providing an opportunity for individual expression while preserving the elegant appearance that gel nails provide.
Tips for Maintaining Your Gel Manicure
Maintaining a gel manicure requires adherence to essential practices that enhance the longevity of the gel nails while ensuring overall nail health.
Implementing proper nail maintenance routines can effectively prevent chipping and peeling, enabling individuals to enjoy their manicure for an extended period without compromising safety.
Extending the Life of Your Manicure
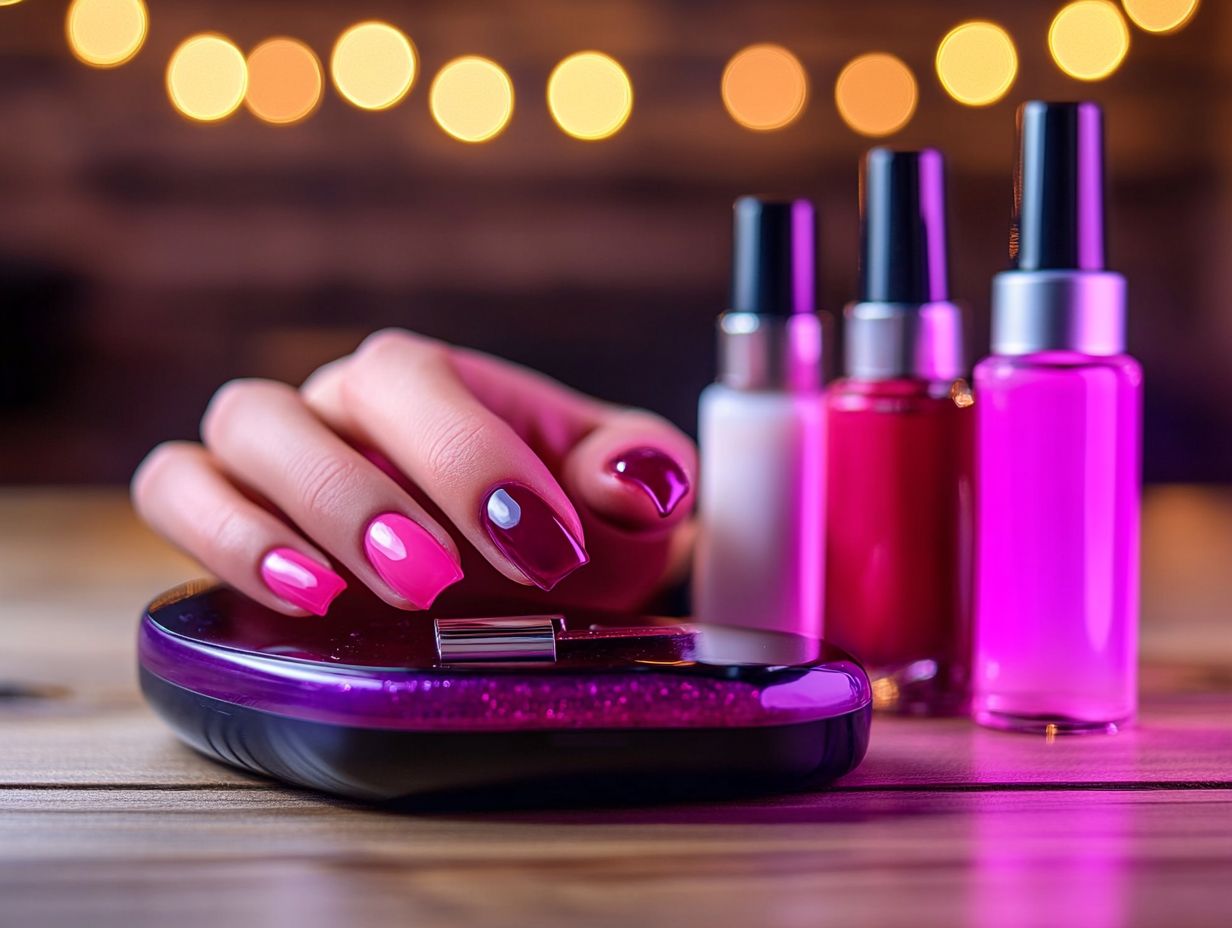
Extending the longevity of a gel manicure necessitates consistent nail care, including the selection of appropriate nail polish colors and adherence to best practices as outlined in gel nails tutorials. By following specific maintenance routines, individuals can significantly enhance both the durability and appearance of their gel polish.
One effective strategy is the application of a high-quality top coat every few days. This not only provides an additional layer of protection but also enhances the shine of the manicure. It is essential to avoid exposure to harsh chemicals commonly found in cleaning products and hand sanitizers, as these can compromise the gel’s bond.
Additionally, regularly applying cuticle oil is vital for maintaining hydration in both the nails and surrounding skin, thereby preventing dryness that may lead to chipping.
For those seeking visual guidance, gel nails tutorials offer step-by-step instructions for these maintenance practices, underscoring the importance of routine nail care for achieving optimal results.
Removing Gel Polish at Home
Removing gel polish at home can be conducted safely and effectively by employing appropriate gel nail removal techniques. This may include the use of acetone or alternative methods recommended by qualified nail technicians.
A comprehensive understanding of the removal process is essential for preserving nail health and preventing damage during the gel polish removal procedure.
Safe and Effective Removal Methods
Safe and effective methods for the removal of gel polish include the use of acetone, soak-off techniques, and a comprehensive understanding of the nail polish removal process to minimize damage to the natural nails. A proper knowledge of gel nail removal techniques is essential for maintaining nail care and promoting overall nail health.
Acetone is a widely recognized choice for gel polish removal due to its effectiveness in rapidly breaking down gel formulations. However, there are alternative soak-off techniques that utilize less aggressive solvents, providing a gentler option that can still yield satisfactory results.
A comparison of these methods indicates that while acetone is efficient, it may be harsher on the nails, potentially leading to dryness or brittleness if not followed by appropriate aftercare. It is imperative to avoid excessive exposure to solvents and to apply nourishing oils or creams following the removal process, ensuring that the nails remain hydrated and strong for future applications.


